

Table of Contents
- 1. What Is a Rivnut Tool?
- 2. How Rivnut Tools Work
- 3. Types of Rivnut Tools
- 4. Choosing the Right Tool for Your Material
- 5. Understanding Rivnut Sizes (and Why M6 Matters)
- 6. Common Applications of Rivnut Tools
- 7. Pro Tips for Better Installation
- 8. Common Mistakes to Avoid
- 9. Rivnut vs. Other Fastening Methods
- 10. Frequently Asked Questions
- 11. Final Thoughts
1. What Is a Rivnut Tool?
A rivnut tool (short for “rivet nut tool”) is a handheld or power-assisted device used to install rivet nuts—threaded inserts that can be installed into thin materials like sheet metal, aluminum panels, or plastic parts. Once the rivnut is installed, it provides a solid internal thread that accepts a standard bolt or screw, such as an M6 bolt.
In plain terms, it’s like adding a “nut” to a surface where there isn’t one. Rivnuts are particularly popular in industries where welding is impractical, such as automotive, aerospace, furniture, and home DIY projects. They make it possible to add threads to places you can’t reach the back side of, which is why they’re also known as “blind nuts.”
---
2. How Rivnut Tools Work
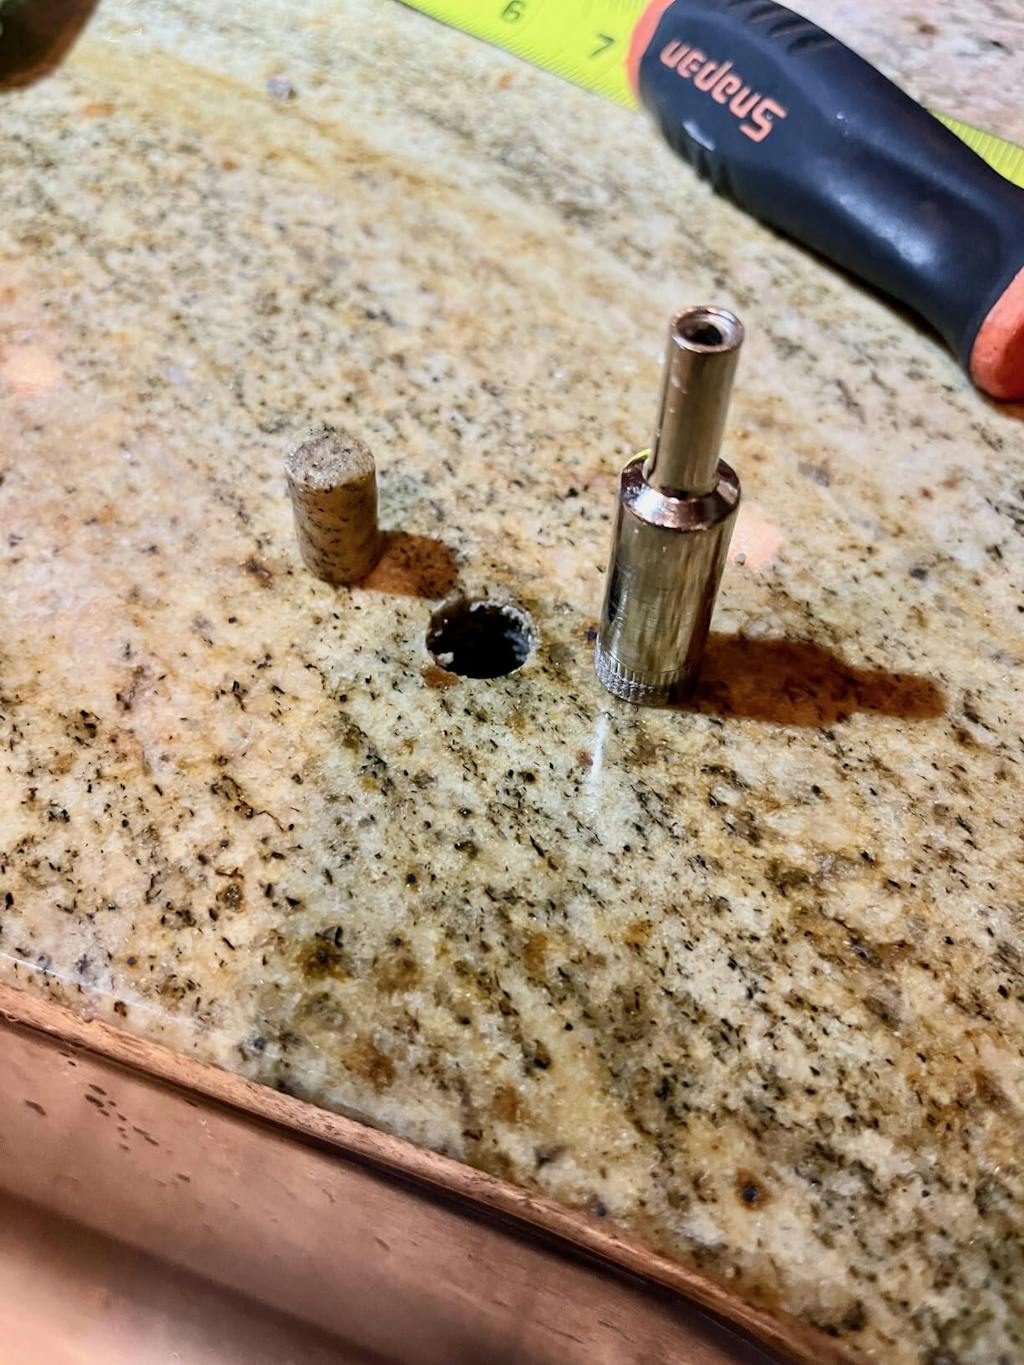
The concept behind rivnut installation is simple yet clever. You drill a hole into your material, insert the rivnut into that hole, and use a rivnut tool to pull the internal threads of the nut forward. This action causes the backside of the rivnut to bulge, clamping securely against the surface. Once it’s set, the insert won’t spin or loosen—creating a permanent, load-bearing thread.
The process usually involves four steps:
- Drill a clean hole matching the rivnut’s outer diameter.
- Thread the rivnut onto the mandrel of your rivnut tool.
- Insert the rivnut into the hole.
- Squeeze the handles (or trigger) to compress the rivnut, securing it in place.
After that, you can insert a bolt, such as an M6, for a secure, vibration-resistant connection.
---
3. Types of Rivnut Tools
There are several types of rivnut tools available, each with its own strengths. Choosing the right one depends on how frequently you’ll use it, the material thickness, and your workspace needs.
3.1 Hand Rivnut Tools
The most common type for DIYers and small workshops. Hand rivnut tools use manual leverage to compress the rivnut. They’re affordable, portable, and great for small to medium jobs. However, installing large rivnuts (like M8 or M10) can require significant hand strength.
3.2 Lever Rivnut Tools
Lever-style tools offer extended arms that provide more mechanical advantage, making it easier to install larger rivnuts with less effort. They’re ideal for hobbyists who need more power without going pneumatic or electric.
3.3 Pneumatic Rivnut Tools
These use compressed air to install rivnuts quickly and consistently. They’re favored in industrial settings for high-volume assembly lines. A pneumatic tool offers speed and precision but comes with a higher price and requires an air compressor.
3.4 Cordless Electric Rivnut Tools
The newest category—electric rivnut tools—combines the convenience of cordless operation with powerful torque control. Perfect for professionals on the go or workshops that demand efficiency without the noise of compressed air.
---
4. Choosing the Right Tool for Your Material
Different materials require different levels of force and precision. Here’s a quick overview of what to consider:
| Material | Recommended Rivnut Type | Best Tool Type |
|---|---|---|
| Aluminum Sheet | Aluminum or steel rivnuts | Hand or lever rivnut tool |
| Steel Panels | Steel rivnuts | Lever or pneumatic tool |
| Plastic or Fiberglass | Brass or aluminum rivnuts | Hand rivnut tool |
Always check the material thickness. Too thin, and the rivnut might deform; too thick, and it might not fully collapse. In most household projects—especially for garage storage, shelving, or metal furniture—M6 rivnuts strike the right balance between strength and ease of installation.
---
5. Understanding Rivnut Sizes (and Why M6 Matters)
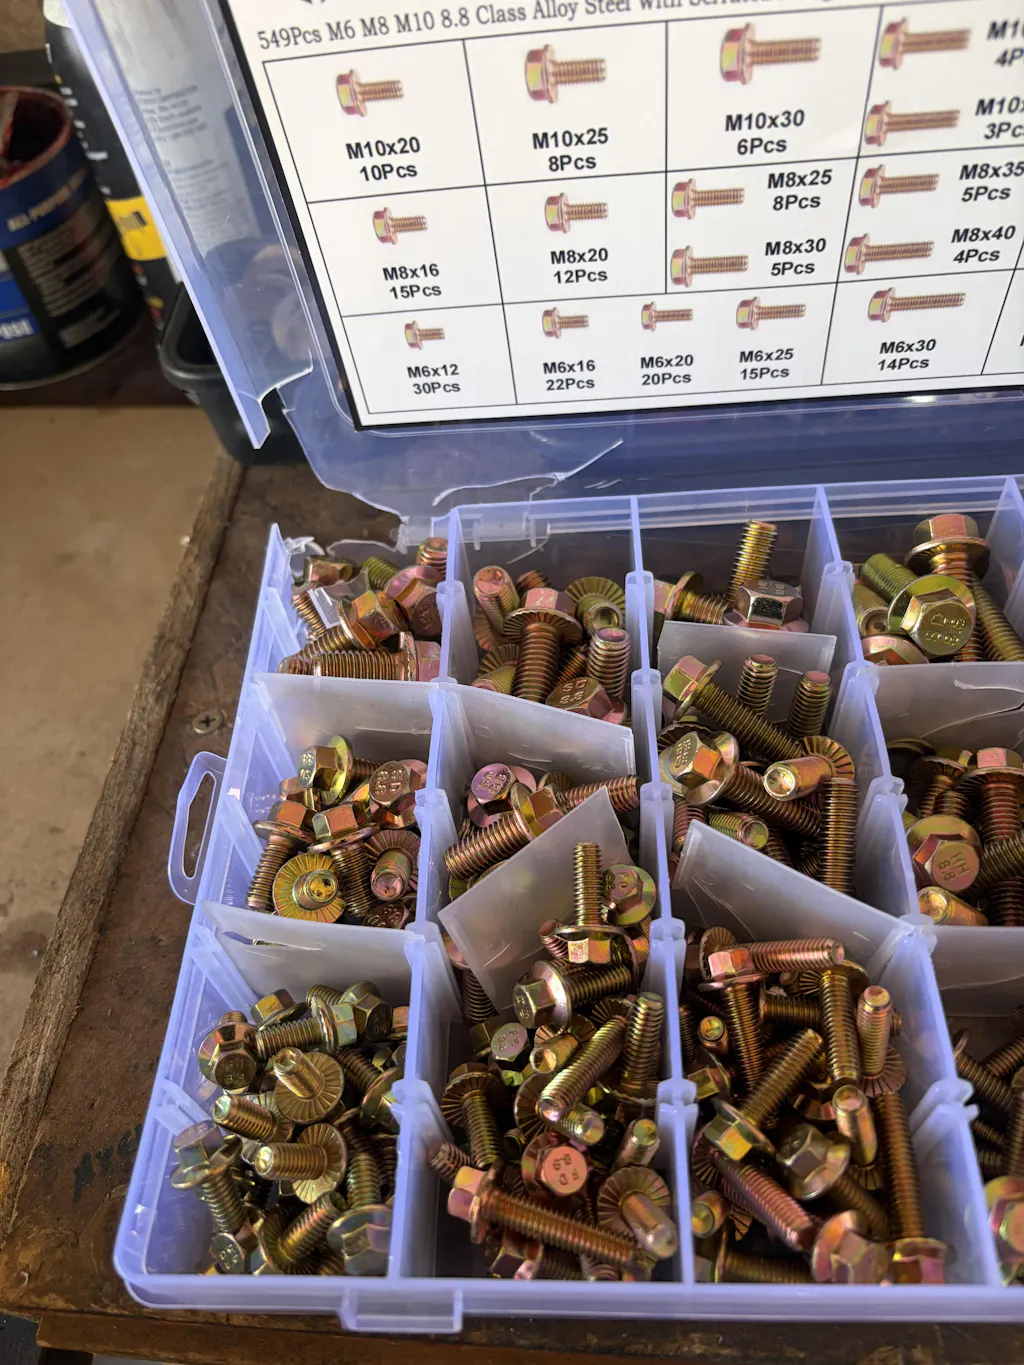
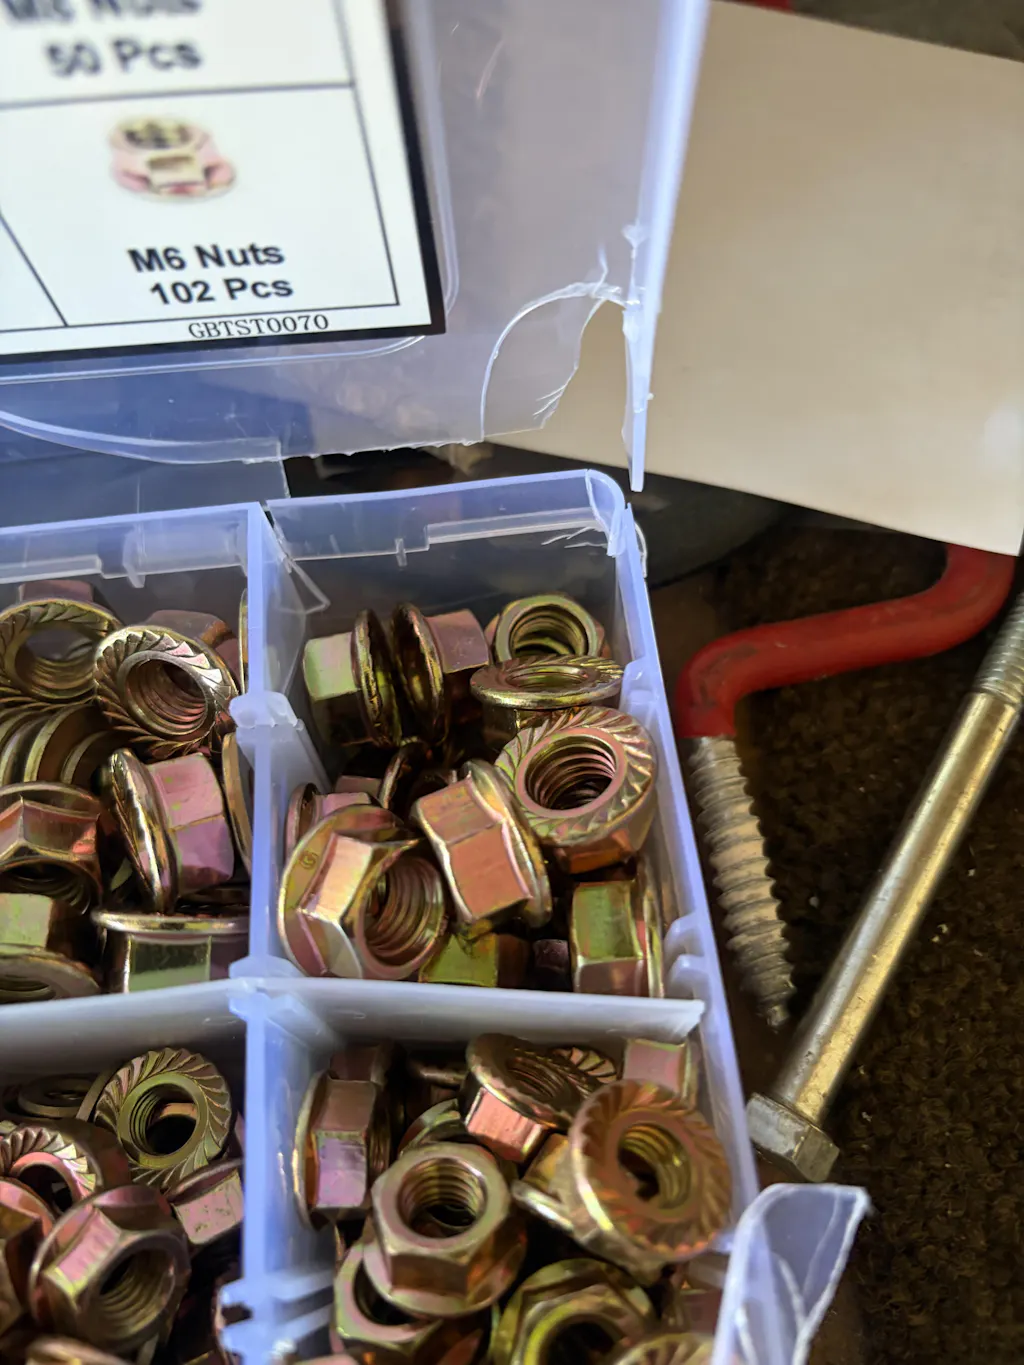
Rivnuts come in various thread sizes—typically from M3 to M12 in the metric system and from #6-32 to 1/2"-13 in the imperial system. The M6 rivnut is one of the most commonly used sizes because it’s versatile, strong, and compatible with many applications.
An M6 rivnut pairs perfectly with our M6 bolt and nut set. The M6 bolt offers just the right amount of thread engagement, ensuring a solid grip without over-stressing the insert. It’s commonly used in automotive body panels, furniture assembly, and wall-mounted brackets.
In short, if you’re unsure what size to start with, M6 is a safe, all-purpose choice.
---
6. Common Applications of Rivnut Tools
Rivnut tools are used anywhere you need strong threads in thin materials. Here are some typical examples:
- Automotive Repairs: Attaching roof racks, skid plates, or fenders where welding isn’t an option.
- Furniture Building: Mounting legs, braces, or panels securely to thin frames.
- Metal Fabrication: Adding threaded holes in enclosures or sheet-metal housings.
- DIY Home Projects: Installing storage racks, tool hooks, and garage shelves using rivnuts and M6 bolts.
---
7. Pro Tips for Better Installation
- Drill accurately. The hole should be the correct diameter for the rivnut’s body—usually 0.1 mm larger than the rivnut itself.
- Deburr edges. Clean up any burrs or sharp edges to prevent damage during compression.
- Lubricate threads. A small drop of oil can extend the life of your tool and improve pull force consistency.
- Use proper grip length. Select rivnuts that match your material thickness for a perfect hold.
---
8. Common Mistakes to Avoid
Even experienced DIYers make mistakes with rivnut installation. Here’s what to watch for:
- Using the wrong hole size—too large, and the rivnut spins; too small, and it crushes.
- Mixing metric and imperial threads (like trying to use a 1/4" bolt in an M6 rivnut).
- Over-tightening the tool can strip the threads or damage the insert.
- Skipping test fits—always try one installation before committing to multiple holes.
---
9. Rivnut vs. Other Fastening Methods
Rivnuts aren’t the only way to fasten materials—but they often provide the most efficient solution. Let’s compare:
| Fastening Method | Pros | Cons |
|---|---|---|
| Rivnut | Strong, removable, no backside access needed | Requires a specific tool |
| Welding | Permanent, very strong | Needs skill & equipment |
| Self-tapping Screws | Fast and easy | Weak in thin material, not reusable |
---
10. Frequently Asked Questions
Q1: Can I install rivnuts without a rivnut tool?
Technically, yes, but it’s not recommended. You can use a bolt, nut, and washer setup to pull the rivnut manually, but results vary, and it’s easy to over-crush the insert. For reliable results, invest in a proper rivnut tool.
Q2: What’s the difference between rivnuts and threaded inserts?
Rivnuts are a type of threaded insert designed for thin materials and blind installations. Other inserts (like wood inserts) are made for solid materials that can hold threads directly.
Q3: Can I reuse a rivnut once installed?
No, rivnuts are permanent fixtures. However, you can remove and replace the bolts—like your M6 bolts—as often as needed.
Q4: What size rivnut should I use for my project?
It depends on your load and material thickness. M4 to M6 are ideal for most light-to-medium applications. If in doubt, start with M6—it’s versatile and strong.
---
11. Final Thoughts
Rivnut tools are one of those unsung heroes of the workshop. They bridge the gap between simplicity and professional-grade strength—allowing anyone to create reliable threaded connections even in thin materials. Whether you’re building furniture, repairing a vehicle, or upgrading your workspace, the right rivnut tool paired with quality hardware—like our M6 bolt and nut set—will make your work faster, cleaner, and stronger.
Explore our collection of durable fasteners and DIY essentials at Homediyer.com — where quality and precision come together for every project.


Comments
Leave a comment