

-
That Sinking Feeling: When Your Bolt Vanishes
-
Gear Up: Your Bolt-Sleuthing Toolkit
-
Method 1: The Witness Trick (Ask the Nut!)
-
Method 2: The Paper & Pen Rubbing (Like a Hardware CSI)
-
Method 3: The Thread Impression Trick (Grease or Wax)
-
Method 4: The Bolt Size Finder Lifesaver (Your Ultimate Ally)
-
Method 5: Reverse-Engineering with a Partner Bolt
-
Method 6: Measure the Hole (The Last-Resort Gamble)
-
Decoding Your Findings: Metric vs. Imperial Clues
-
Critical Considerations: Length, Grade & Thread Depth
-
Why Guessing = Disaster (Stripped Threads & Safety Nightmares)
-
FAQs: Solving the Case of the Phantom Bolt
-
Conclusion: Never Lose Sleep Over a Missing Bolt Again!
Forget wandering hardware store aisles, clutching a random nut, hoping for divine intervention. This guide turns you into a bolt-finding detective. We’ll reveal six field-tested methods to identify a missing bolt’s size – from clever tricks using its partner nut or thread impressions, to reverse-engineering with a similar bolt. Crucially, you’ll discover why a dedicated bolt size finder (like our essential thread checker) is the fastest, most foolproof solution when the original bolt is MIA. Learn to decode thread patterns, avoid catastrophic cross-threading, and get back to building – no bolt left behind!
1. That Sinking Feeling: When Your Bolt Vanishes 😫
Let’s be real: losing a critical bolt hurts. It’s not just the cost of a $0.50 fastener. It’s the derailed project, the hours wasted searching, the dread of not knowing what size you even need to replace it.
-
The Hardware Store Nightmare: Walking into Aisle 17, clutching a lonely nut while clerks ask, "What size bolt?" feels like failing a pop quiz.
-
Online Ordering Guesswork: Blindly picking sizes from a dropdown menu? Recipe for returns and delays.
-
The Temptation to "Force It": Desperation leads to trying "close enough" bolts… which always ends in stripped threads or broken parts.
Why this matters: A bolt isn’t just metal. It’s a precision component. Its diameter, thread pitch (threads per inch or distance between them), length, and thread type (UNC, UNF, Metric) must match perfectly. Get it wrong, and you risk:
-
Weakened joints (vibration failure)
-
Stripped threads (costly repairs)
-
Catastrophic failure (on engines, bikes, or structural pieces)
Don’t gamble. Become a bolt detective. Here’s your toolkit.
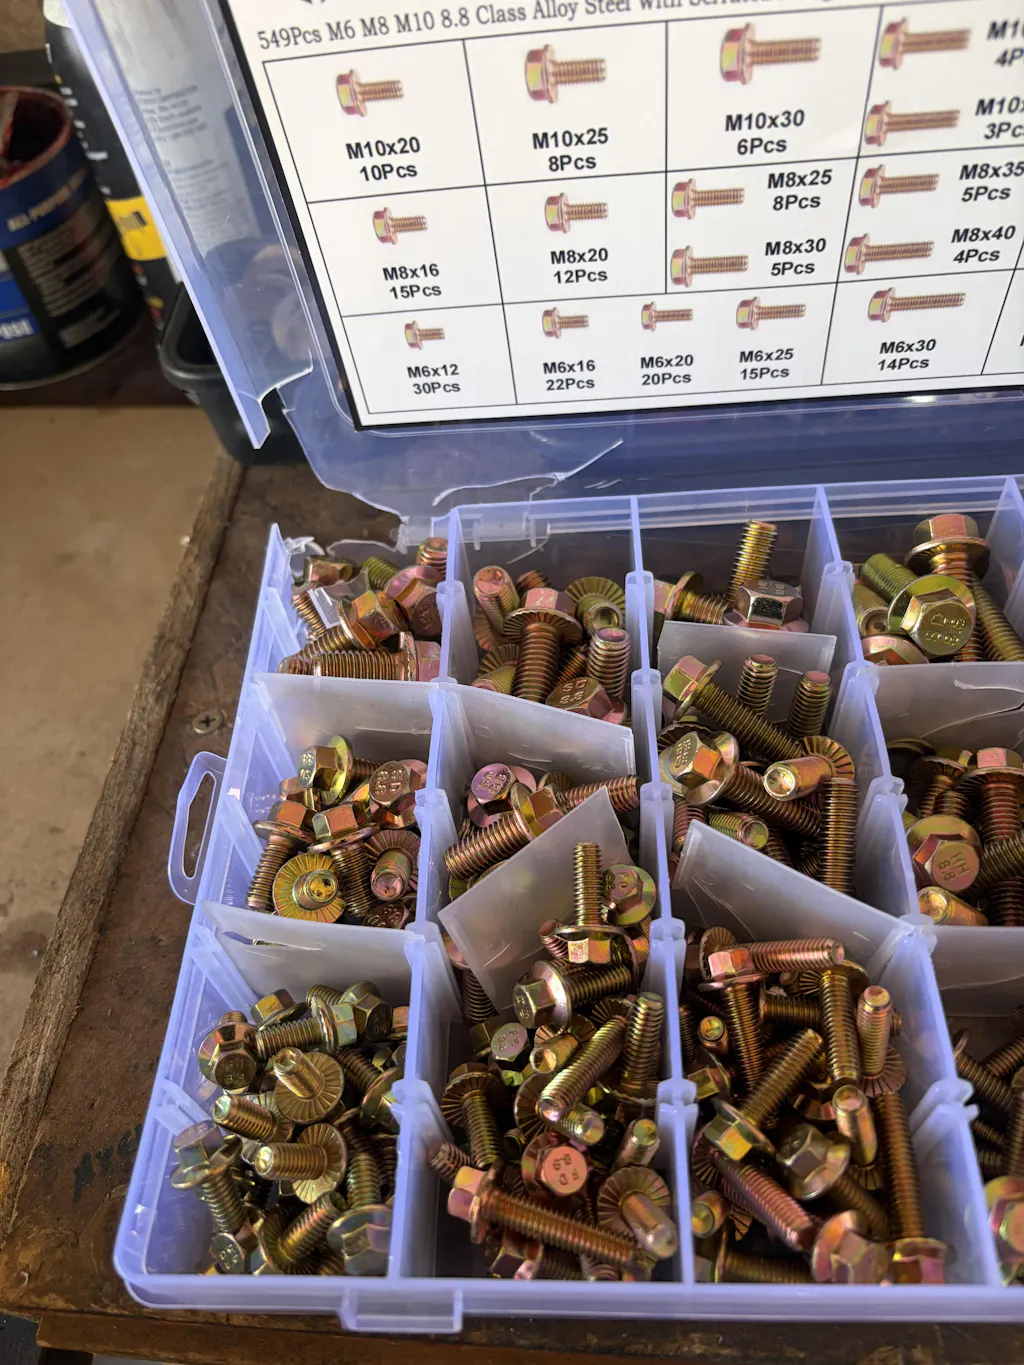
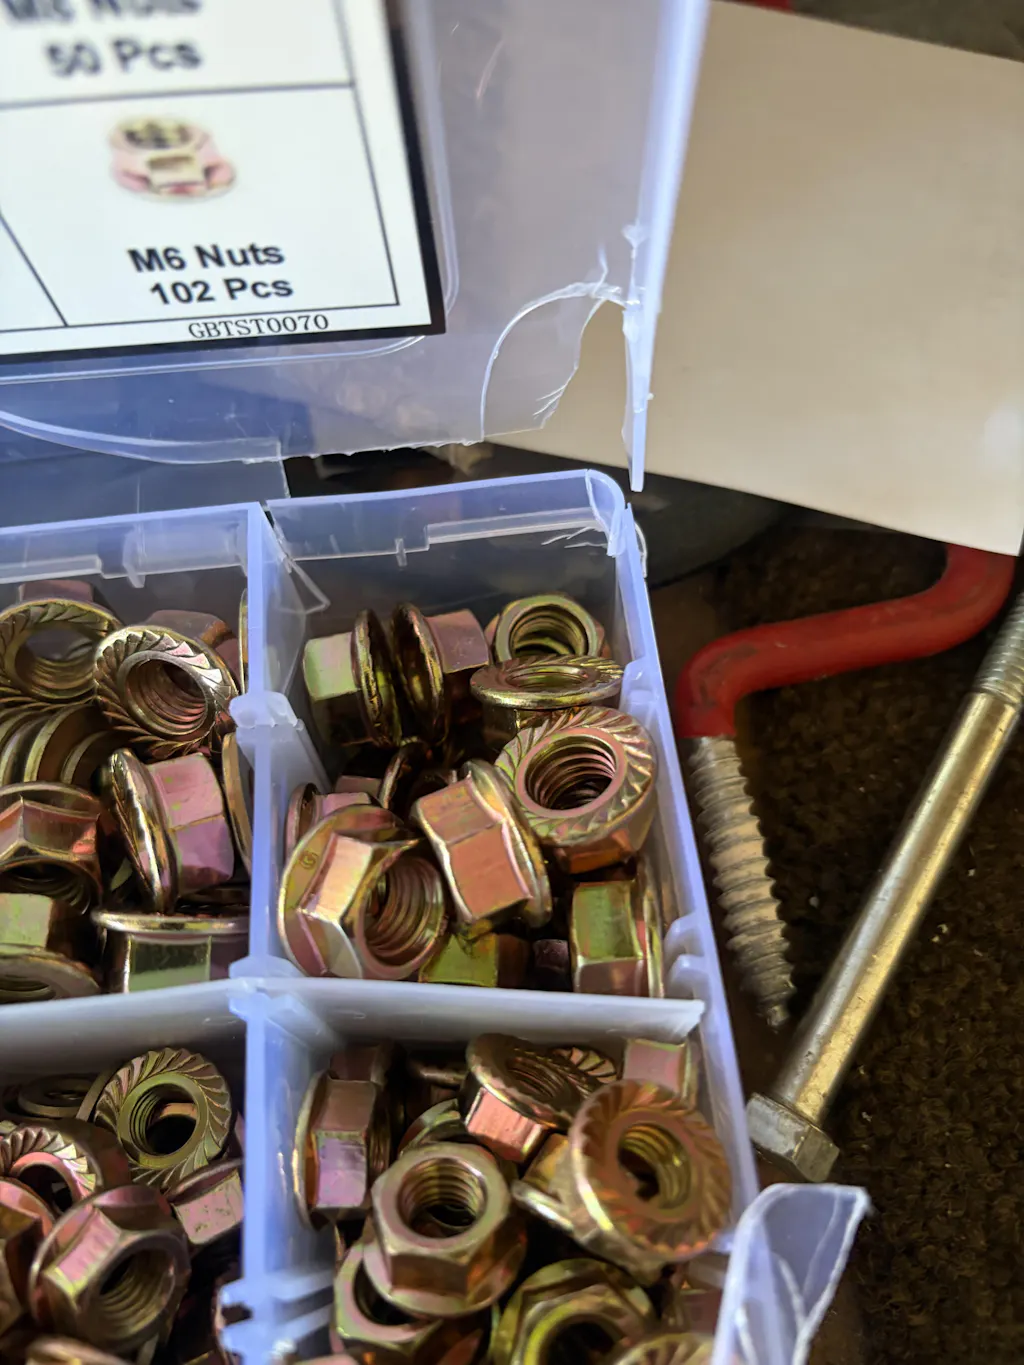
2. Gear Up: Your Bolt-Sleuthing Toolkit 🧰
Before hunting the phantom bolt, gather these clues:
-
The Partner Nut (If You Have It!): This is your BEST starting clue.
-
Digital Calipers: Essential for precise measurements of nuts, holes, or impressions.
-
Thread Pitch Gauge: Helps identify thread spacing from impressions or partners.
-
Bolt Size Finder / Thread Checker (Your MVP): The ultimate tool when the bolt is gone. A plate with pre-cut threaded holes/posts lets you test nuts or make impressions instantly. [Hint: Like our HomeDIYer Thread Checker – the bolt size finder that never sleeps!]
-
Thin Paper & Pencil: For rubbings.
-
Grease, Modeling Clay, or Soft Wax: For thread impressions.
-
Good Light & Magnifying Glass: Threads are tiny detectives!
-
Marker & Notebook: Document your clues!
Pro Tip: Clean any nuts or threaded holes thoroughly! Gunk hides critical thread details.
3. Method 1: The Witness Trick (Ask the Nut!) 🔩
Scenario: You still have the nut that screwed onto the missing bolt. This witness holds vital clues!
How to Interrogate Your Nut:
-
Identify if it’s Metric or Imperial: Check for markings or measure roughly.
-
Measure Its Inner Diameter (I.D.):
-
Use calipers on the threaded hole. Measure the smallest diameter the threads create (Minor Diameter). Record this (e.g., 0.212 inches, 5.3mm).
-
-
Determine Its Thread Pitch:
-
Option A (Best): Use your bolt size finder (thread checker). Screw the nut onto the checker’s male posts. The post it fits perfectly, revealing the nut’s size (e.g., M6-1.0 or 1/4"-20 UNC). The bolt you need matches this!
-
Option B: Use a thread pitch gauge on the nut’s internal threads. Match the gauge teeth to the threads. Combine pitch with your ID measurement.
-
-
Decode the Size:
-
The nut’s size is the size of the bolt it mates with. A nut labeled M8 fits an M8 bolt. A nut measuring ~0.250" I.D. with 20 TPI fits a 1/4"-20 bolt.
-
Pros: Fast & reliable if you have the nut. Confirms functional fit.
Cons: Requires the nut. Needs calipers or a bolt size finder for accuracy.
4. Method 2: The Paper & Pen Rubbing (Like a Hardware CSI) 📝
Scenario: You have the threaded hole the bolt screwed into, but no nut.
The Forensic Technique:
-
Clean the Threaded Hole: Remove dirt, oil, or debris.
-
Grab Thin Paper & a Soft Pencil: Printer paper works; artist's sketch paper is better. Sharpen that pencil!
-
Make the Rubbing:
-
Place the paper firmly over the threaded hole.
-
Hold it taut.
-
Rub the pencil sideways vigorously over the hole area. Apply even pressure.
-
Goal: Capture the thread pattern imprint on the paper.
-
-
Analyze the Impression:
-
Measure Hole Diameter: Use calipers on the actual hole (not the paper). Get the Minor Diameter.
-
Measure Thread Pitch from Paper:
-
Use your thread pitch gauge blades against the pencil lines on the paper. Find the blade whose teeth perfectly align with the peaks/valleys of your rubbing.
-
Or, measure the distance between several thread peaks on the paper and divide by the number of gaps (for metric pitch).
-
-
-
Combine Clues: Diameter + Pitch = Bolt Size (e.g., Minor Diameter ~5.8mm + Pitch 1.0mm = Likely M6 bolt).
Pros: Low-tech, uses common items. Works on fixed holes.
Cons: Tricky technique. Requires a clean, accessible hole. Accuracy depends on skill.
5. Method 3: The Thread Impression Trick (Grease or Wax) 🧈
Scenario: You need a more physical imprint than paper provides (great for deep or dirty holes).
The Mold Method:
-
Choose Your Medium:
-
Heavy Grease/Lithium Grease: Pack it in firmly.
-
Modeling Clay/Plasticine: Press into a small ball.
-
Paraffin Wax or Candle Wax: Melt slightly, pour carefully (avoid burns!).
-
-
Fill the Hole: Force your medium deep into the threads. Ensure full contact.
-
Extract Carefully: Gently remove the mold. You should see a clear, negative thread impression.
-
Measure the Impression:
-
Diameter: Measure the outer diameter of the male threads on your mold with calipers. This approximates the bolt’s Major Diameter.
-
Pitch: Use your thread pitch gauge directly on the mold’s threads! Find the perfect matching blade.
-
-
Identify the Bolt: Major Diameter + Pitch = Bolt Size (e.g., Major Dia ~8.9mm + Pitch 1.25mm = Likely M8 bolt).
Pros: Creates a physical "positive" model of the bolt threads. The pitch gauge works directly on it.
Cons: Can be messy. Requires care when extracting an intact mold. Wax needs caution.
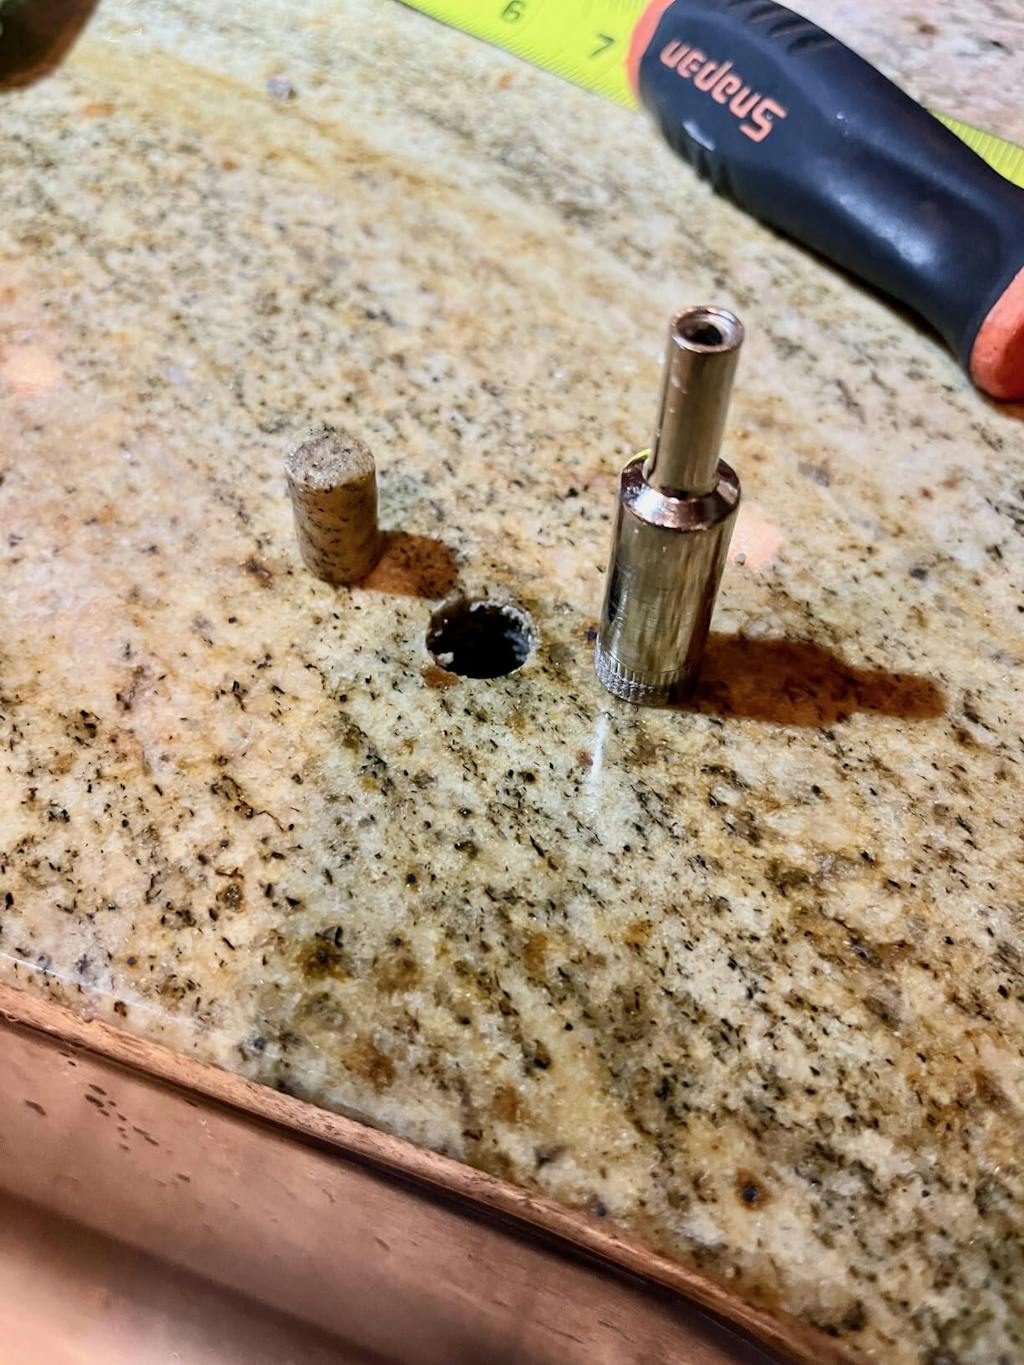
6. Method 4: The Bolt Size Finder Lifesaver (Your Ultimate Ally) ⚡
Scenario: The bolt is gone. You might have the nut, the hole, or nothing but desperation. Enter the hero: a dedicated bolt size finder/thread checker.
Why This is the Smartest Move:
When the original bolt vanishes, a thread checker eliminates guesswork by letting you test functional fit directly:
Using the HomeDIYer Bolt Size Finder:
-
If You Have the Nut:
-
Screw it onto the checker’s male threaded posts.
-
The post it spins onto smoothly reveals its size (e.g., "1/4"-20 UNC). Order that bolt size!
-
-
If You Have the Threaded Hole:
-
Try screwing the checker’s male threaded posts INTO the hole.
-
The post that threads in easily by hand (without forcing!) matches your missing bolt’s size.
-
-
If You Have NOTHING (But Know Location):
-
Identify Likely Sizes: What’s nearby? Engine block? Furniture? Bike frame?
-
Test Common Bolts from Your Checker: Take the plate to the hole. Try likely male posts (e.g., M6, M8, 1/4", 5/16").
-
The Perfect Fit Wins: The post that threads in smoothly is your missing bolt size.
-
Why DIYers Swear By This Bolt Size Finder Method:
-
No Original Bolt Needed: Solves the core problem.
-
Instant Verification: Tests ACTUAL thread engagement – the gold standard.
-
Confirms Diameter AND Pitch AND Type: Eliminates 3 variables at once.
-
Portable Confidence: Fits in your pocket for hardware store trips.
-
Saves Hours: Skip the rubbing, molding, and measuring guesswork.
🛠️ Stop the Guesswork!
"Lost bolts used to ruin my weekend projects. Now I keep my HomeDIYer Thread Checker right on the workbench. Finding replacements takes seconds – even when the original bolt is long gone. It’s the ultimate bolt size finder." - Mark T., DIY Mechanic
Pros: Fastest, most reliable method without the original bolt. Functional test > measurement.
Cons: Requires owning the tool (a wise investment for any serious DIYer).
7. Method 5: Reverse-Engineering with a Partner Bolt 🔄
Scenario: Another bolt from the same assembly or the same part is accessible.
The Clone Approach:
-
Find a Matching Witness: Locate a bolt that screws into the same type of threaded hole or fits the same type of nut as your missing bolt.
-
Measure THIS Bolt:
-
Use calipers to measure its Major Diameter.
-
Use a thread pitch gauge to determine its pitch.
-
(Or instantly ID it with your bolt size finder!).
-
-
Match the Size: Your missing bolt is the same size as this "partner" bolt.
Pros: Simple and accurate if you have a matching bolt.
Cons: Relies on finding an identical bolt. Doesn’t work if all bolts are unique or missing.
8. Method 6: Measure the Hole (The Last-Resort Gamble) ⚠️
Scenario: No nut, no partner bolt, no thread checker. Truly desperate times.
The Risky Procedure:
-
Measure Hole Diameter: Use calipers on the threaded hole's Minor Diameter (the innermost part of the threads).
-
Estimate Major Diameter:
-
For Metric: Add ~0.1-0.2mm to Minor Diameter (e.g., Minor Dia 6.8mm ≈ M8 Bolt).
-
For Imperial: Add ~0.005-0.010 inches (e.g., Minor Dia 0.220" ≈ 1/4" Bolt).
-
-
Guess the Pitch: Based on the application:
-
Coarse threads (UNC, Metric Std) are common for most uses.
-
Fine threads (UNF, Metric Fine) are used in engines, precision gear.
-
-
Buy ONE Test Bolt: Purchase the most likely candidate size. TEST IT CAREFULLY.
MAJOR WARNINGS:
-
Highly Inaccurate: Thread depth varies! Estimation is guesswork.
-
High Risk of Cross-Threading: Forcing the wrong size destroys threads.
-
Avoid on Critical Systems: Never use this on engines, brakes, or structural parts!
Pros: Only requires calipers (and a prayer).
Cons: Extremely unreliable. Potential for costly damage. Use ONLY as a last resort for non-critical items.
9. Decoding Your Findings: Metric vs. Imperial Clues 🧩
Once you have measurements or a confirmed fit:
-
Metric Bolt (e.g., M6 x 1.0):
-
M= Metric -
6= Major Diameter ≈ 6mm -
x 1.0= Pitch = 1.0mm between threads
-
-
Imperial Bolt (e.g., 1/4"-20 UNC):
-
1/4"= Major Diameter ≈ 0.250" -
-20= Threads Per Inch (TPI) -
UNC= Unified National Code (most common)
-
🔍 Critical Insight:
M6 (≈0.236") IS NOT 1/4" (0.250")!
M8 (≈0.315") IS NOT 5/16" (0.3125")!
They’re close but WILL cross-thread. Your bolt size finder prevents this deadly mix-up.
10. Critical Considerations: Length, Grade & Thread Depth 📏
Size isn’t just diameter and pitch!
-
Length: Measure the hole depth! Your new bolt should be:
-
Long enough to engage fully (rule of thumb: Bolt diameter = min thread engagement).
-
Short enough to avoid bottoming out.
-
-
Grade/Strength (Head Markings): Match strength if possible (e.g., Grade 5, 8, or 10.9). Critical for load-bearing applications.
-
Thread Length: Full-thread vs. partial? Measure a partner bolt or the hole’s unthreaded section.
11. Why Guessing = Disaster (Stripped Threads & Safety Nightmares) ☠️
Forcing a "close enough" bolt isn’t resourceful – it’s reckless:
-
Stripped Threads: Ruins the hole, requiring expensive helicoils or replacement parts.
-
Weak Joints: Undersized bolts snap; oversized bolts stretch threads.
-
Vibration Failure: Improper threads loosen and shake apart.
-
Catastrophic Results: On vehicles or machinery, this risk of injury.
🛡️ Your Best Defense: A bolt size finder provides certainty. The $20 tool saves $200 in repairs.
12. FAQs: Solving the Case of the Phantom Bolt ❓
-
Q: Can I use a thread pitch gauge directly on a threaded hole?
-
A: It’s tricky! Use it on a wax impression (Method 3) or a partner nut. Gauges work best on male threads.
-
-
Q: My threaded hole is worn/damaged. Will a bolt size finder still work?
-
A: Possibly not perfectly. Try the best-fitting post on your checker. If threads are stripped, you may need to repair them before replacing the bolt.
-
-
Q: How critical is bolt length?
-
A: Extremely! Too short = weak joint. Too long = bottoming out (false torque). Measure the hole depth or a partner's bolt.
-
-
Q: Does the HomeDIYer Thread Checker include bolt length info?
-
A: No, it identifies diameter, pitch, and type. Length must be measured separately based on your application.
-
-
Q: What if I can’t find ANY match with my bolt size finder?
-
A: It might be a rare thread (like BSW, BSF, or a special pitch). Consult the machinery manuals or a specialist.
-
13. Conclusion: Never Lose Sleep Over a Missing Bolt Again! 💤
Losing a bolt shouldn’t mean losing your weekend. You’re now equipped with detective skills:
-
Leverage the Nut: Your best witness (Method 1).
-
Capture the Threads: Paper rubbings or wax molds (Methods 2 & 3).
-
Embrace the Bolt Size Finder: The fastest, most reliable path to certainty, especially when the bolt is gone (Method 4).
-
Clone a Partner: When available (Method 5).
-
Measure the Hole (Carefully!): Only in true desperation (Method 6).
🔧 Tired of bolt guesswork crippling your projects?
Get instant answers with the HomeDIYer Nut & Bolt Thread Checker – the ultimate bolt size finder for vanished fasteners. Stop searching. Start building.
Got a tricky missing bolt story? Share your detective wins (or fails!) in the comments below! 👇


Comments
Leave a comment