
Materials List
- Rivet Nut Gun
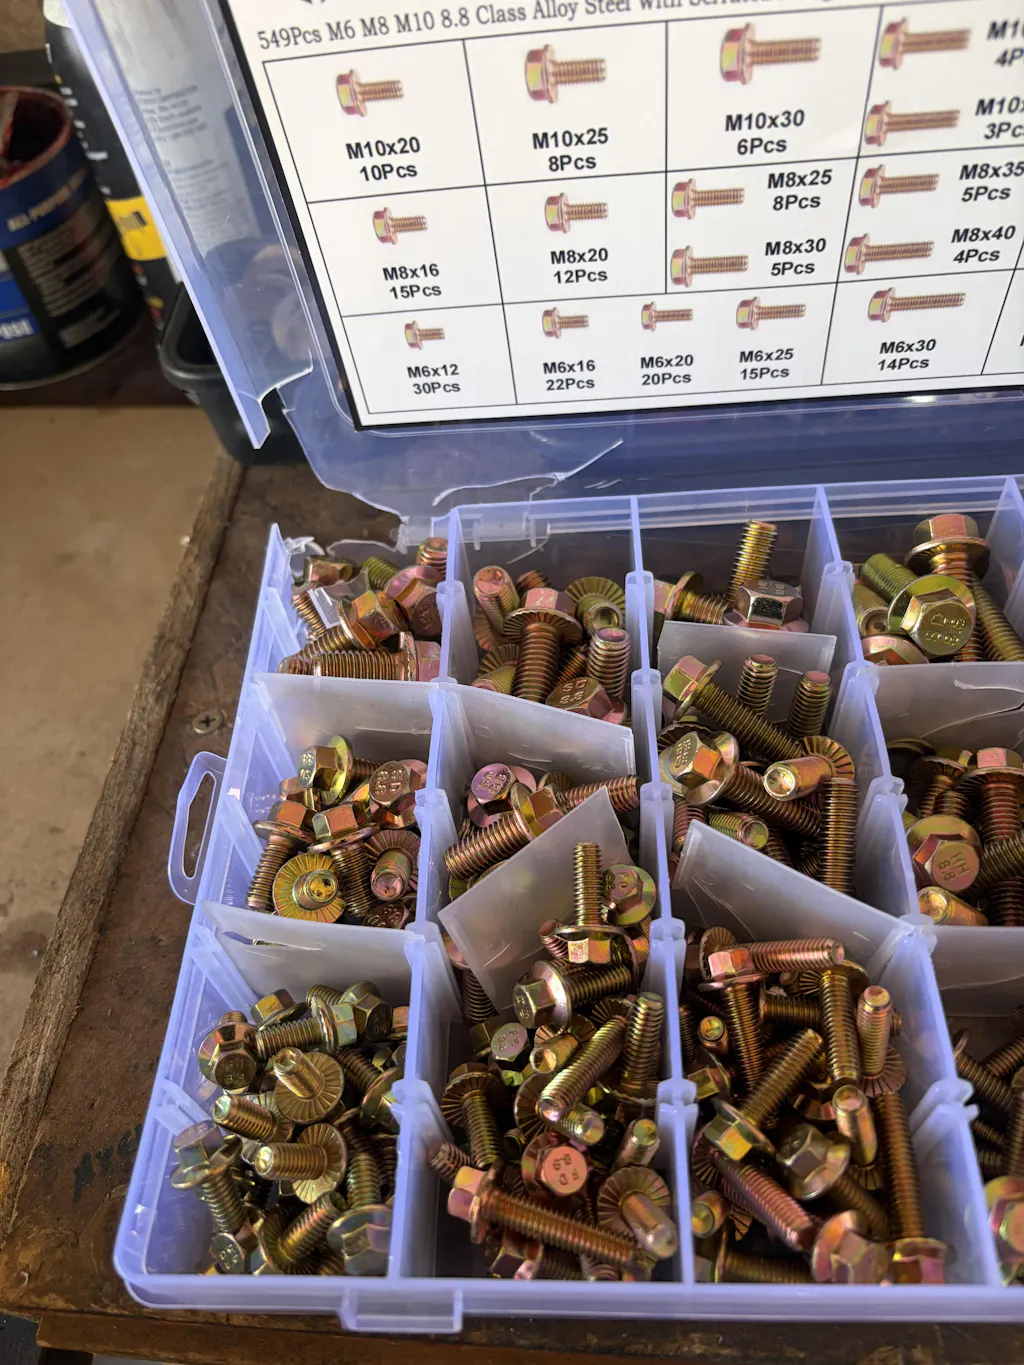
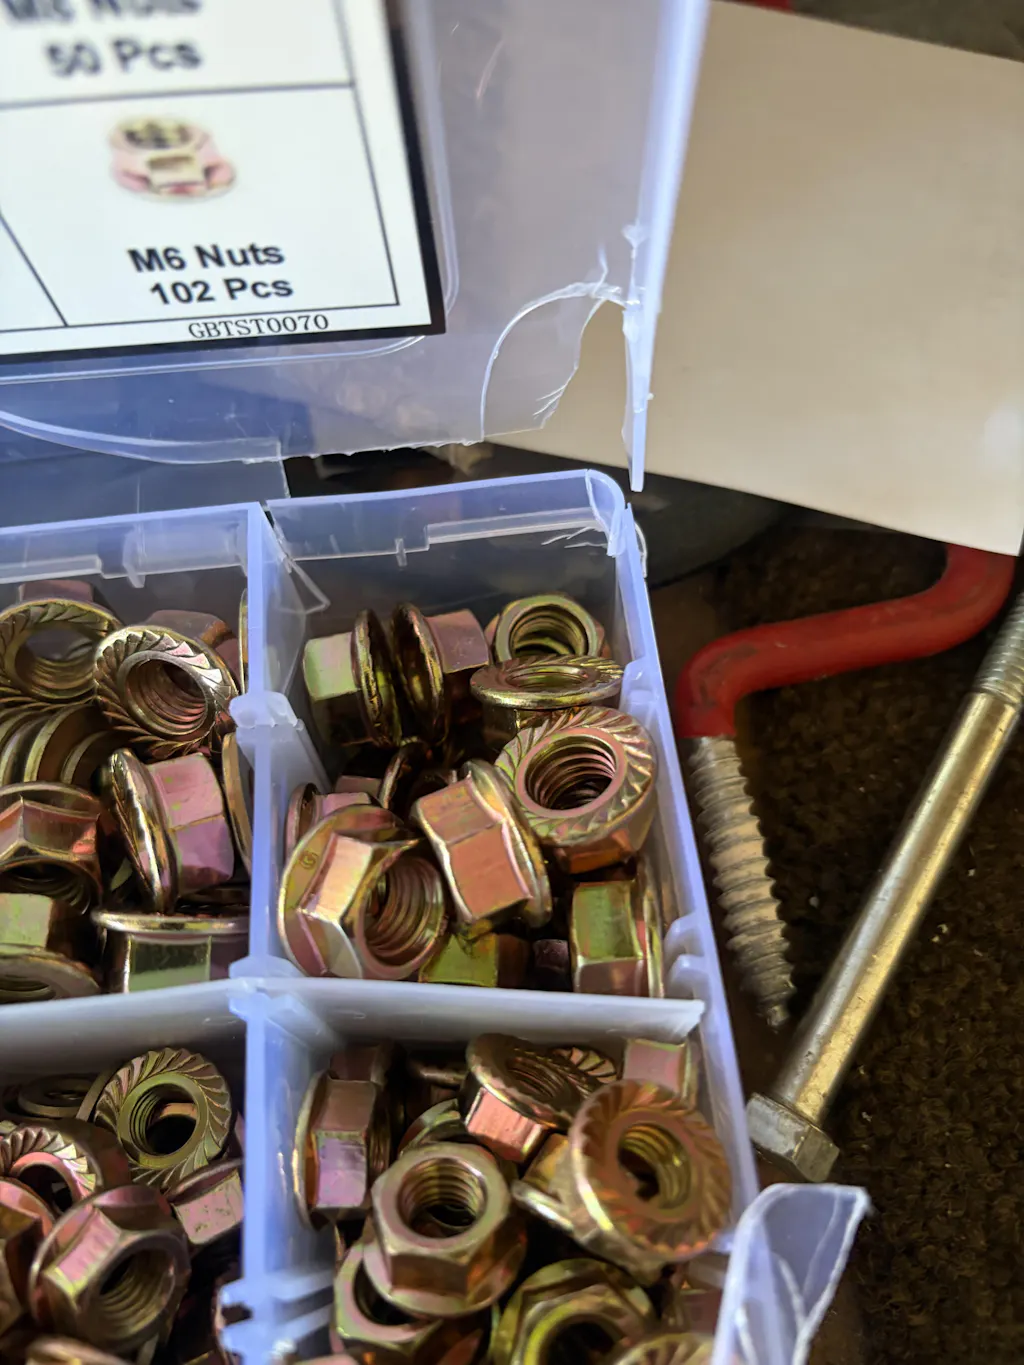
- Rivet Nuts
- Matching Threaded Mandrel and Nosepiece
- Calipers

Step-by-Step Guide
Step 1: Prepare the Surface and Choose Your Hardware
Verify that your installation surface is completely flat to ensure the shoulder of the nutsert sits perfectly flush. Select the bolt size you intend to use for your application, and then pick the corresponding nutsert.
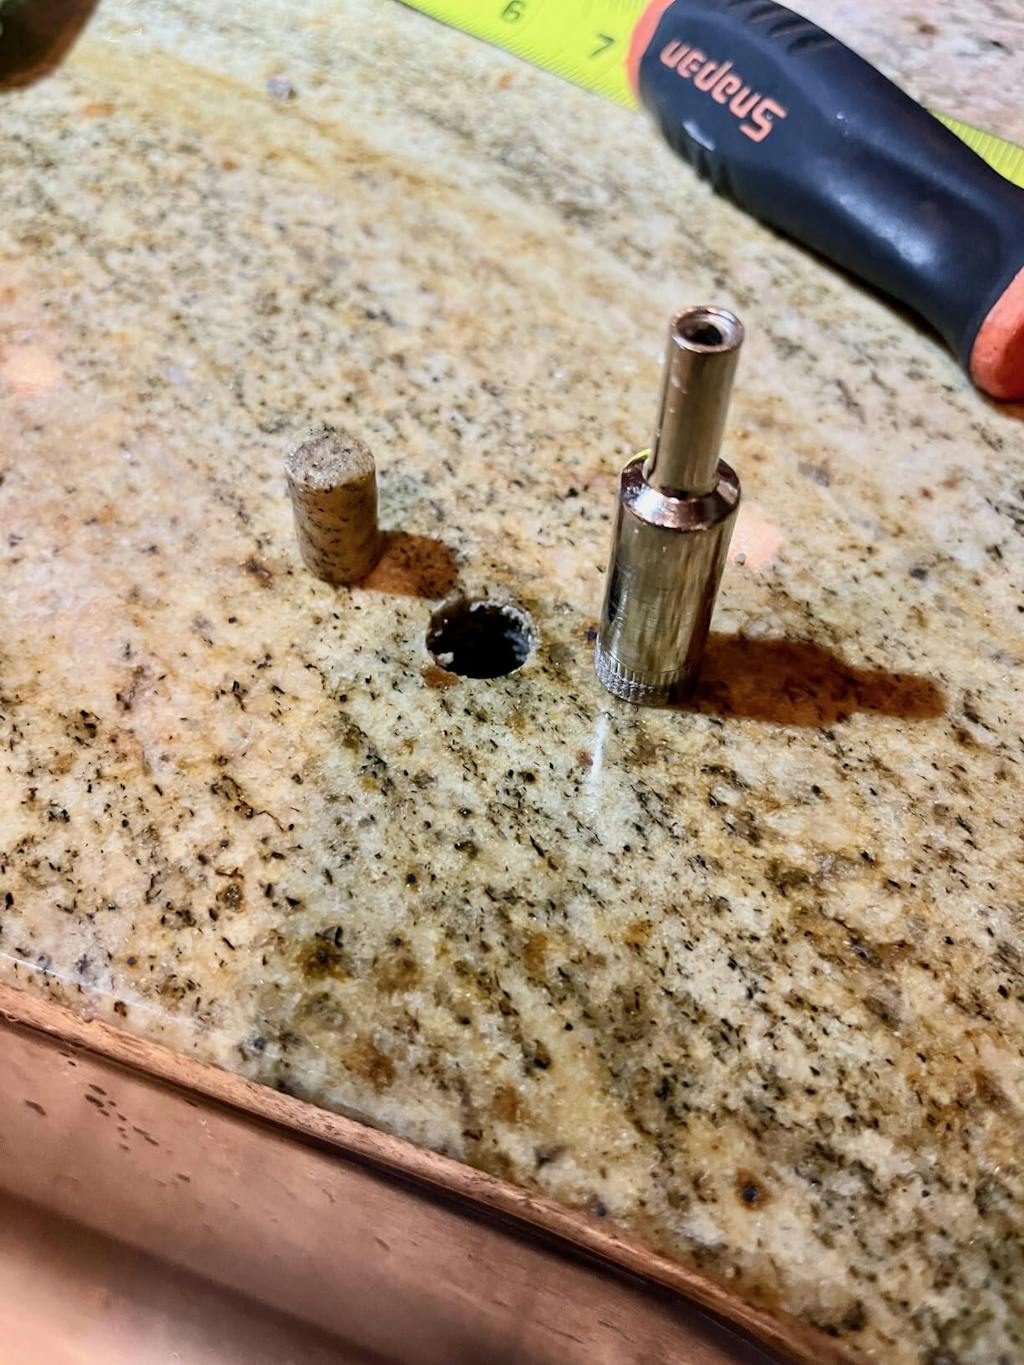
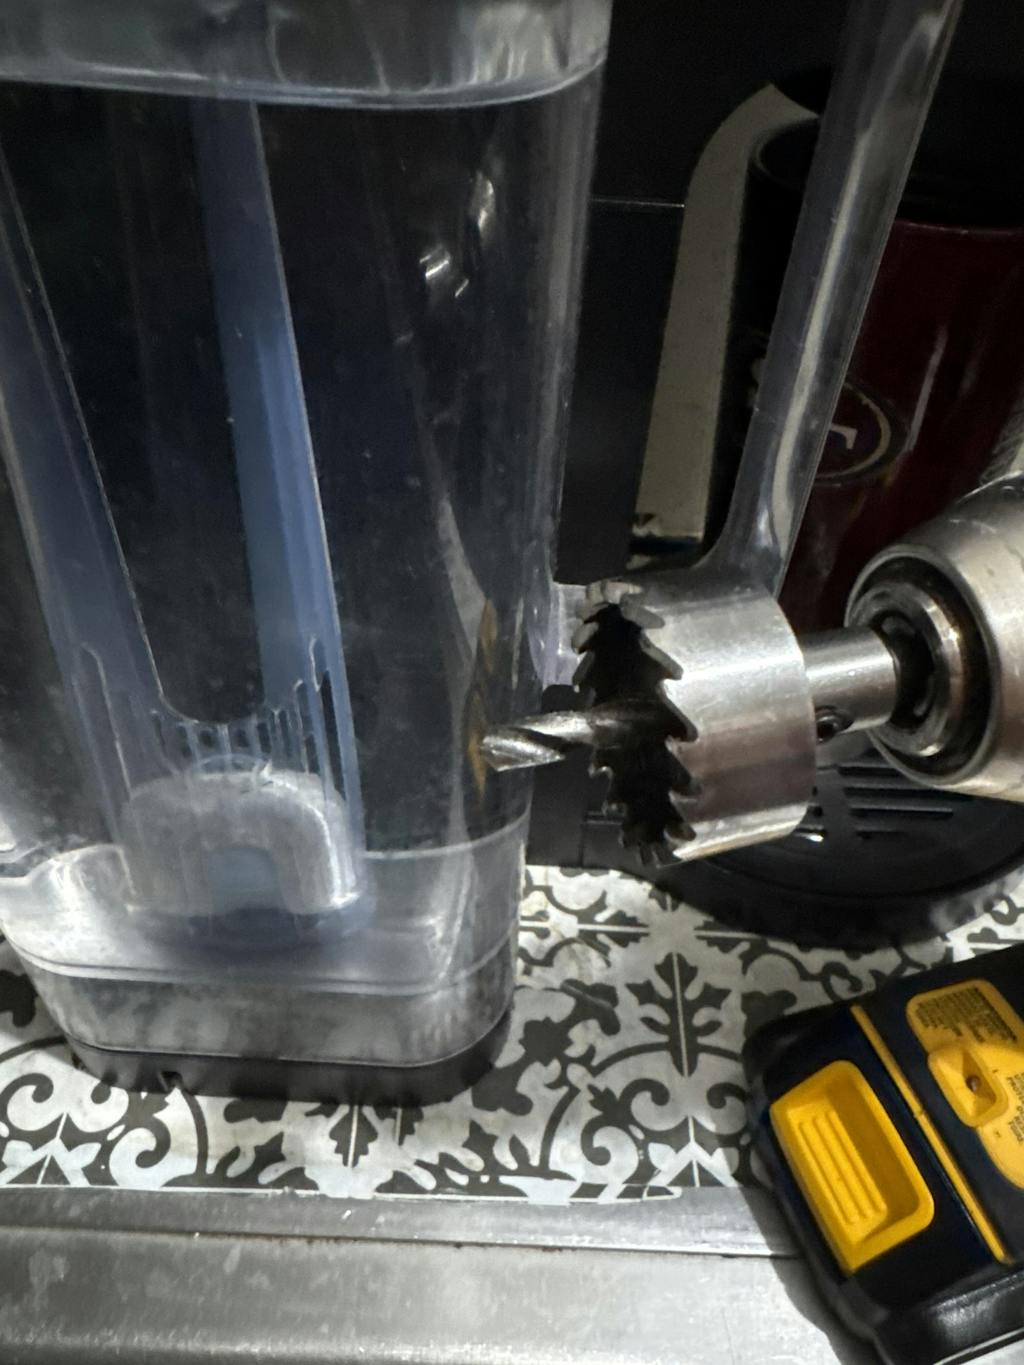
Step 2: Drill the Perfect Hole
Measure the outside diameter of the nutsert body just below its top shoulder. Drill a hole into your flat surface matching this exact dimension, ensuring there is a snug fit with minimal play.
Step 3: Set Up the Rivet Nut Gun
Install the correct size mandrel and locking nosepiece into your tool. Open the handles of the rivet nut gun completely to extend the mandrel shaft fully.
Step 4: Thread the Nutsert onto the Mandrel
Screw your chosen nutsert entirely onto the tool's mandrel until it sits tight against the locking nosepiece.
Step 5: Compress and Secure
Insert the nutsert into your pre-drilled hole, pressing firmly to keep the tool perpendicular and flush against the surface. Firmly squeeze the long handles together to crush the collapsible section of the nutsert, locking it securely onto the material.
Step 6: Disengage the Tool
Use the spin knob at the rear of the tool to unthread the mandrel cleanly out of your newly installed insert. Your permanent, flush-mounted threaded hole is now ready for a bolt.
Ready to upgrade your fabrication skills? Try installing your first nutsert on your next workshop project and share your results with us!