
Materials List
- Hand Drill
- Drill Bits
- Battery Pack
- Cleaning/Waxing Attachments
Instructions
Understand the Variable Speed Trigger
The trigger is your accelerator. The deeper you press it, the faster the drill spins. Start with a light touch to ensure your screw is seated straight before applying full speed.
Set the Directional Switch
Press the right side for clockwise (driving screws in) and the left side for counter-clockwise (removing screws). Keep the switch in the center "neutral" position when the tool is not in use to prevent accidental activation.
Choose the Right Speed Gear
Gear 1 provides high torque at lower speeds (best for driving screws). Gear 2 provides higher speeds (best for drilling holes).
Adjust the Torque Settings
The numbered dial at the front controls the "twisting power." Use lower settings (1–4) for small screws or delicate materials. For hardwood, start low and increase the number until the screw head sits flush.
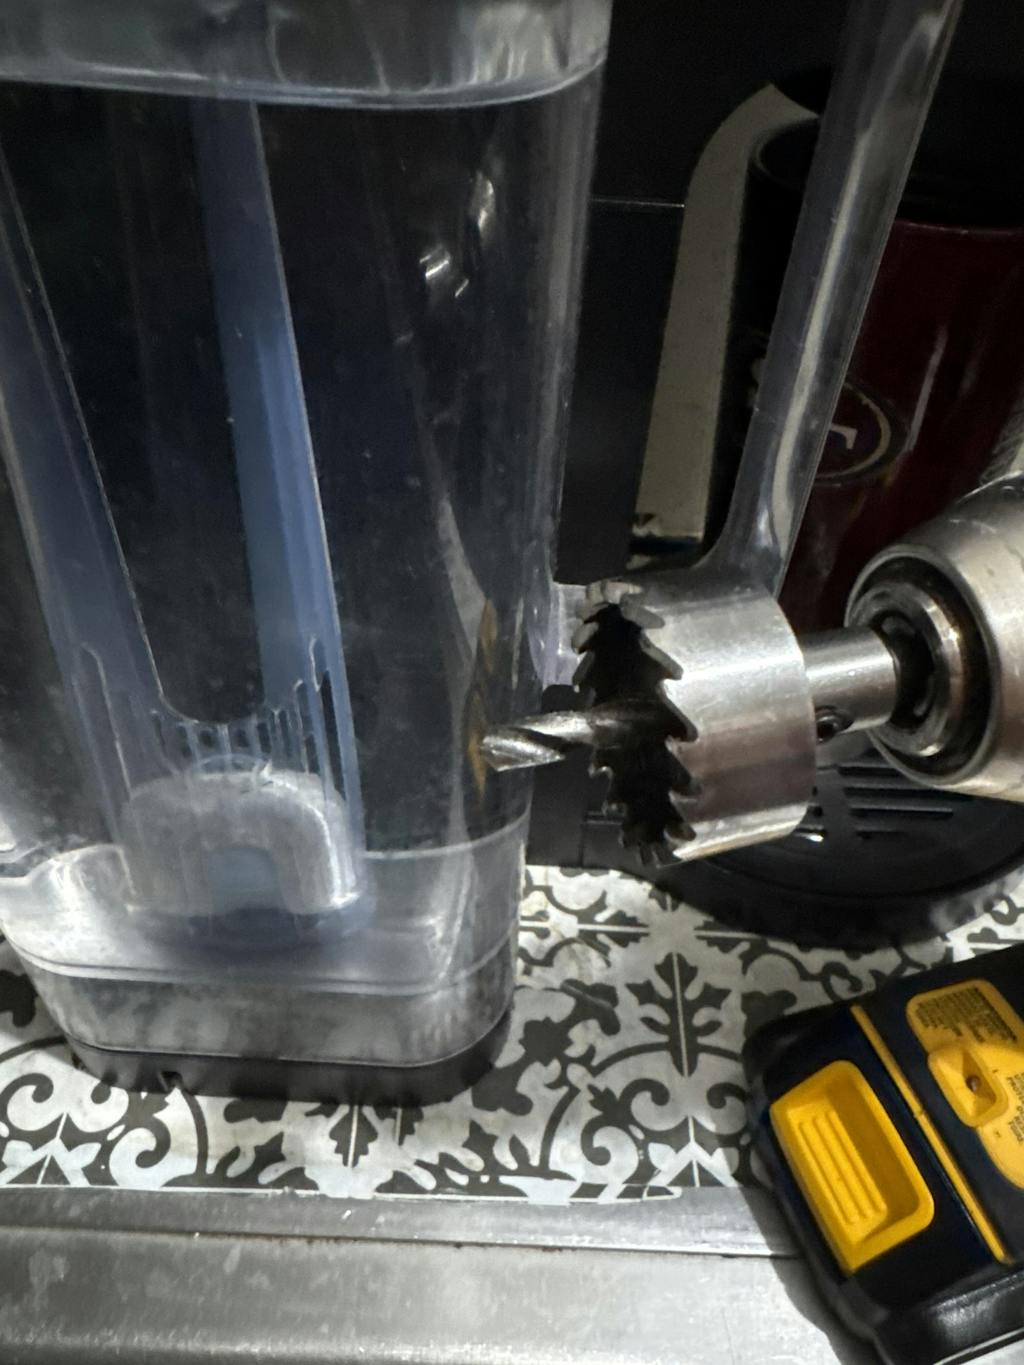
Installing and Swapping Bits
Hold the chuck (the nose of the drill) firmly and run the drill in reverse to open the jaws. Insert your bit, then run the drill forward to tighten it.
Use Attachments for Household Tasks
Beyond construction, you can attach brushes to scrub stains or pads to wax furniture. This significantly reduces the physical effort required for deep cleaning.
A hand drill is the ultimate shortcut for any home enthusiast. Once you master these basic functions, you can move from simple repairs to full furniture makeovers with confidence. Give it a try on your next weekend project!