The Essential Guide to Tapping Screws: How to Use Them for DIY Repairs
Whether you're repairing household fixtures, assembling furniture, or working on small home improvement projects, tapping screws are an indispensable fastener. These screws create their own threads as they are driven into materials, making them a go-to solution for quick and reliable DIY fixes. In this guide, we’ll explore what makes tapping screws unique, their best applications, and tips for using them effectively.
What Are Tapping Screws?
A tapping screw is a self-threading fastener that cuts its own path into the material it is securing. Unlike standard screws that require pre-threaded holes, tapping screws eliminate the need for extra preparation, making them ideal for quick repairs in metal, plastic, and wood.
Why Use Tapping Screws for DIY Repairs?
For DIY enthusiasts and home repair professionals, tapping screws offer several advantages:
1. No Pre-Drilling Required
One of the biggest benefits of tapping screws is their ability to create threads directly into the material, eliminating the need for pre-drilled holes in many cases.
2. Secure and Long-Lasting Hold
Because they cut into the surface, tapping screws provide a tight grip that resists loosening, making them perfect for high-vibration applications.
3. Versatile Applications
From fixing loose cabinet hinges to securing metal brackets, tapping screws can be used across a variety of home repair projects.
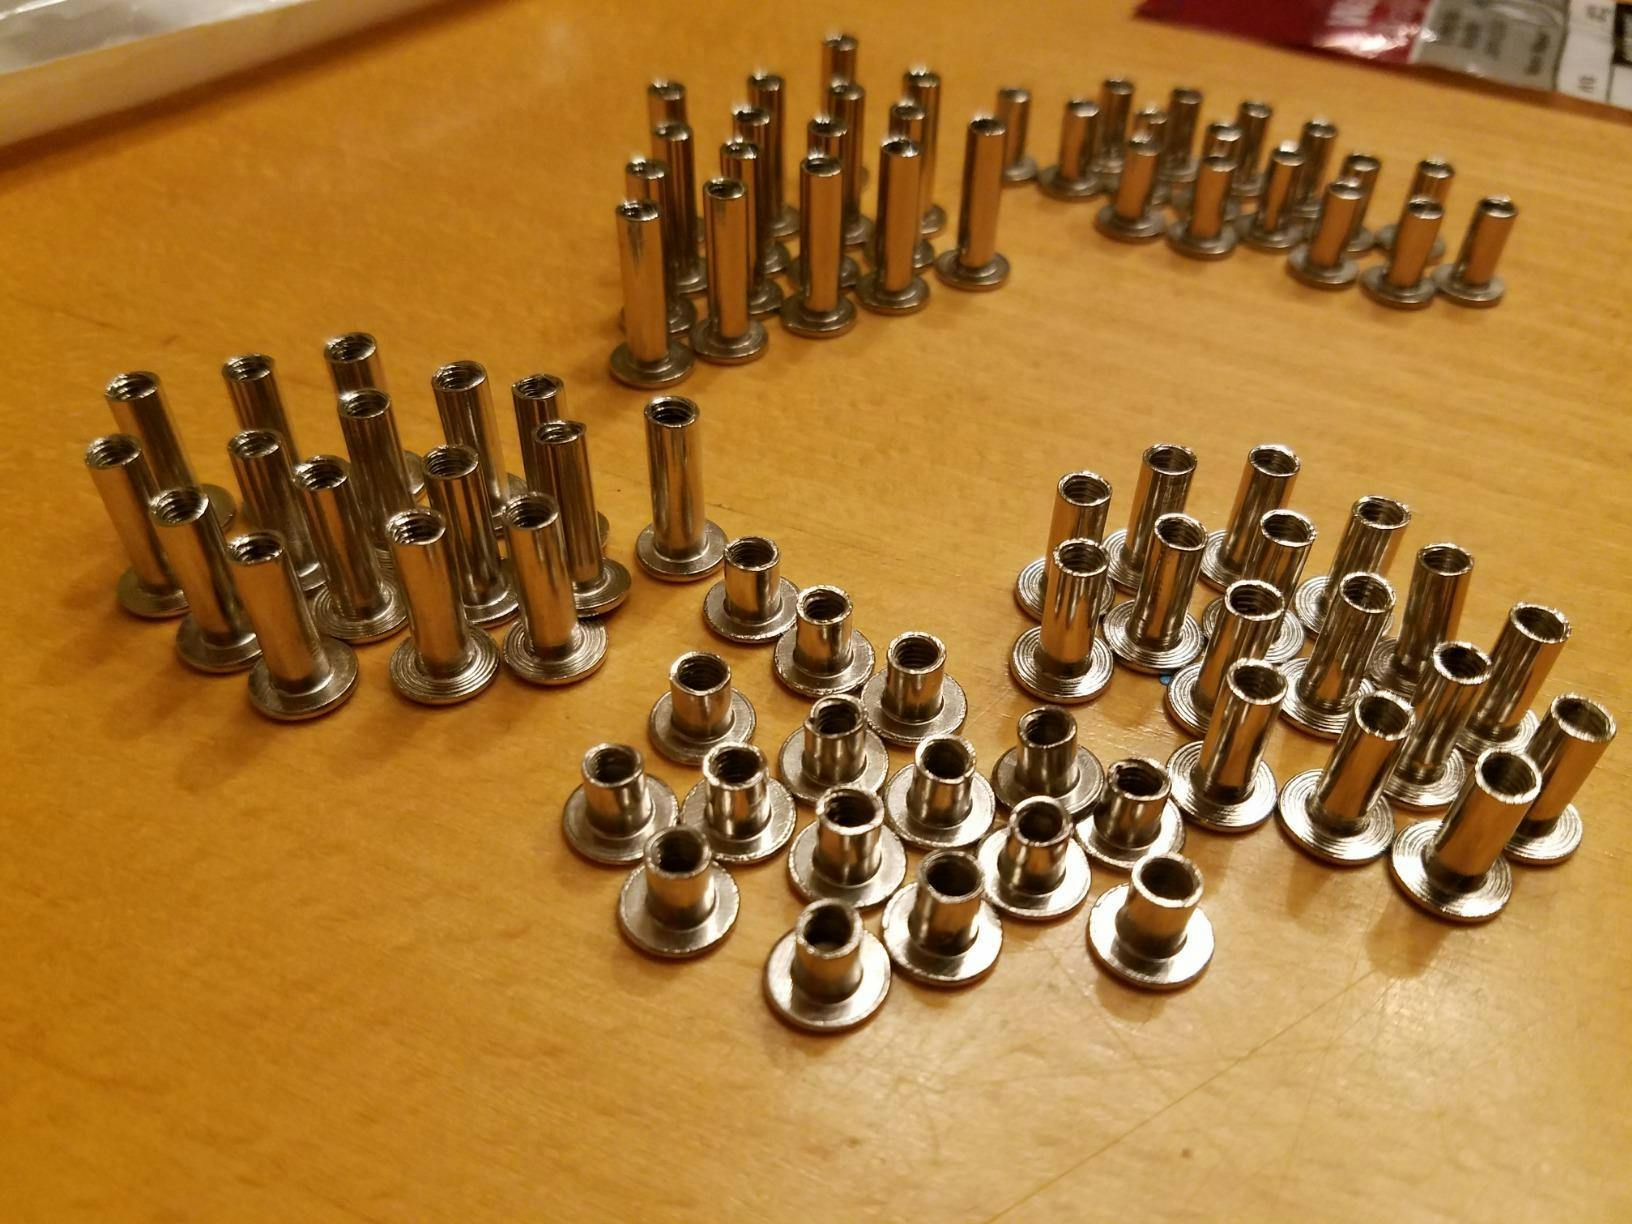
Types of Tapping Screws for DIY Repairs
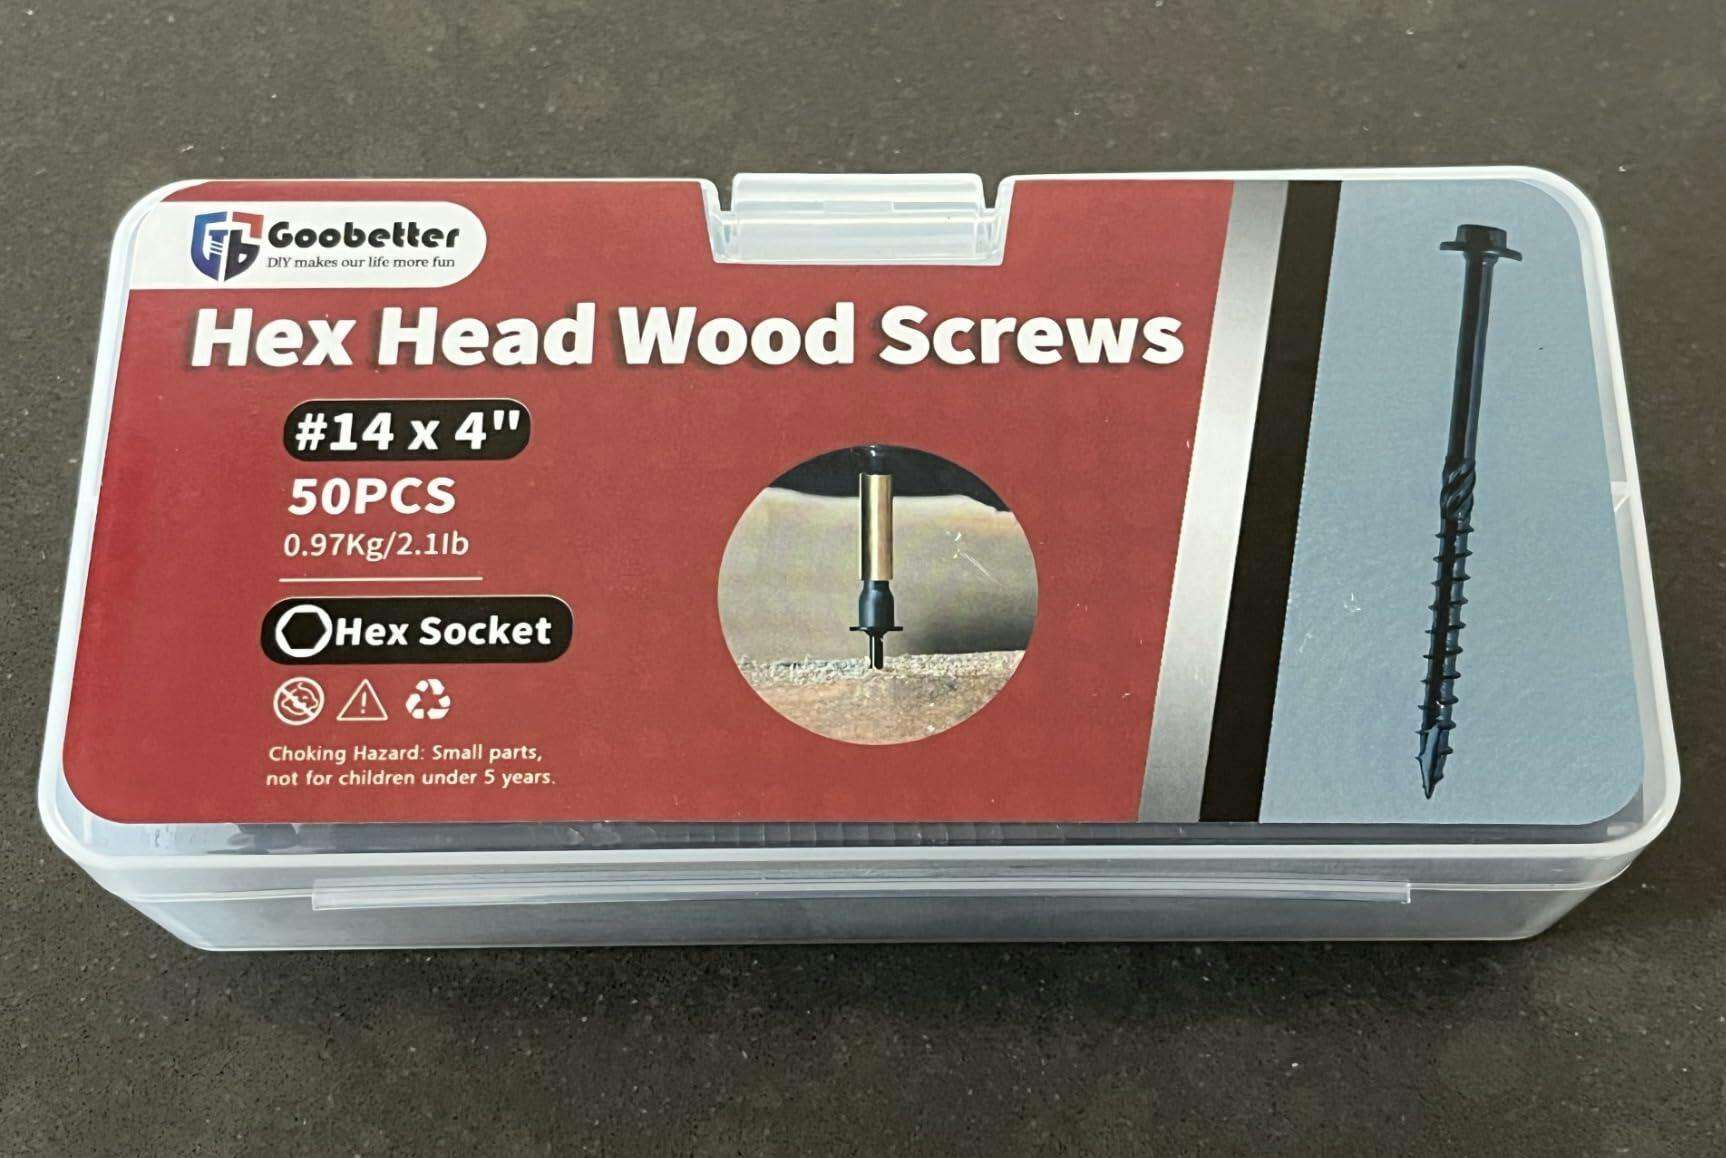
Thread-Cutting Tapping Screws
Best for: Harder materials like metal and hardwood.
Feature: Cuts and removes material as it threads.
Common Use: Attaching metal components, securing brackets.
Thread-Forming Tapping Screws
Best for: Plastic and softwoods.
Feature: Presses material aside to create threads rather than cutting.
Common Use: Electrical enclosures, lightweight plastic fixtures.
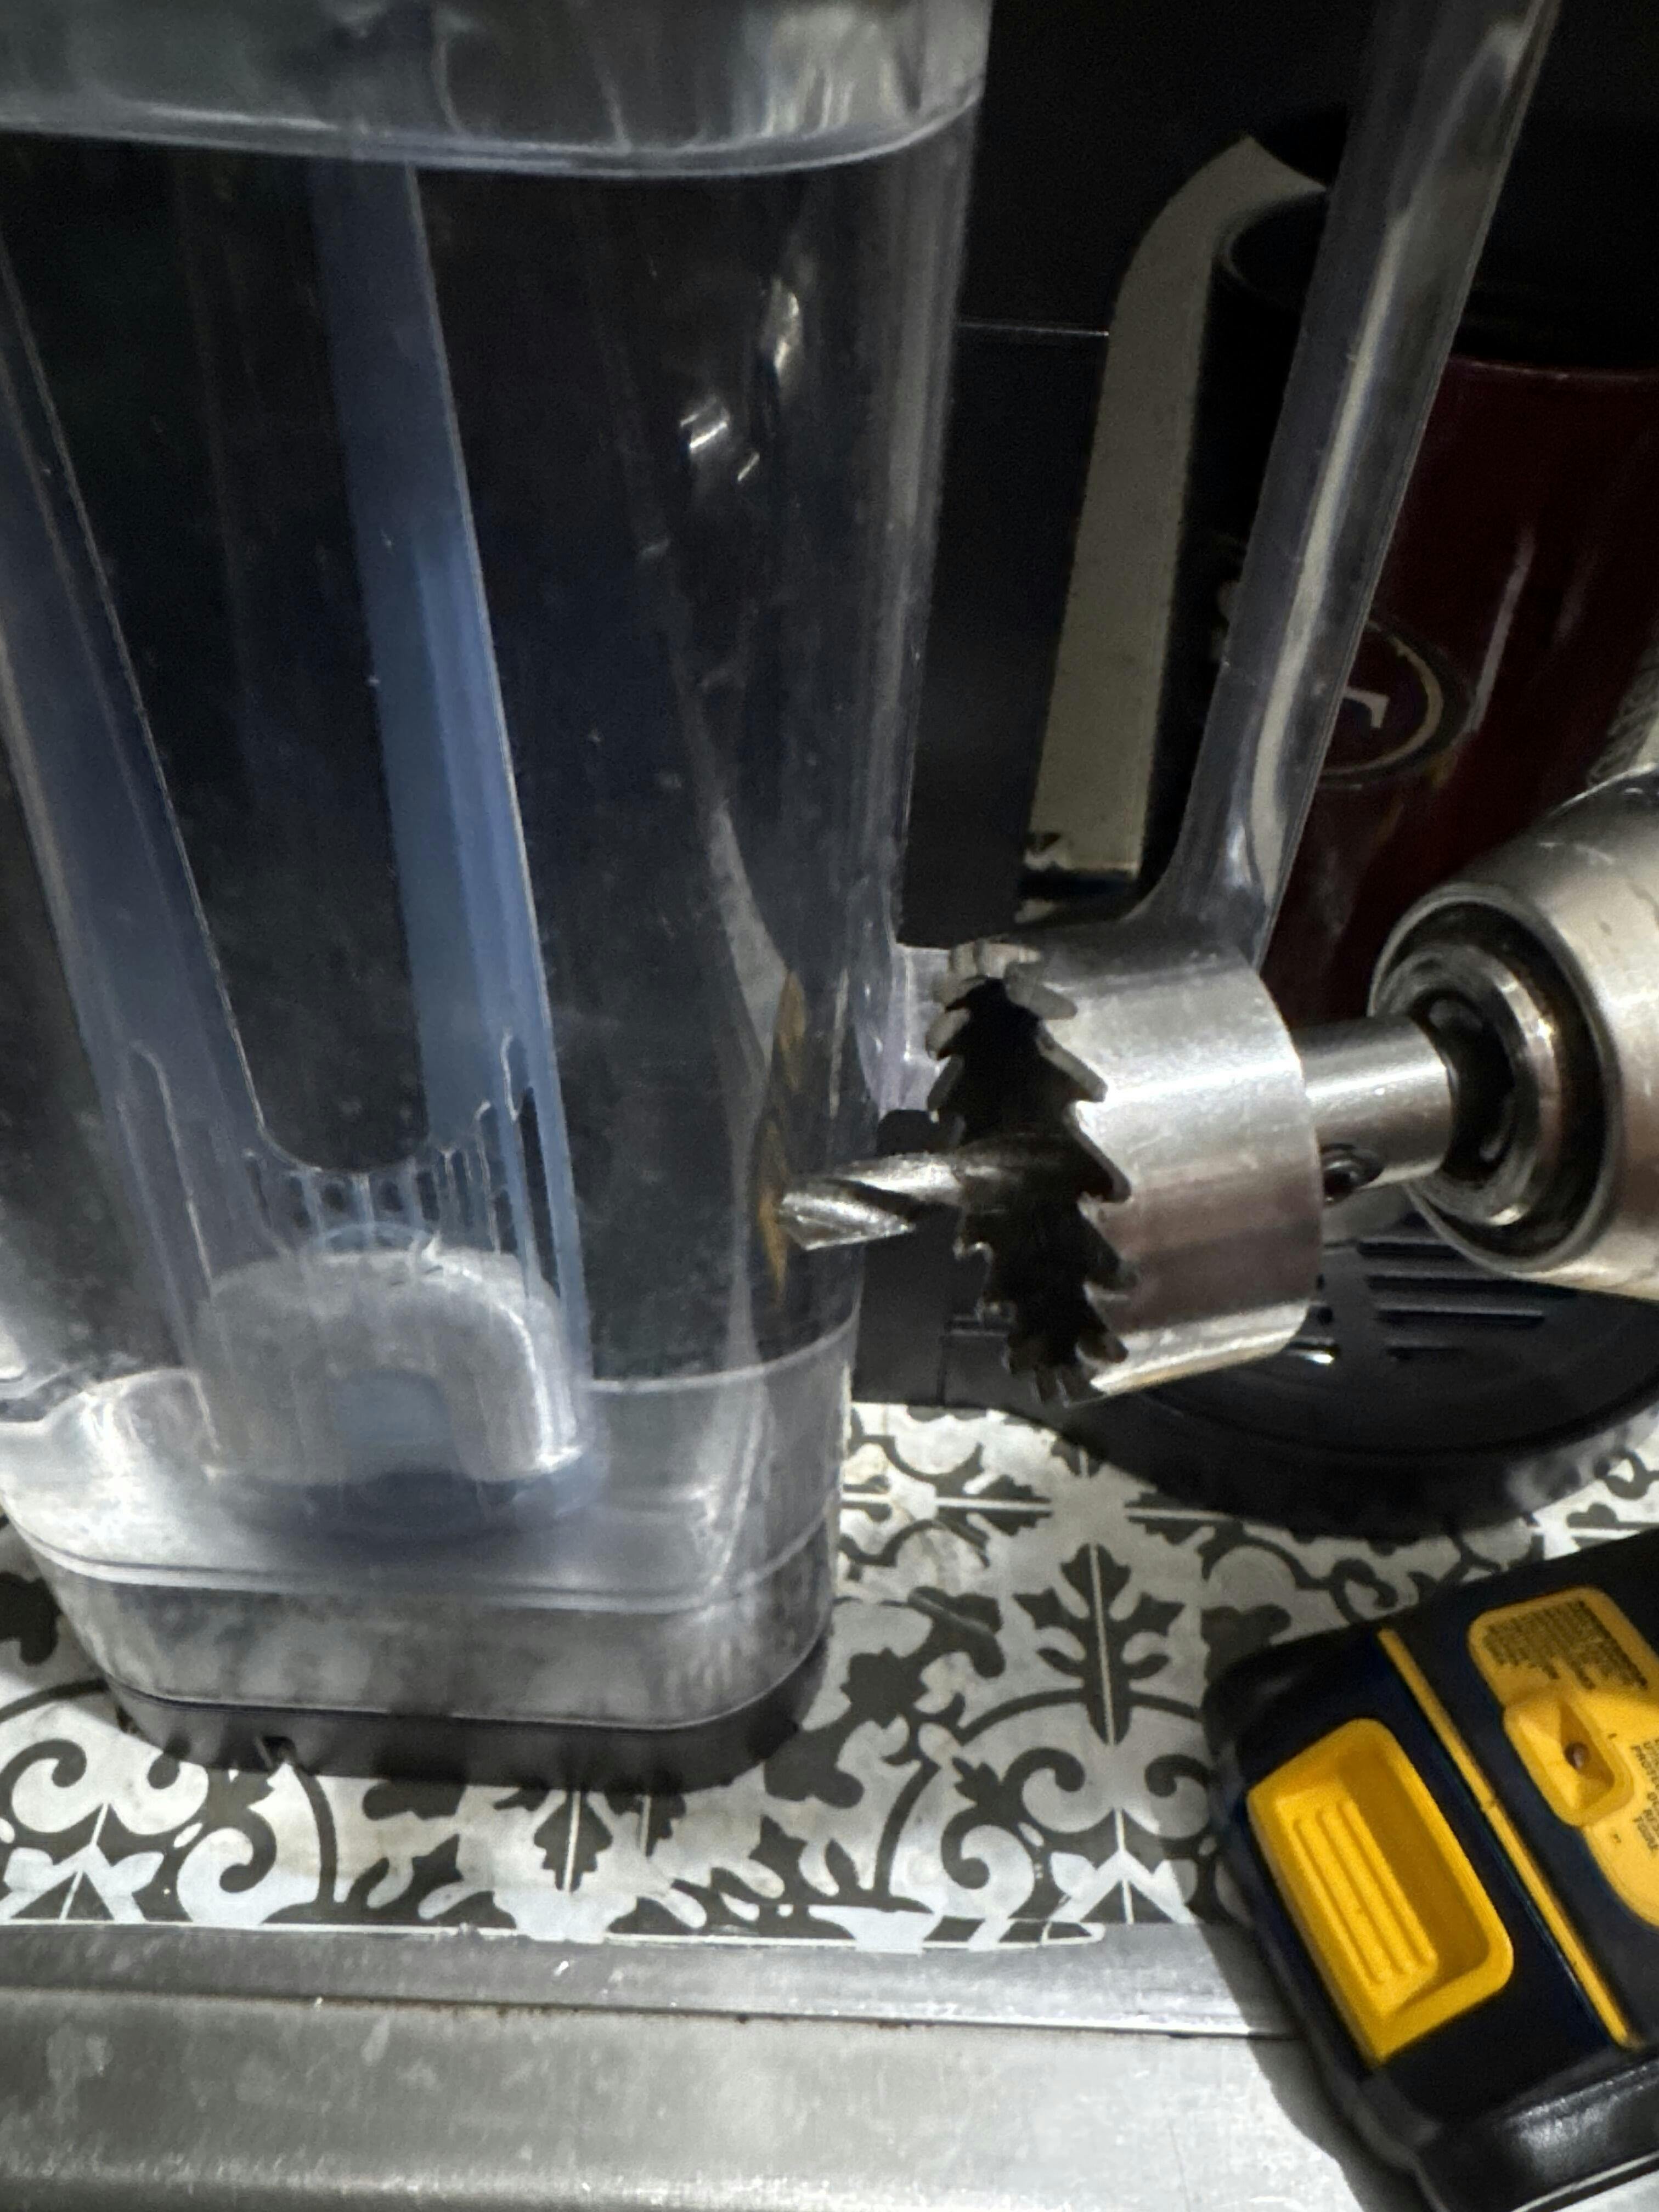
Self-Drilling Tapping Screws
Best for: Metal-to-metal applications.
Feature: Built-in drill point for easy penetration.
Common Use: HVAC ductwork, metal roofing.
How to Use Tapping Screws Correctly
Step 1: Select the Right Screw Type
Determine the material you are fastening and choose a screw that offers the best grip and longevity.
Step 2: Align the Screw Properly
Hold the screw at the correct angle before inserting to ensure a straight and secure installation.
Step 3: Apply Steady Pressure
Drive the screw in using a manual screwdriver or power drill with even pressure to avoid stripping.
Step 4: Avoid Over-Tightening
Stop tightening once the screw is flush with the surface to prevent damage.
Common Issues and How to Fix Them
Stripped Threads
If a tapping screw loses grip, switch to a slightly larger screw or use a thread repair insert.
Cracked Plastic Components
For delicate materials, use a lower torque setting on your drill or pre-drill a small pilot hole.
Loose Fastening Over Time
Use thread-locking adhesive for applications subject to vibration or movement.
Final Thoughts
Tapping screws are a powerful tool for DIY repairs, offering strength and convenience in a wide range of applications. Whether you're fixing loose furniture, installing brackets, or assembling appliances, having a reliable set of tapping screws in your toolkit can make all the difference.