

How to Use a Screw Extractor Bit: A Step-by-Step Guide to Salvaging Any Project
Quick Navigation
Has a stripped, stuck, or broken screw ever brought your DIY project or repair to a grinding halt? Don't let a tiny piece of metal defeat you. This comprehensive guide is dedicated to mastering one of the most valuable tools in a troubleshooter's arsenal: the screw extractor bit. We will walk you through a foolproof, step-by-step process for using this ingenious tool, cover essential preparation and safety tips, and provide specific advice for tackling tough materials like stainless steel. By the end of this article, you'll have the confidence to remove virtually any problematic fastener and save your work from disaster.
What is a Screw Extractor Bit and When Do You Need One?
A screw extractor bit (commonly known as an easy out tool) is a specialized drill bit designed to remove screws whose heads are damaged. This can happen from over-tightening, using the wrong driver, corrosion, or the screw simply breaking off. Unlike a standard drill bit that cuts into material, an extractor bit bites into the damaged screw itself and turns it counter-clockwise to back it out.
You need this tool when:
- The Phillips or slotted head is "stripped" and the driver spins freely.
- A Torx or Allen head screw is rounded out.
- The screw head has snapped off completely, leaving the shaft embedded in the material.
- A screw is seized due to rust or corrosion and cannot be turned normally.
Having a quality screw extractor tool set in your toolbox is a game-changer for any serious DIY enthusiast. Check out our selection of essential hand tools and kits to get properly equipped.
Essential Tools and Safety Gear
Gathering the right tools before you start is 80% of the battle. Rushing in unprepared can make the situation worse.
Tools You'll Need:
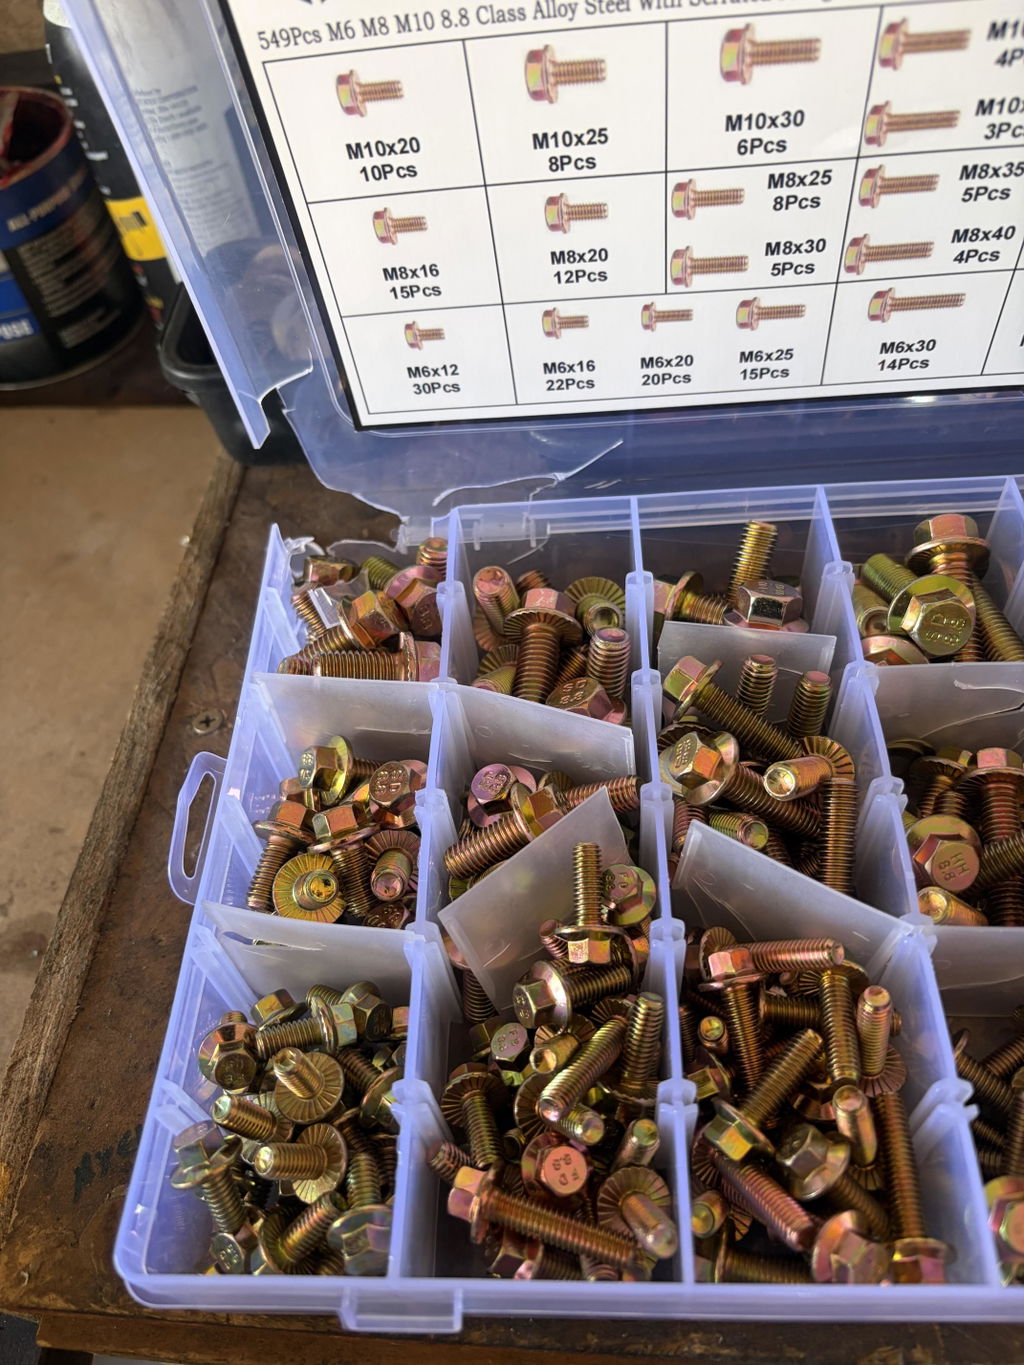
- Screw Extractor Bit Set: Sets come in various sizes to match different screw diameters.
- Power Drill/Driver: A reversible drill is mandatory.
- Drill Bits: High-speed steel (HSS) or cobalt bits for creating a pilot hole.
- Center Punch & Hammer: To create a starting dimple for drilling.
- Safety Glasses: Non-negotiable. Metal shavings will fly.
- Work Gloves: To protect your hands.
- Penetrating Oil (e.g., WD-40, Liquid Wrench): Crucial for loosening rusted screws.
Pro Tip: Ensure your tools are in good condition. A dull drill bit or a worn-out screw extractor bit will lead to frustration.
| Tool | Purpose | Why It's Critical |
|---|---|---|
| Center Punch | Creates a guide dimple | Prevents the drill bit from "walking" off the screw. |
| Correct Drill Bit | Drills pilot hole | Must be smaller than the screw's shaft. Accuracy is key. |
| Penetrating Oil | Loosens corrosion | Applied and given time to work, it can make extraction effortless. |
| Safety Glasses | Eye Protection | Shields from metal debris and broken tool fragments. |
Step-by-Step Guide: How to Use a Screw Extractor Bit
Follow these steps methodically for the highest chance of success.
Step 1: Preparation and Application of Penetrating Fluid
Clean the area around the screw. If the screw is rusted or seized, generously apply penetrating oil to the threads. Allow it to soak for at least 15-30 minutes—overnight for severe cases. This step can often make the difference between easy success and a broken extractor.
Step 2: Creating a Pilot Hole
Use the center punch and hammer to make a solid indent in the exact center of the broken screw shaft. This is your guide. Select a drill bit that is slightly smaller than the shaft of the screw (refer to your extractor set's guide). Important: You are drilling into the screw, not the surrounding material. Drill slowly and steadily to a depth of about 1/4 to 3/8 inch. The hole must be centered and straight.

Step 3: Inserting and Turning the Extractor Bit
Switch your drill to reverse (counter-clockwise) mode. Select the screw extractor bit size that matches your pilot hole and screw. Insert the tapered, fluted end into the hole you drilled. Apply firm, steady pressure while running the drill at a low to medium speed. The extractor's reverse threads will bite into the walls of the pilot hole and grip the screw. As it engages, it will begin to rotate the screw out of the material.
Step 4: Removing the Extracted Screw
Once the screw starts to turn, you can often continue with the drill at low speed. For more delicate work, or if the screw is almost out, switch to a manual tap wrench or locking pliers on the extractor shank for finer control. Carefully back the screw all the way out.

Special Considerations: The Best Way to Use a Screw Extractor Bit on Stainless Steel
Stainless steel screws are notorious for "galling" – where the material cold-welds and seizes. The best way to use a screw extractor bit on stainless steel requires extra caution:
- Go Slow and Use Cutting Oil: Heat is the enemy. Drill your pilot hole at a very low speed and use a cutting oil (not just penetrating oil) to lubricate and cool the bit. Cobalt drill bits are highly recommended.
- Avoid Excessive Force: Let the sharp drill bit and extractor do the work. Forcing it can cause the hardened stainless steel to snap your tools.
- Consider Left-Handed Drill Bits: As a pre-emptive measure, you can start with a left-handed (reverse) drill bit. Often, the friction and reverse action alone will back the screw out before you even need the extractor.
For more advanced techniques on handling tough materials, browse our DIY tips and project guides.
Common Mistakes to Avoid
- Skipping the Center Punch: This leads to an off-center hole and a failed extraction.
- Using the Wrong Size Drill Bit: Too large, and you destroy the screw threads; too small, and the extractor won't grip.
- Drilling Too Deep: You only need enough depth for the extractor to bite. Drilling past the screw damages the base material.
- Using High Speed: This generates heat, dulls bits, and can harden metals.
- Not Using Enough Force: The easy out tool requires firm downward pressure to engage its threads properly.
Ready to Tackle Your Next DIY Challenge?
Equip yourself with the right tools and knowledge. Explore more guides, find the perfect tools for your project, and join our community of makers.
Browse Premium DIY Tools NowFrequently Asked Questions (FAQ)
What is a screw extractor bit, and how does it work?
A screw extractor bit is a special tool designed to remove screws with damaged heads. It has reverse threads that bite into a pre-drilled hole in the broken screw. When turned counter-clockwise, it grips the screw and backs it out.
What's the best way to use a screw extractor bit on stainless steel?
The key is to prevent heat buildup. Use a sharp cobalt drill bit, apply cutting oil, and drill your pilot hole at a very slow speed. Let the tool do the work without excessive force to avoid breaking the extractor in the hardened steel.
Can I use this tool for any DIY project?
Absolutely! Screw extractors are invaluable for a wide range of DIY and home renovation projects, from fixing stripped screws in furniture and decking to automotive repairs and appliance maintenance. It's a must-have for any well-equipped toolbox.
Why should I buy tools from Home DIYer?
At Home DIYer, we focus on quality products that deliver. Our tools are selected for durability and performance. Customers love the perfect packaging, and our custom tool options allow for uploading high-resolution images for perfect print results. Our website experience is smooth, and our customer service team provides timely communication. We offer fast production (1-2 business days) and reliable shipping (3-7 business days), ensuring your packaging arrives perfectly.
Are screw extractor bits and "easy out" tools the same thing?
Yes, "Easy-Out" is a popular brand name that has become a generic term for a screw extractor tool. They function identically.
Connect with us for more DIY tips: Facebook | Twitter | Instagram | YouTube


Comments
Leave a comment