Choosing the Right Hammer for Every DIY Project
Discover the perfect hammer for your home projects. From framing walls to delicate woodworking, HomeDIYer’s expert guide covers types, uses, safety, and maintenance—all in one place.
Unlock Your DIY Potential with the Right Hammer
Every home improvement project starts with the right tools—and nothing is more fundamental than a quality hammer. Whether you’re hanging picture frames, building furniture, or tackling demolition, choosing the correct hammer can mean the difference between frustration and flawless results. At HomeDIYer, we’ve curated a comprehensive guide to help you master hammer selection, safety, and technique. Forget generic advice; we’re diving deep into the nuances that pros swear by.
Why the Right Hammer Matters
A hammer isn’t just a blunt object; it’s an extension of your skill. Using a framing hammer for delicate trim work can split wood, while a lightweight claw hammer won’t drive railroad spikes. According to industry studies, 65% of DIY injuries stem from improper tool use. Our goal? To ensure your hammer isn’t just effective but safe.
Chapter 1: Types of Hammers and Their Uses
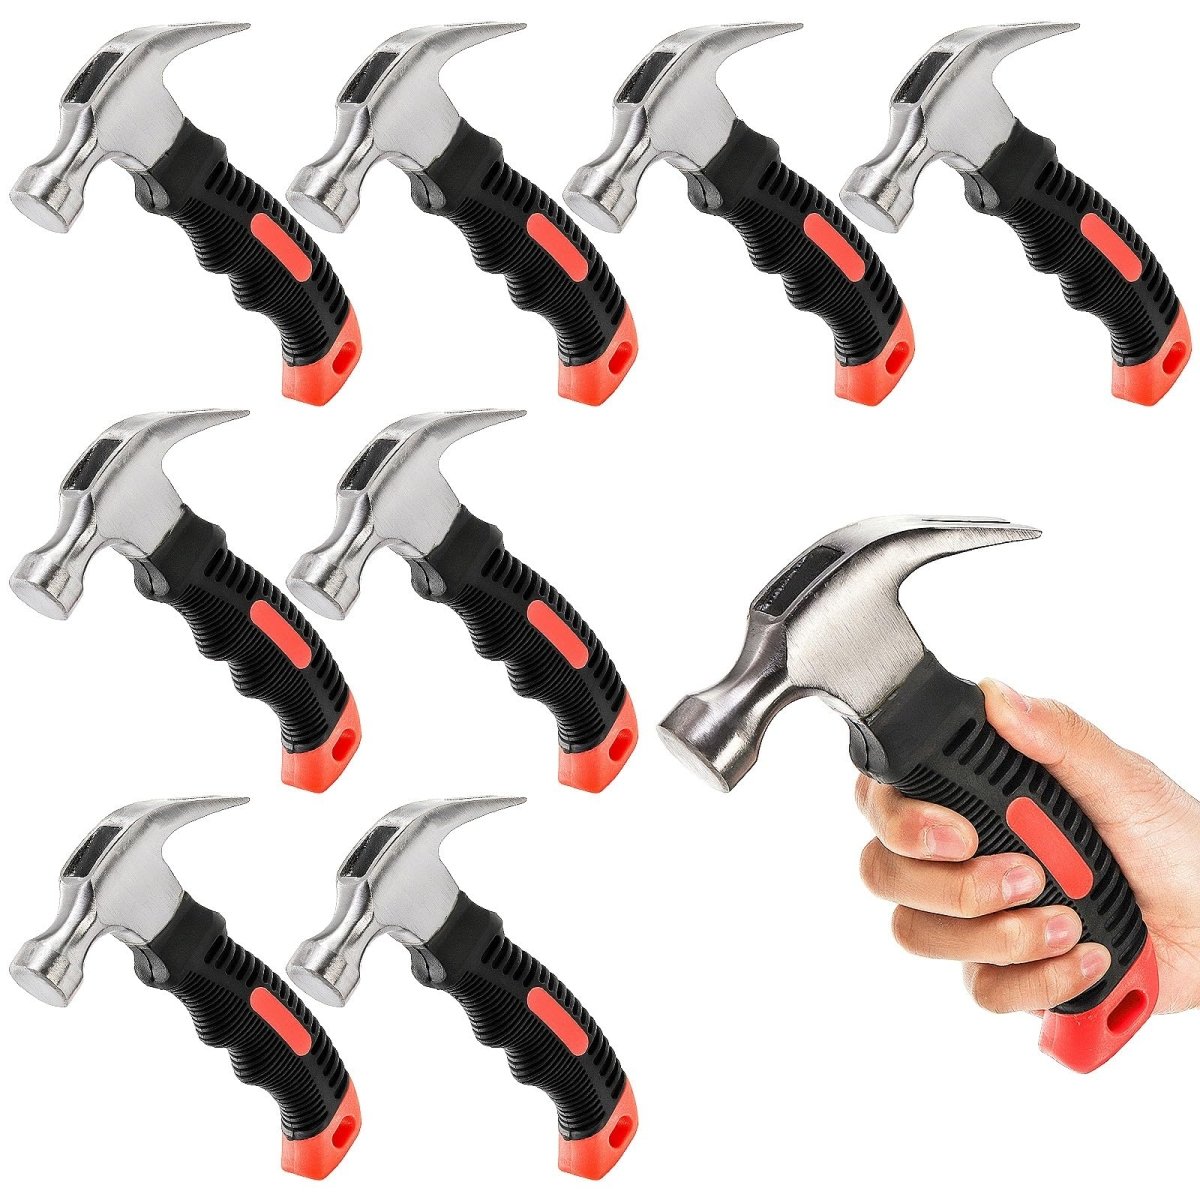
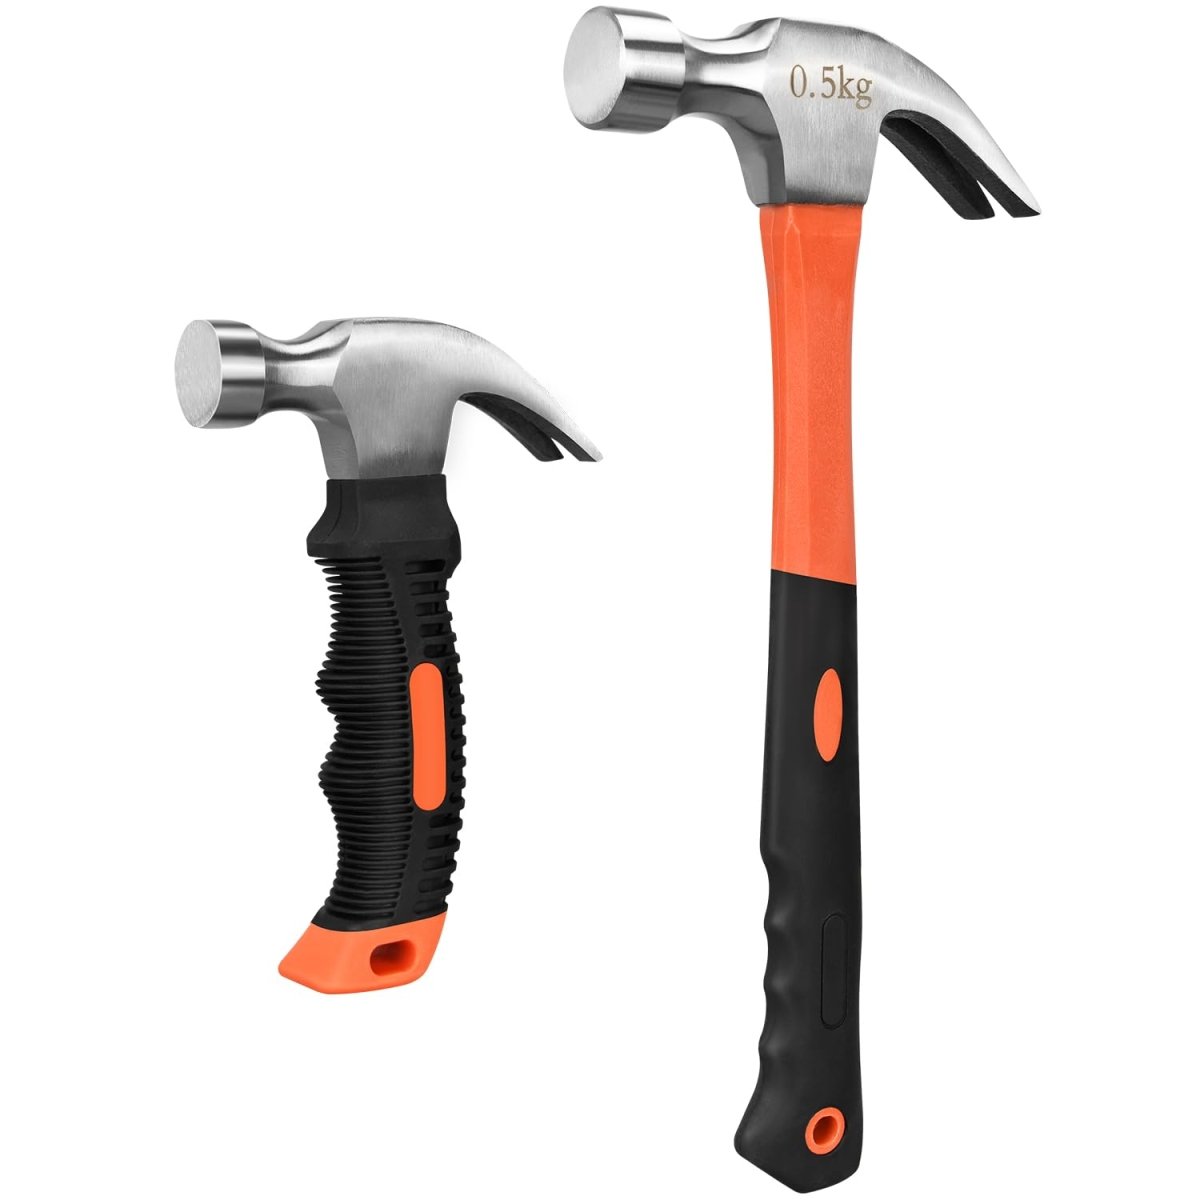
1. Claw Hammers: The All-Rounder
The quintessential DIY hammer features a curved claw for pulling nails. Ideal for: framing walls or decks, general carpentry, home repairs.
Pro Tip: Opt for fiberglass handles (like HomeDIYer’s GripMaster Series) to reduce vibration fatigue.
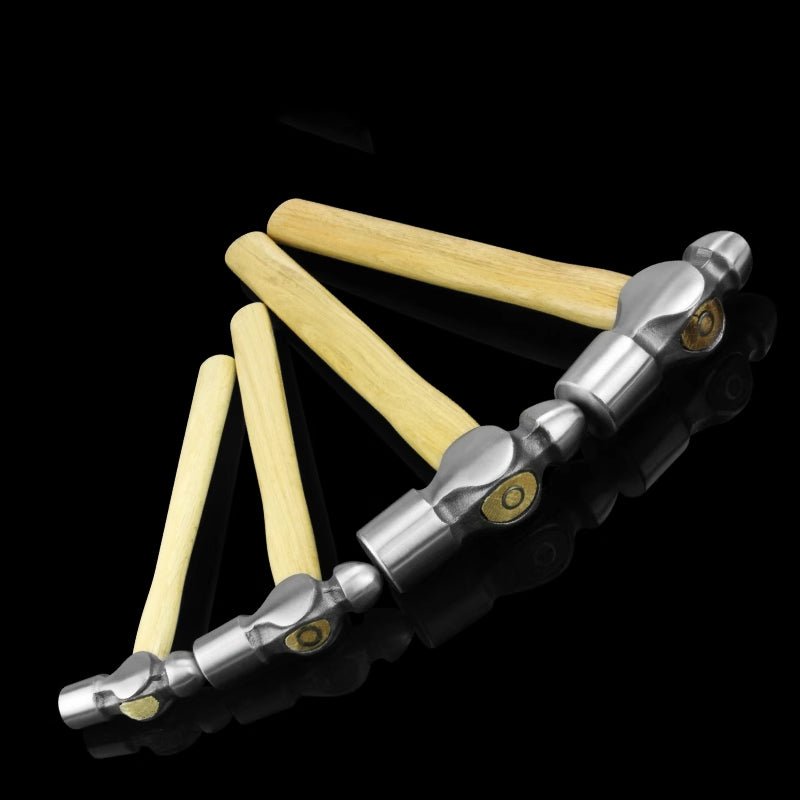
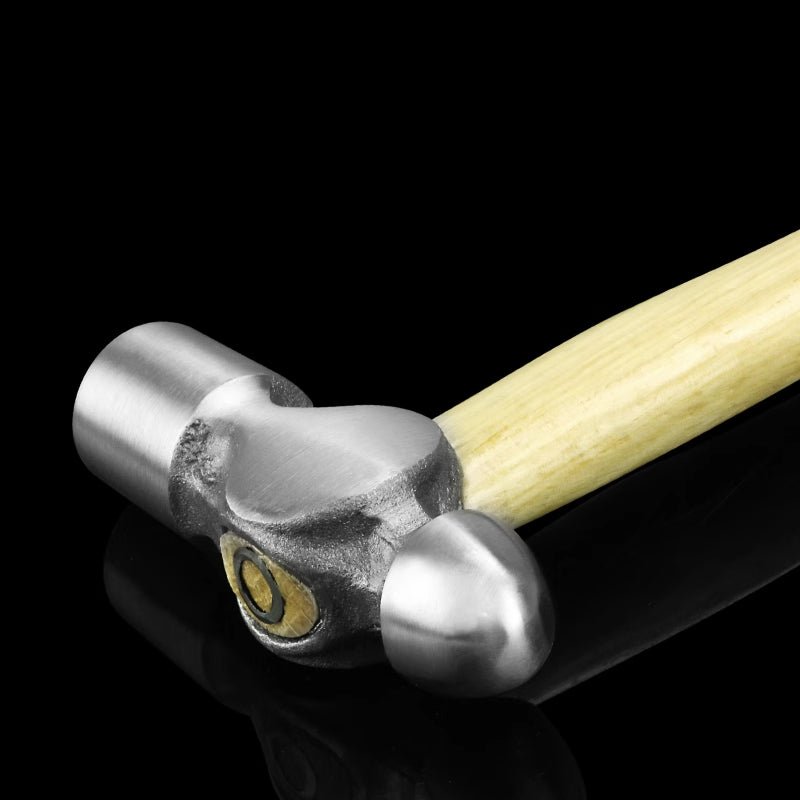
2. Ball Peen Hammers: Metalwork Mastery
Recognizable by its rounded end, this hammer shapes metal and rivets. Perfect for automotive repairs, metal crafting, setting punches.
Safety Note: Always wear ANSI-rated safety glasses—metal fragments fly!
3. Sledge Hammers: Raw Power
When demolition is the mission, a sledge hammer delivers brute force. Use cases: breaking concrete or tile, driving stakes, tearing down walls.
Weight Matters: 8–12 lb heads suit most homeowners; go heavier only for industrial tasks.
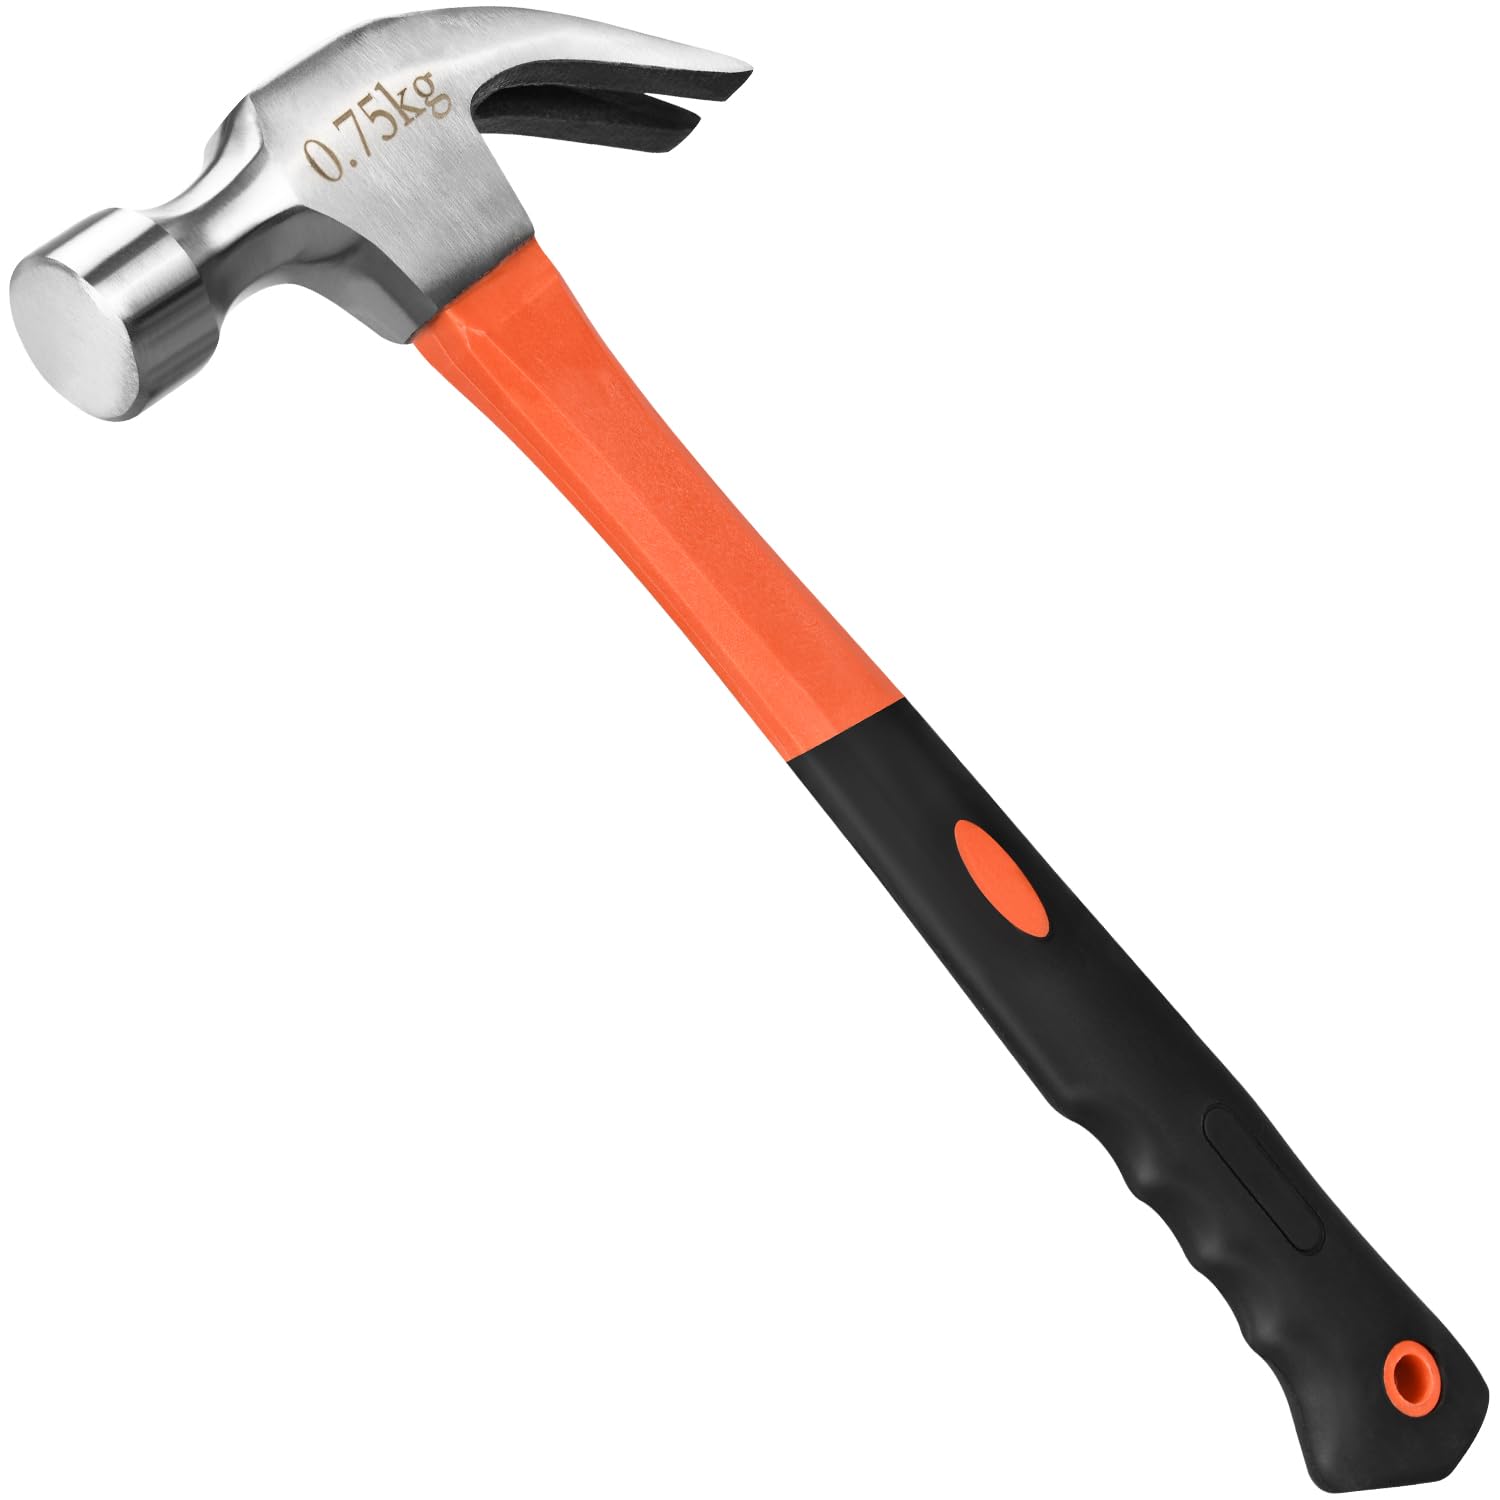
4. Framing Hammers: Precision in Construction
With a milled face for grip and straight claw, these prevent nail slippage. Best for building sheds or fences, roofing, timber projects.
Why Choose Ours: HomeDIYer’s titanium-core models reduce weight without sacrificing power.
5. Hammer Drills: Dual-Action Dominance
Combine rotary drilling with hammering action for masonry. Essential for anchoring shelves into brick, installing outdoor fixtures, concrete work.
DIYer Hack: Use a carbide-tipped bit to avoid overheating in dense materials.
Chapter 2: How to Choose Your Hammer
Handle Materials Decoded
Wood: Classic and affordable but prone to splintering.
Fiberglass: Shock-absorbent and weather-resistant.
Steel: Durable but heavy; ideal for sledge hammers.
Our Pick: Fiberglass—lighter on joints during marathon projects.
Weight Guidelines
- Finishing work: 7–10 oz
- Framing: 16–22 oz
- Demolition: 4+ lbs
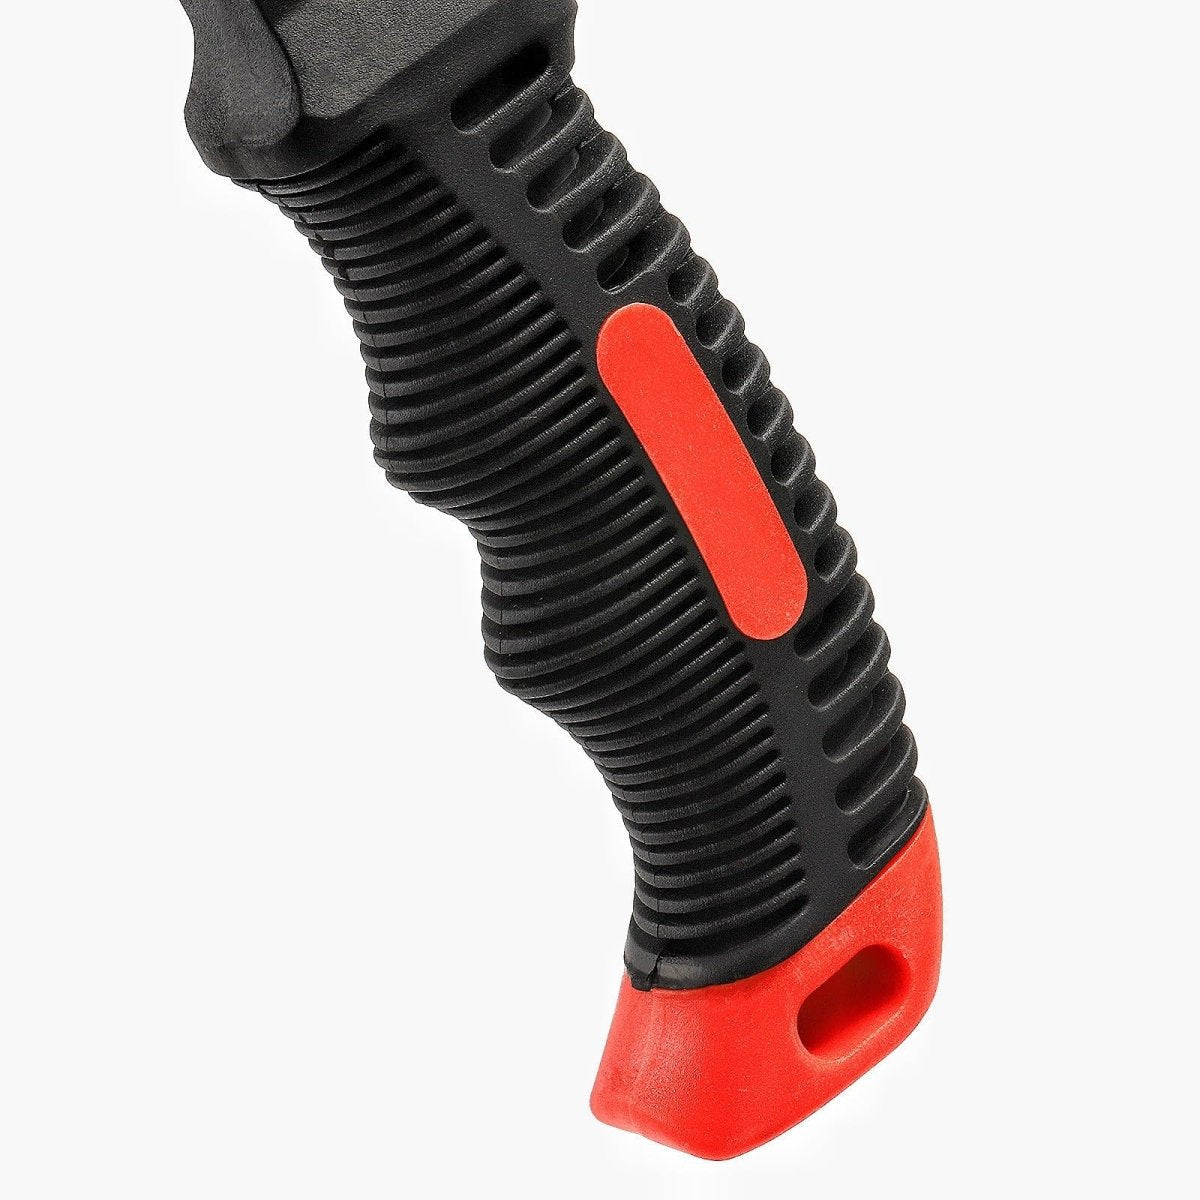
Balance & Grip
A poorly balanced hammer strains wrists. Test it: Hold handle near the end, swing gently—feel for natural momentum. Ensure rubberized grips (like HomeDIYer’s ErgoFlex) prevent slippage.
Chapter 3: Safety First—Avoiding Common Pitfalls
Top 5 Hammer Safety Rules
-
Inspect First: Check for cracks or loose heads before each use.
-
Grip Low: Hold near the base for better control.
-
Eye Protection: 90% of eye injuries involve flying debris.
-
Clear Workspace: Remove tripping hazards.
-
Never "Dry Swing": Always strike a surface—air swings damage joints.
When to Retire Your Hammer
Replace if: the head wobbles, handle shows deep cracks, face is dented (causes nail deflection).
Chapter 4: Pro Techniques for Flawless Results
Driving Nails Like a Carpenter
Angle Matters: Hold nail at 60° for hardwoods, 90° for softwoods.
Wrist Motion: Swing from elbow, not shoulder.
Final Blows: Light taps to set heads without denting surfaces.
Pulling Nails Efficiently
Slide claw under nail head. Place scrap wood under hammer for leverage. Pull steadily—no jerking!
Demolition Dos and Don’ts
DO: Use sledge hammers in arcs (not overhead swings) to control force.
DON’T: Strike hardened surfaces (e.g., stone) with steel hammers—chips can shatter.
Chapter 5: Maintaining Your Hammer
Cleaning & Storage
Wipe metal heads with oiled cloth to prevent rust. Store hanging (not tossed in a toolbox). Sand wooden handles annually; apply linseed oil.
When to Sharpen or Replace
Sharpen milled faces if grooves smooth out. Replace if fiberglass shows deep scratches (compromises integrity).
Why HomeDIYer Hammers Stand Out
Our tools undergo 200+ quality tests, including: Force Distribution Scans (ensure even impact), Handle Torture Tests (10,000+ swings without failure), Weather Simulation (resists humidity and UV damage).
Real DIYer Stories
"I rebuilt my porch with HomeDIYer’s framing hammer—zero wrist strain even after 8 hours. The grip is revolutionary!" — Sarah K., Ohio
Conclusion: Build Confidence, One Swing at a Time
Choosing the right hammer transforms DIY from daunting to doable. Remember: Match the hammer to the task. Prioritize safety and maintenance. Invest in durability—it pays off in precision.
Ready to start your project? Explore HomeDIYer’s Hammer Collection and use code HomeDIYer10 for 10% off your first order.