Why Pneumatic Tools Dominate DIY Workshops
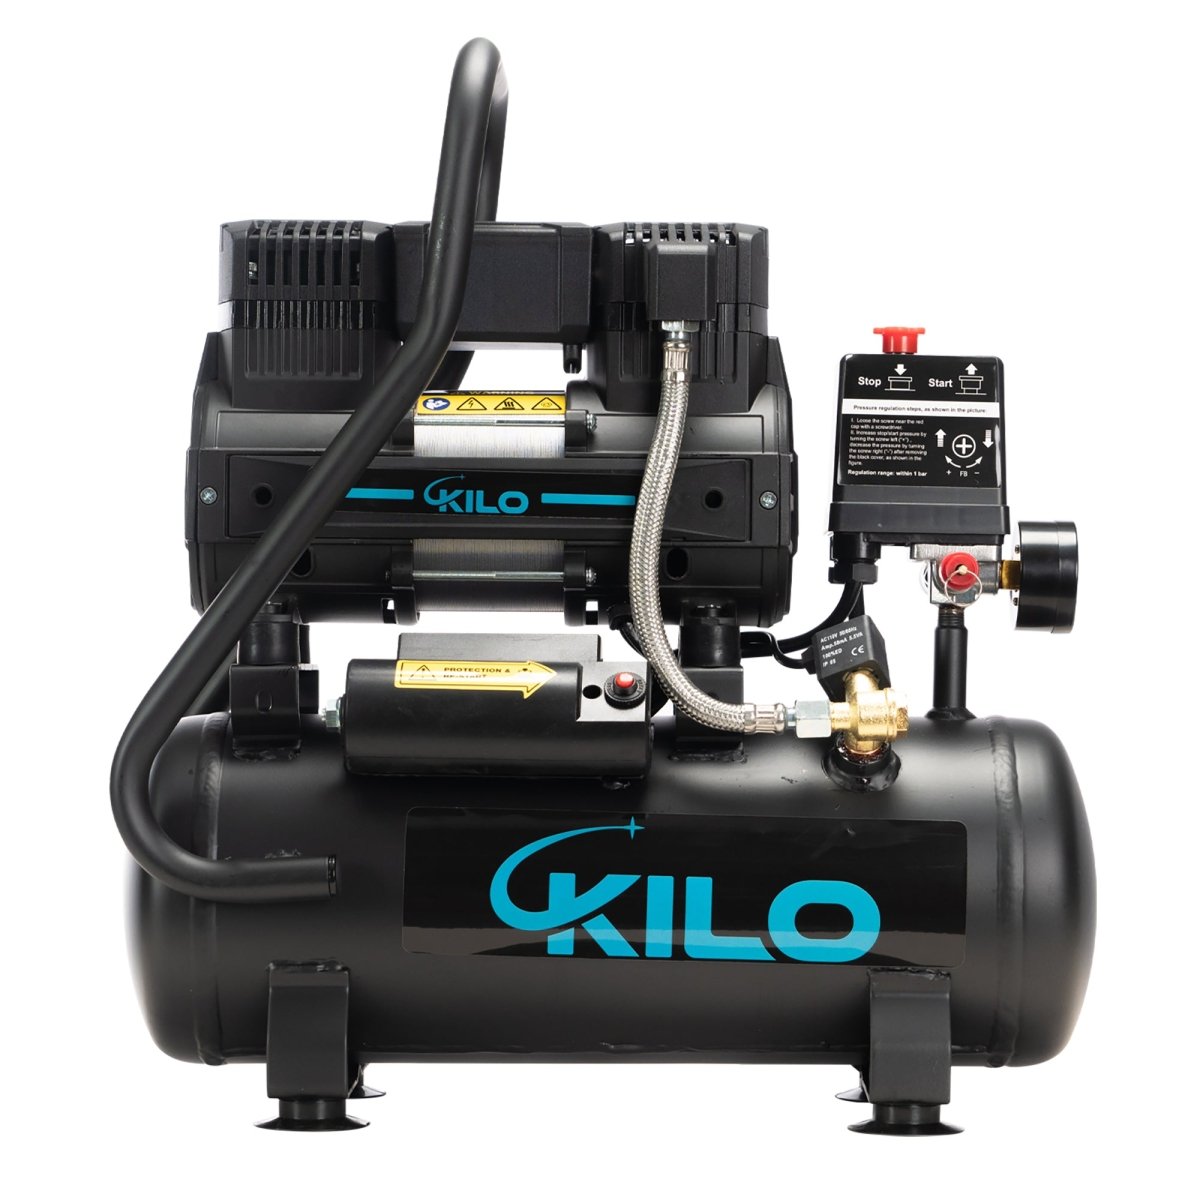
Pneumatic tools harness compressed air to deliver unmatched power for demanding tasks. Unlike electric tools, they’re lighter, generate less heat, and thrive in gritty environments—perfect for automotive work, metal fabrication, or construction. At HomeDIYer, we design air tools that balance industrial-grade performance with DIY accessibility. Our kits include ergonomic grinders, impact wrenches, and precision riveters, all tested for longevity.
Key Advantages:
- Torque Efficiency: Air tools provide instant torque without motor burnout.
- Weight Reduction: Compact designs reduce wrist fatigue during extended use.
- Low Maintenance: Fewer moving parts mean fewer failures.
Essential Pneumatic Tool Types for Your Projects
1. Cutting & Shaping Tools
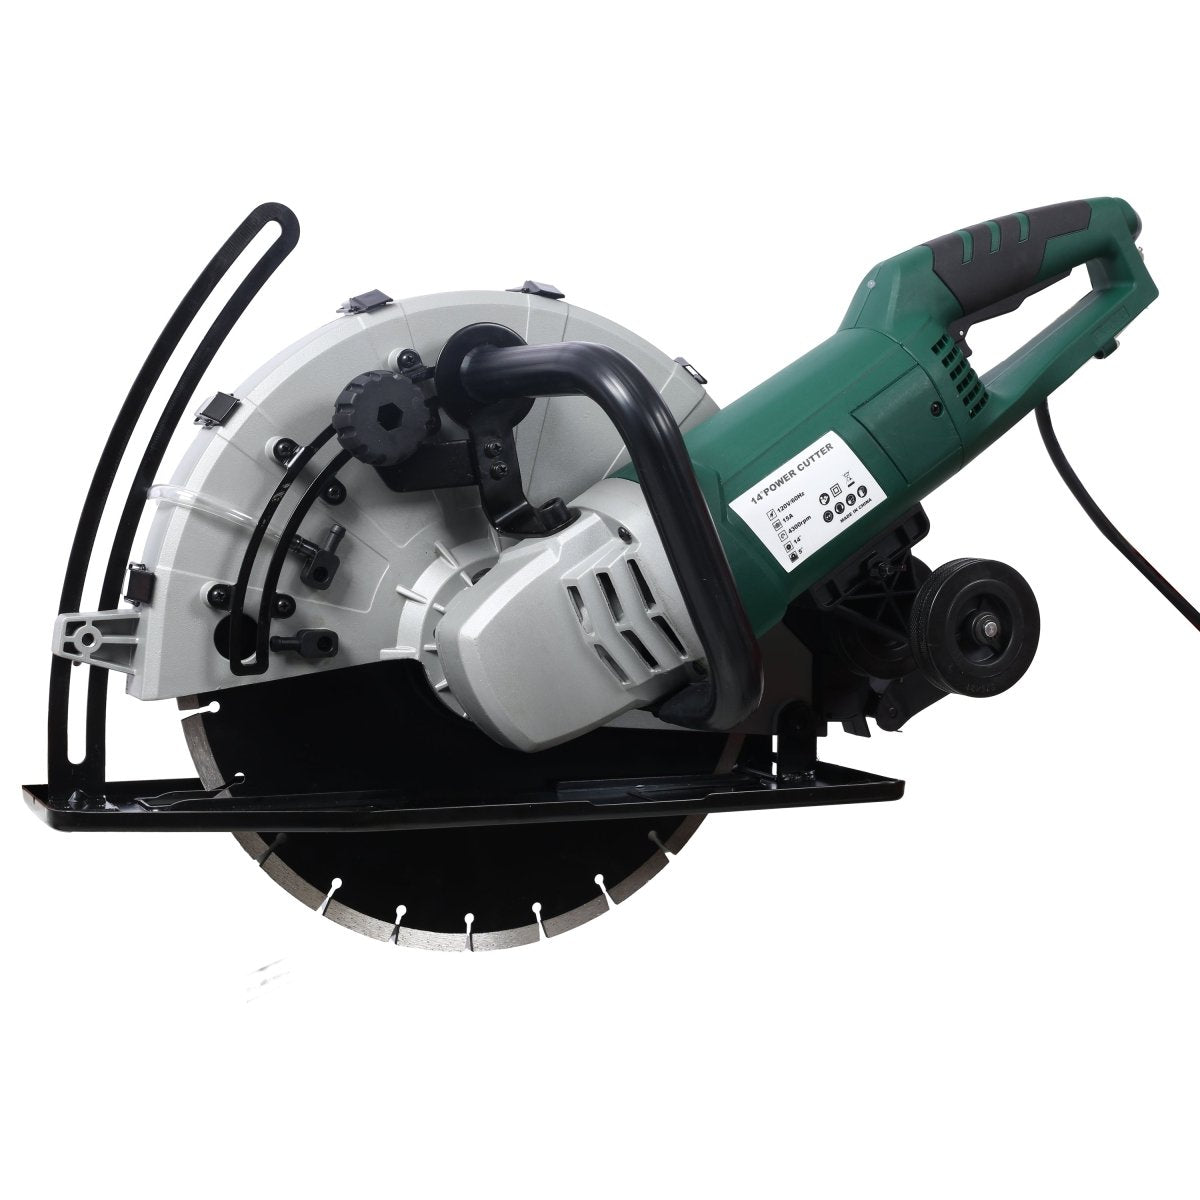
Pneumatic cut-off tools slice through metal and tile effortlessly. Pair them with chamfering attachments for deburring edges. Our rotary tools handle engraving and detail sanding, while nibblers create clean curves in sheet metal.
2. Fastening Systems
Speed up assembly with rivet nut tools. Ideal for automotive panels or furniture, these install threaded inserts in seconds. Pneumatic riveters and nutsert tools offer one-handed operation—no more sore palms from manual squeezers.
3. Maintenance Must-Haves
Pneumatic tool oil is non-negotiable. It prevents corrosion, reduces friction, and extends tool life. HomeDIYer’s synthetic formula works in freezing temps and resists viscosity breakdown. For storage, wall-mounted pneumatic tool racks organize gear while preventing hose kinks.
4. Safety & Accessories
Pneumatic tool safety starts with moisture control. Use inline filters to block contaminants from your air compressor. Our anti-vibration gloves and impact-resistant goggles shield you during high-force operations.
Choosing the Right Pneumatic Tool Kit
A versatile pneumatic tool set covers 90% of DIY needs. Prioritize:
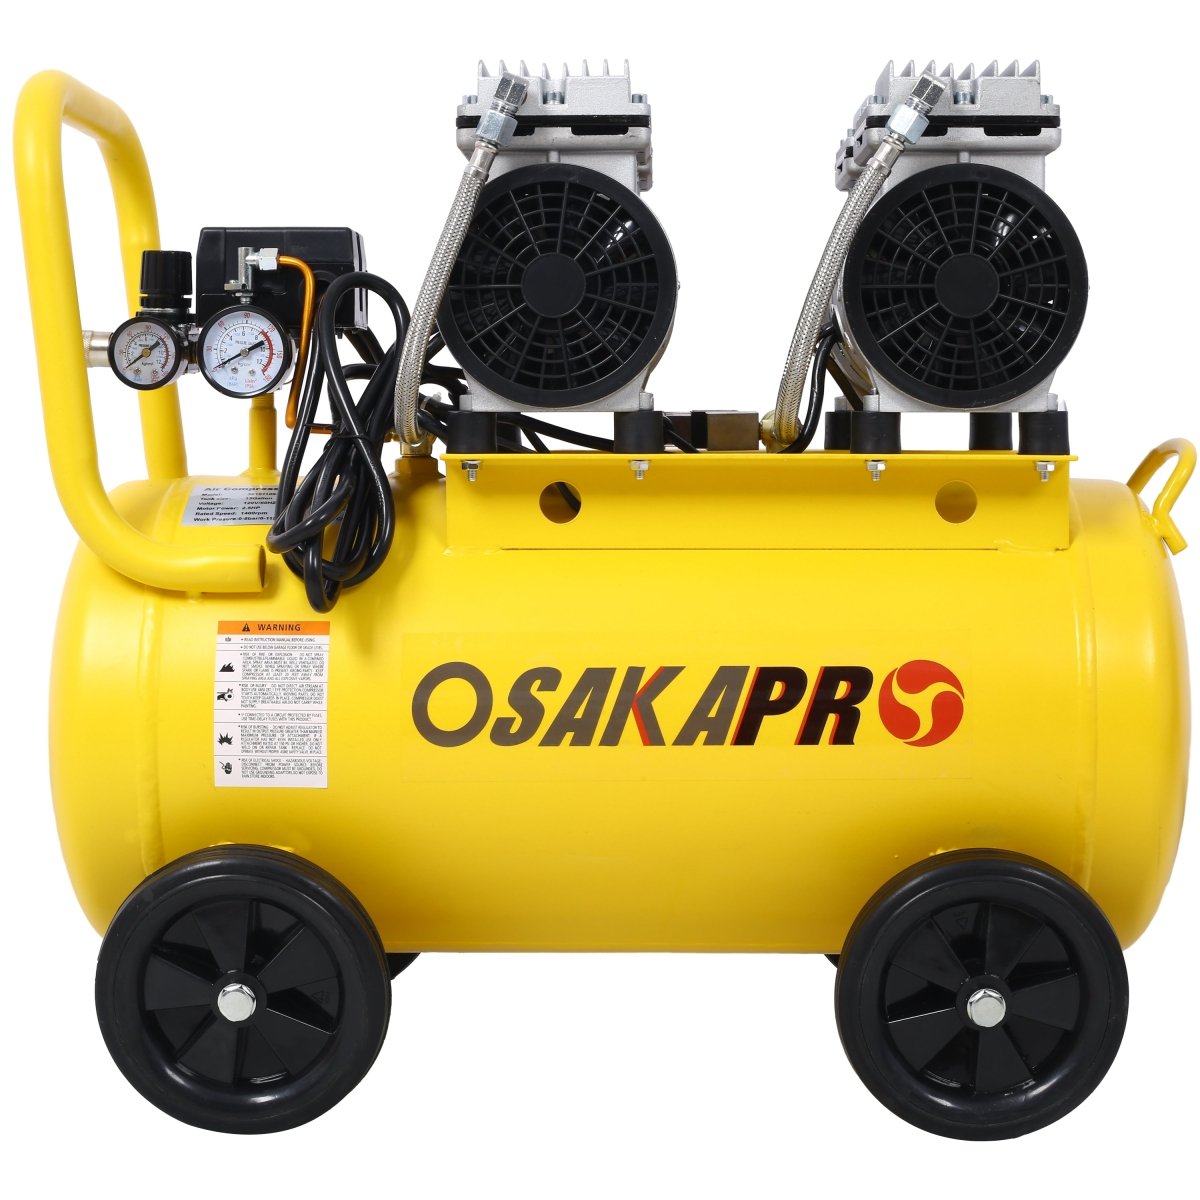
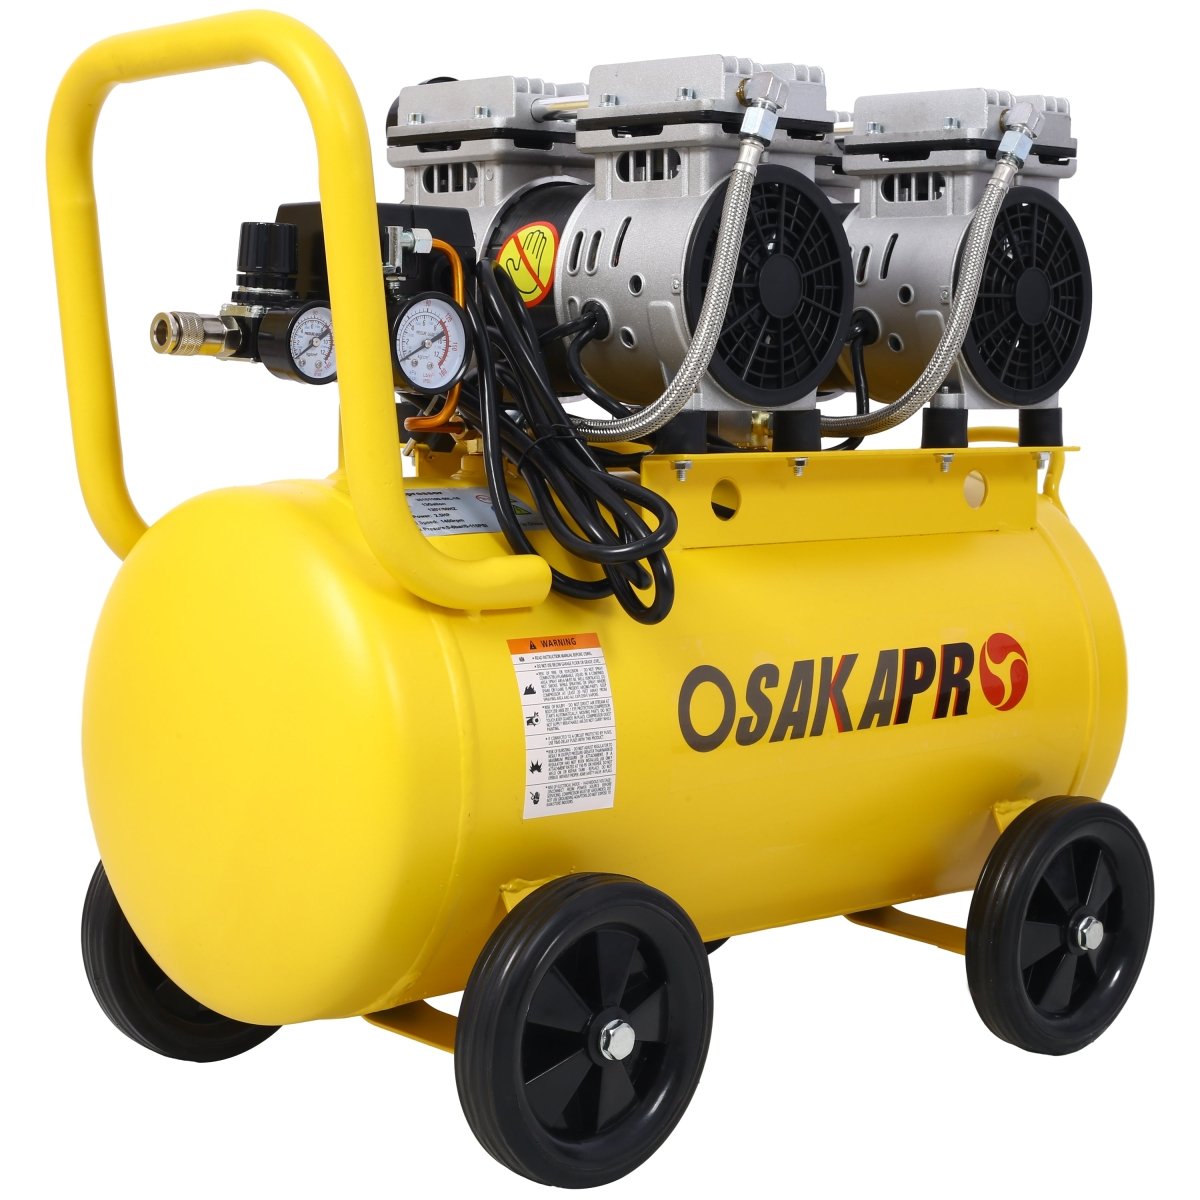
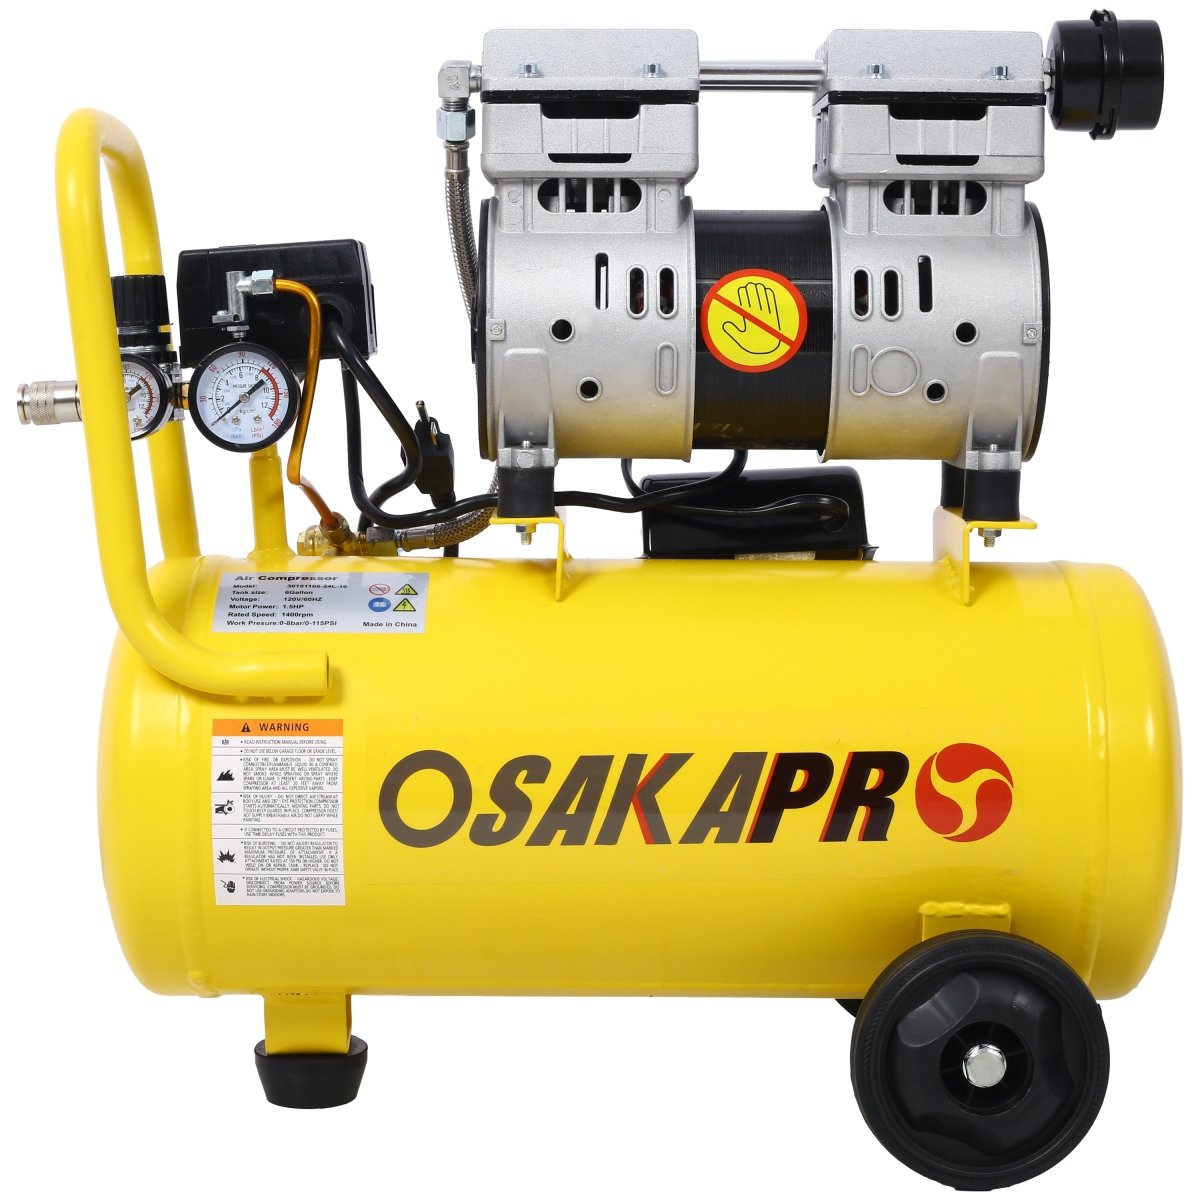
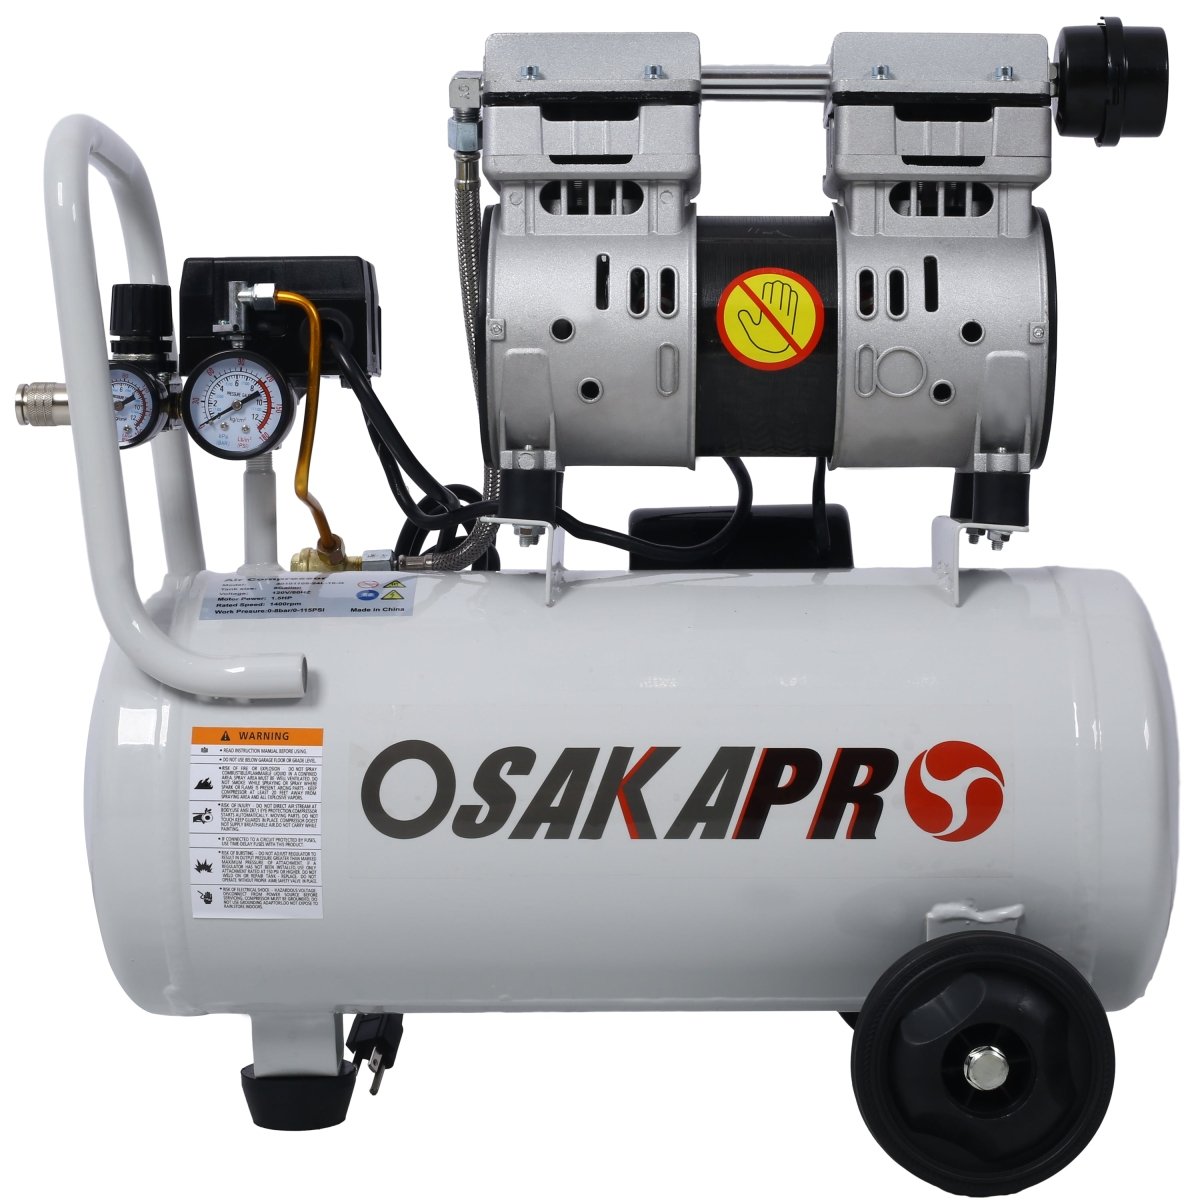
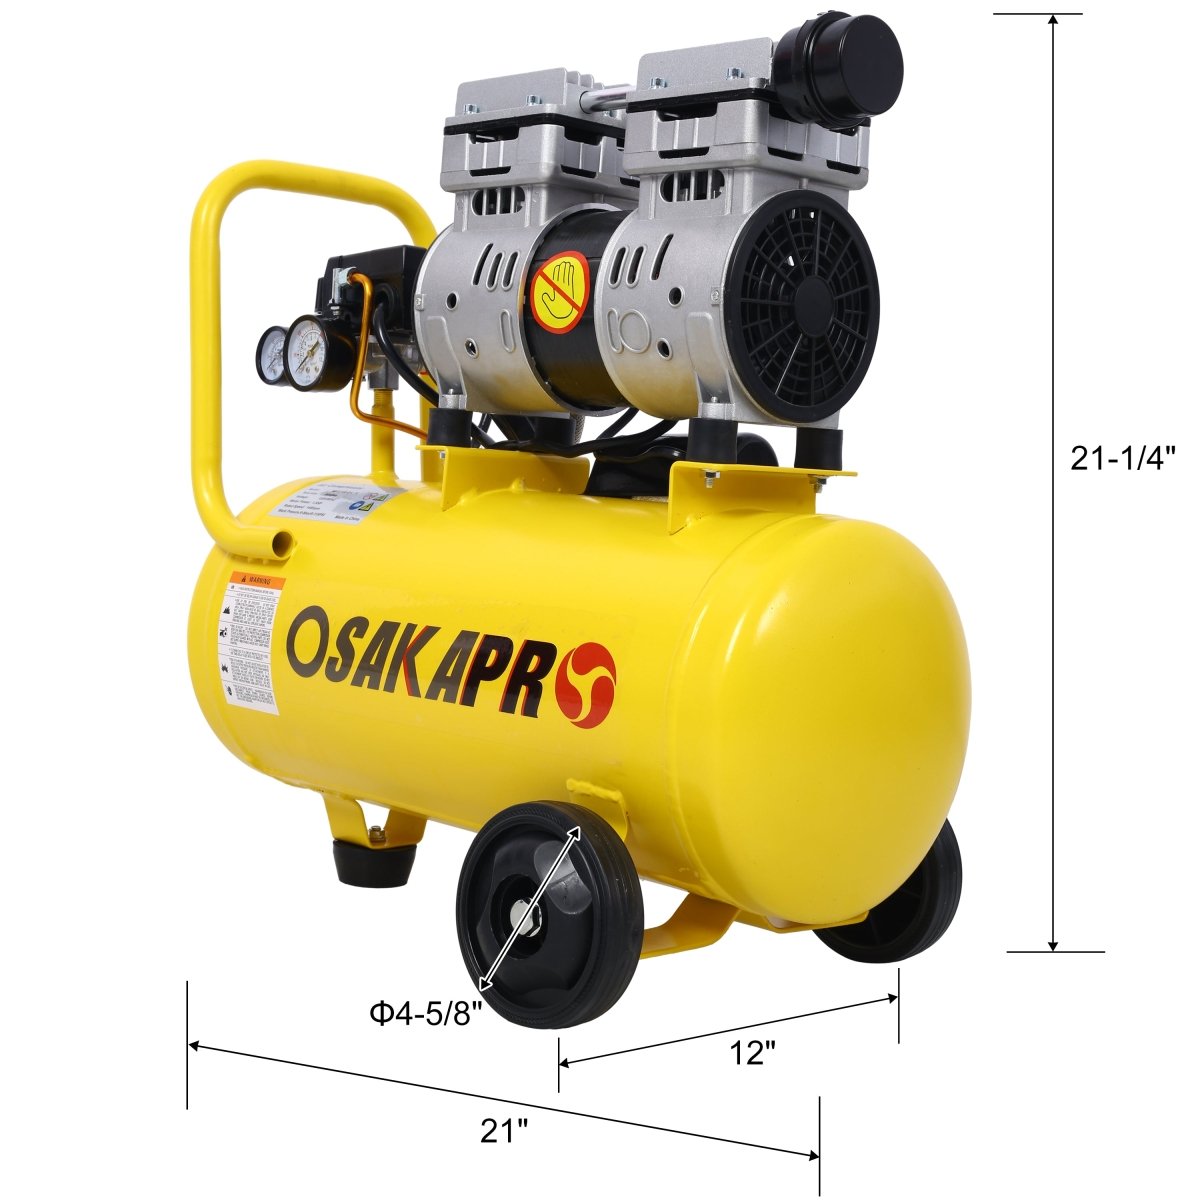
- CFM Requirements: Match tools to your compressor’s output (e.g., grinders need 5-8 CFM).
- Ergonomics: Look for rubberized grips and balanced weight.
- Quick-Connect Fittings: Ensure compatibility with your air hoses.
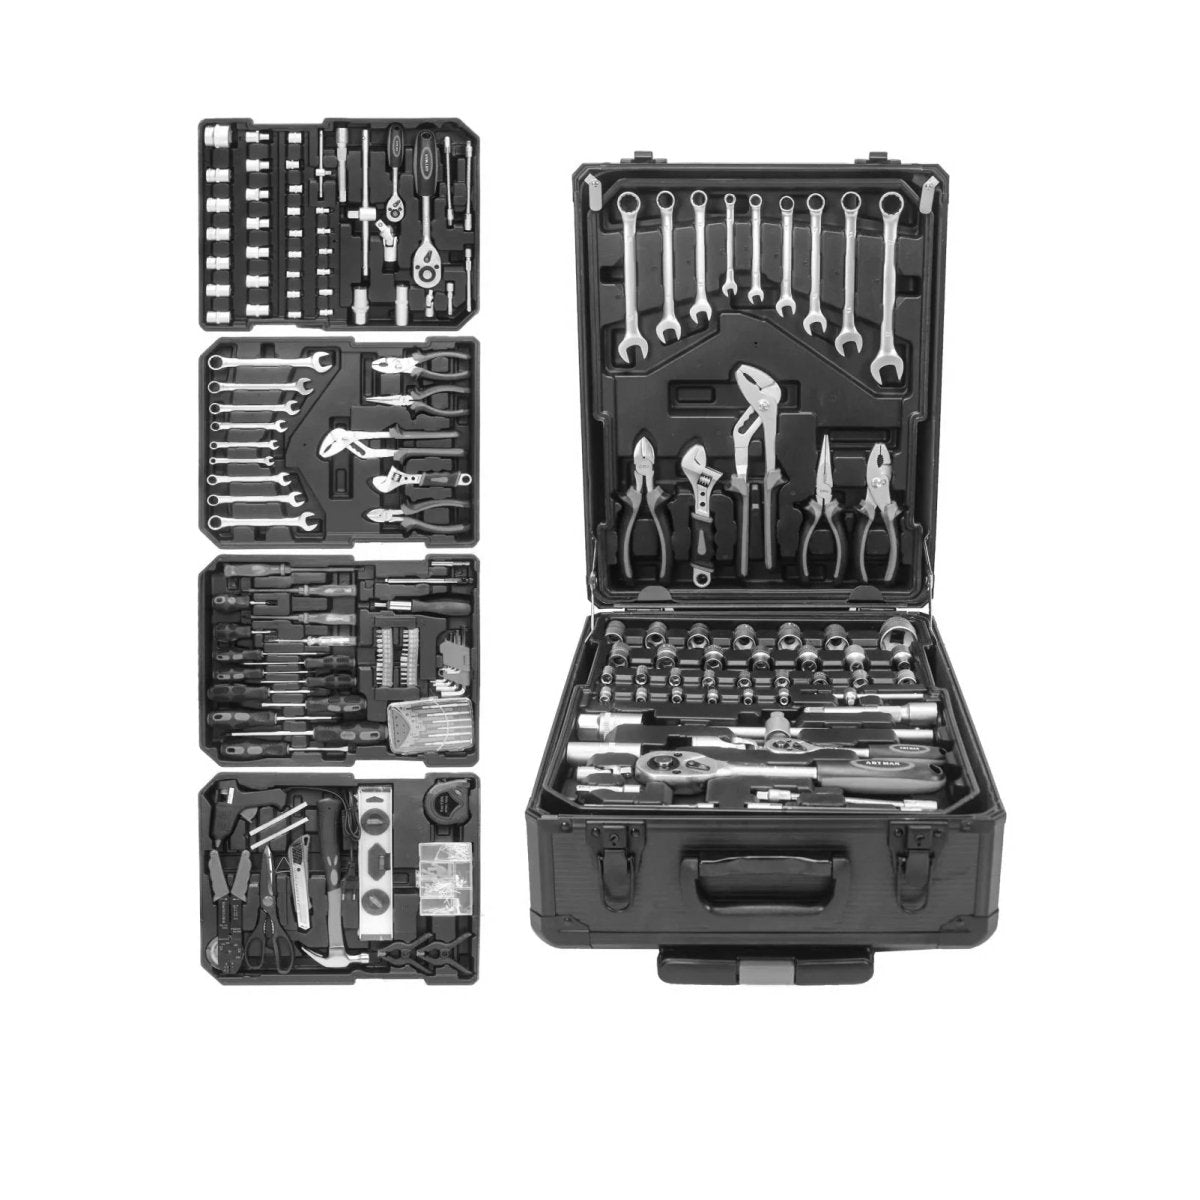
HomeDIYer’s 20-piece starter kit includes a cut-off tool, impact wrench, and oil—rated for 150 PSI. For specialized tasks, expand with pneumatic crimping tools for electrical work or pneumatic punch tools for leathercraft.
Pneumatic Tool Maintenance: Prolong Your Investment
Lubrication Best Practices
- Daily: Add 2-3 drops of pneumatic tool oil into the air inlet before use.
- Monthly: Disassemble tools to clean internal parts with air tool cleaner.
- Never Use: Household oils—they gum up valves.
Troubleshooting Common Issues
- Power Loss: Check for air leaks at fittings or worn O-rings.
- Overheating: Switch to a higher-viscosity lubricant like pneumatic tool grease.
- Moisture Damage: Install a desiccant dryer in your air system.
Storage Solutions
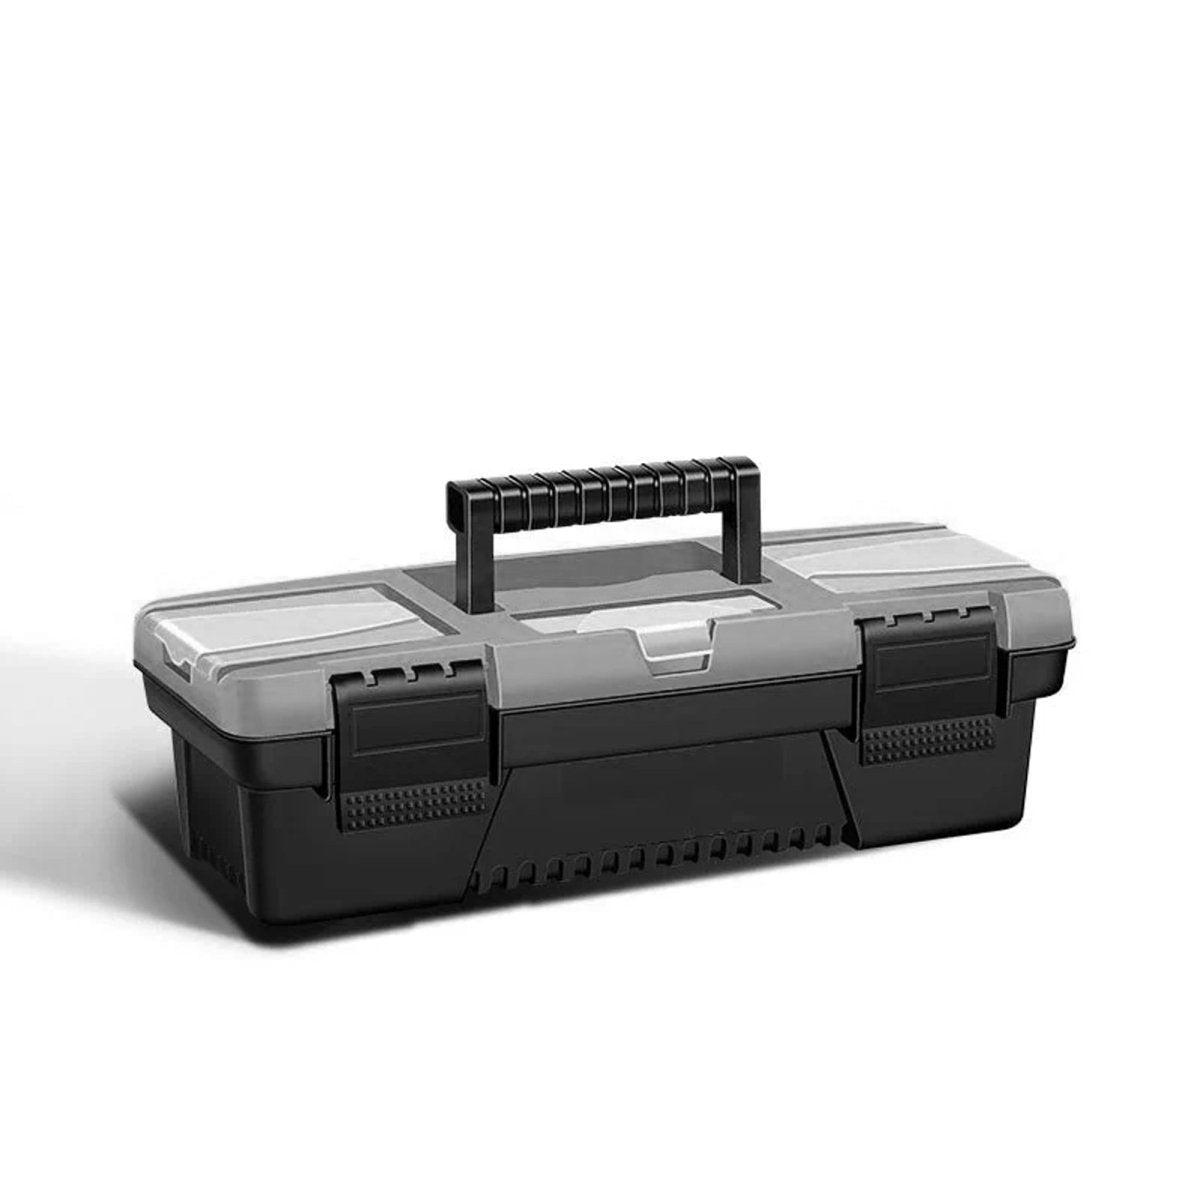
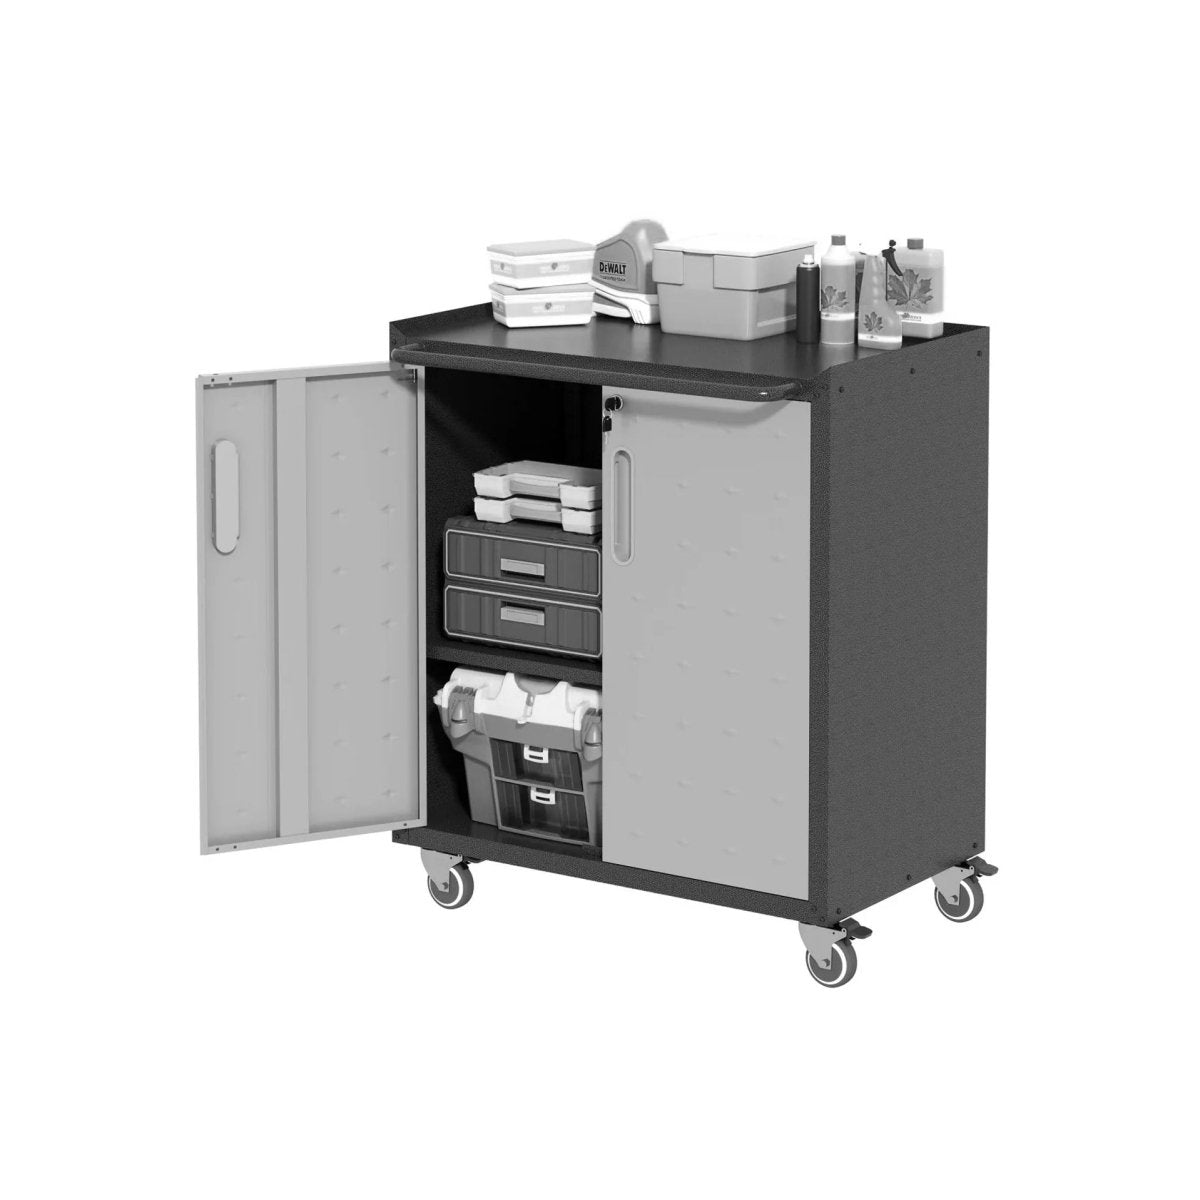
Wall-mounted pneumatic tool storage racks prevent damage. Store tools in climate-controlled spaces—humidity rusts steel components.
Safety First: Operating Air Tools Correctly
Pneumatic tool safety isn’t optional. Follow these rules:
- Wear PPE: Safety glasses and hearing protection are mandatory.
- Inspect Hoses: Replace cracked lines immediately—ruptures cause whiplash injuries.
- Secure Workpieces: Use clamps; never hold materials with your hand near moving parts.
- Pressure Limits: Never exceed your tool’s max PSI (marked on the housing).
For pneumatic tool repair, trust certified technicians. DIY fixes on valves or triggers risk catastrophic failure.
Why HomeDIYer Tools Outperform Competitors
Our pneumatic tools feature:
- Aerospace-Grade Alloys: Resistant to impact deformation.
- Zero-Rust Guarantee: Triple-sealed chambers block moisture ingress.
- Lifetime Support: Video tutorials.
Unlike generic brands, HomeDIYer designs tools for real-world DIY abuse. Tested in 100°F workshops and -20°F garages, they start on the first trigger pull—every time.
FAQs About Pneumatic Tools
Q: What’s the best pneumatic tool oil substitute?
A: Only use oils labeled for air tools. Alternatives like motor oil contain detergents that damage seals.
Q: How often should I lubricate my pneumatic tools?
A: Add oil before each use. For high-demand tools (e.g., sanders), refill every 2 hours.
Q: Can I use pneumatic tools for woodworking?
A: Absolutely! Nail guns, staplers, and brad pushers work flawlessly on lumber.

