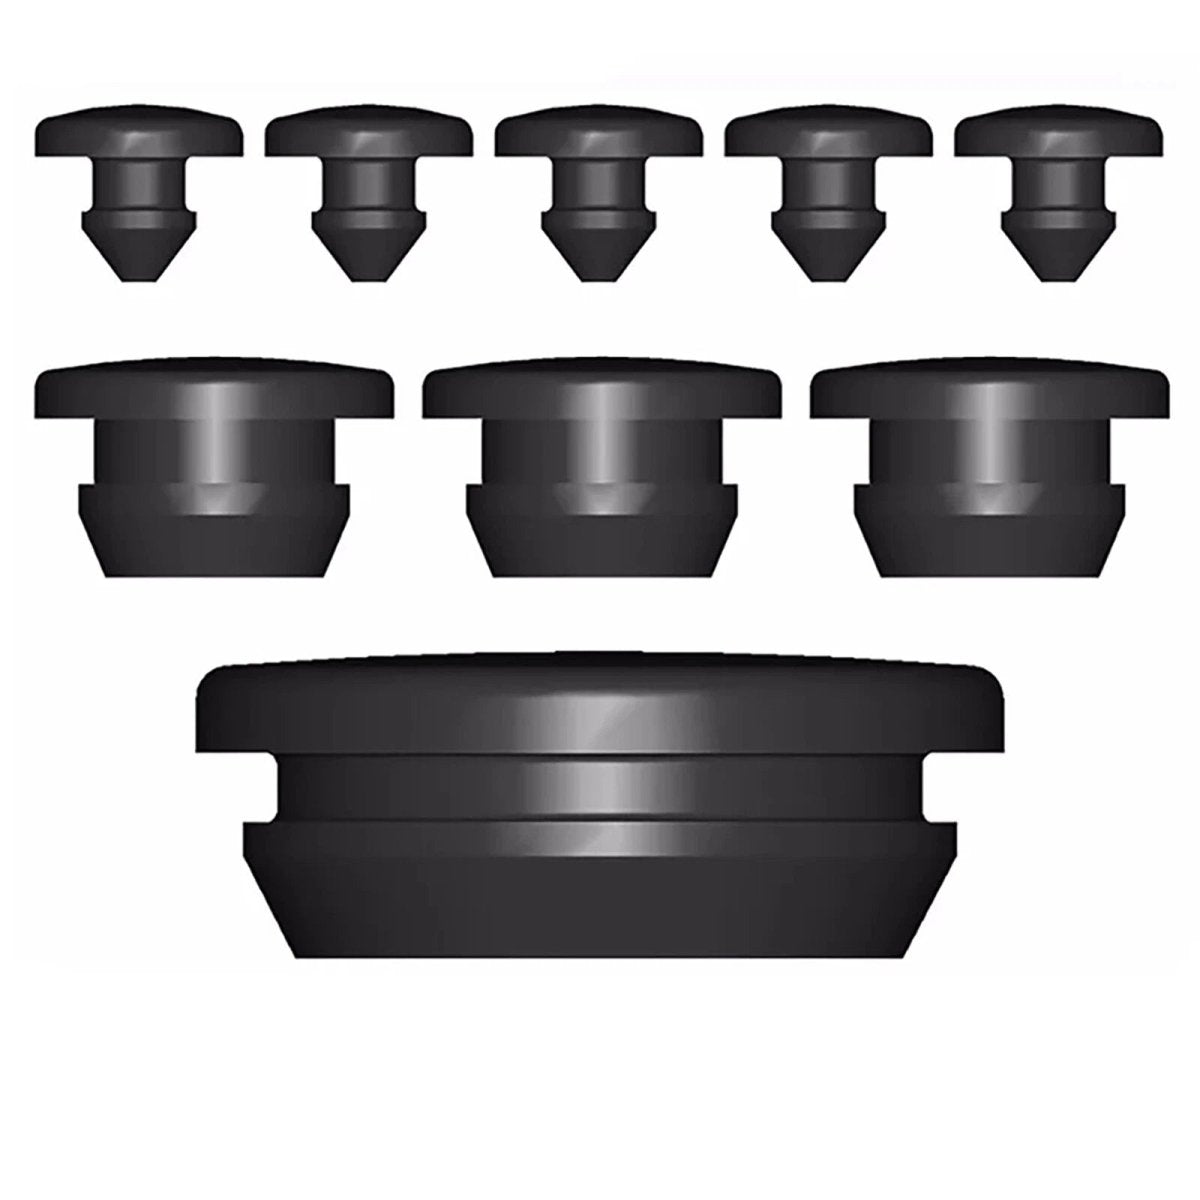
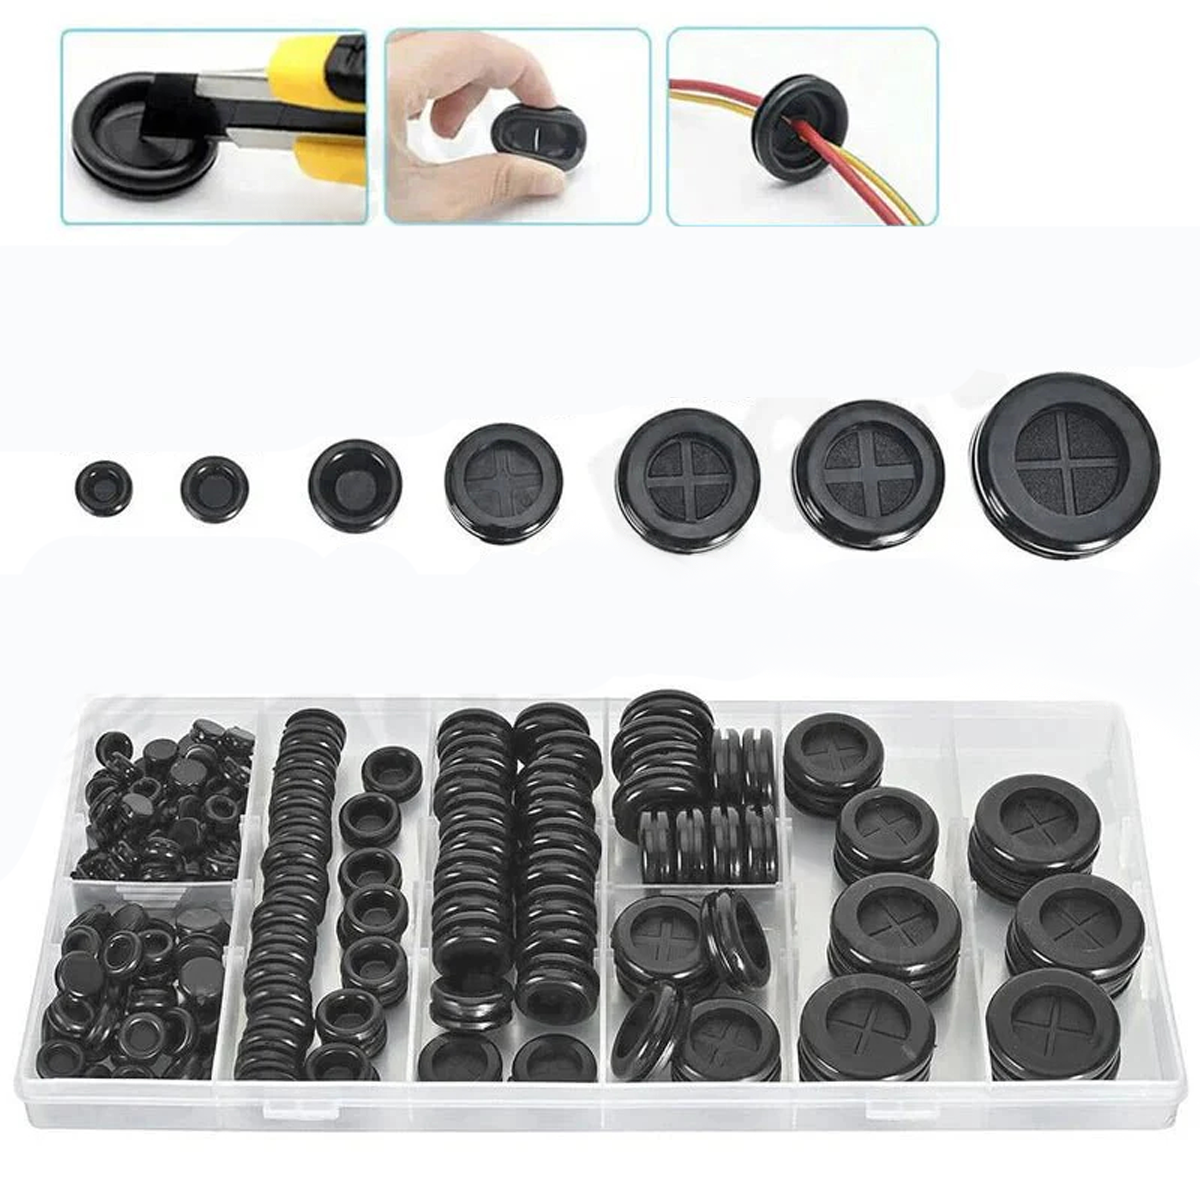
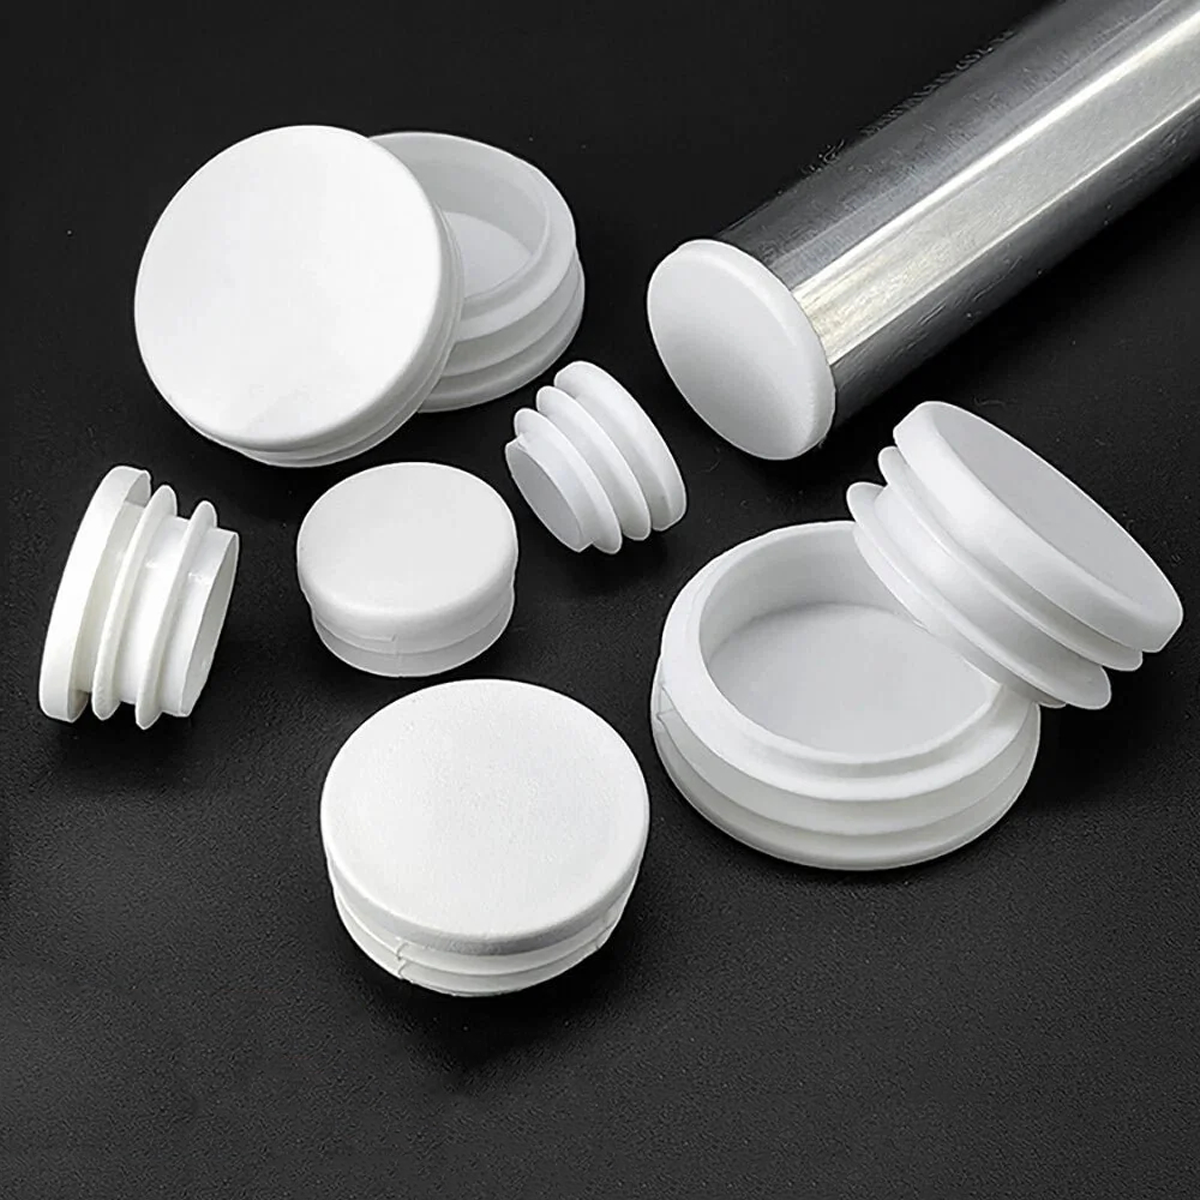
Why Rubber Plugs Are a DIY Essential
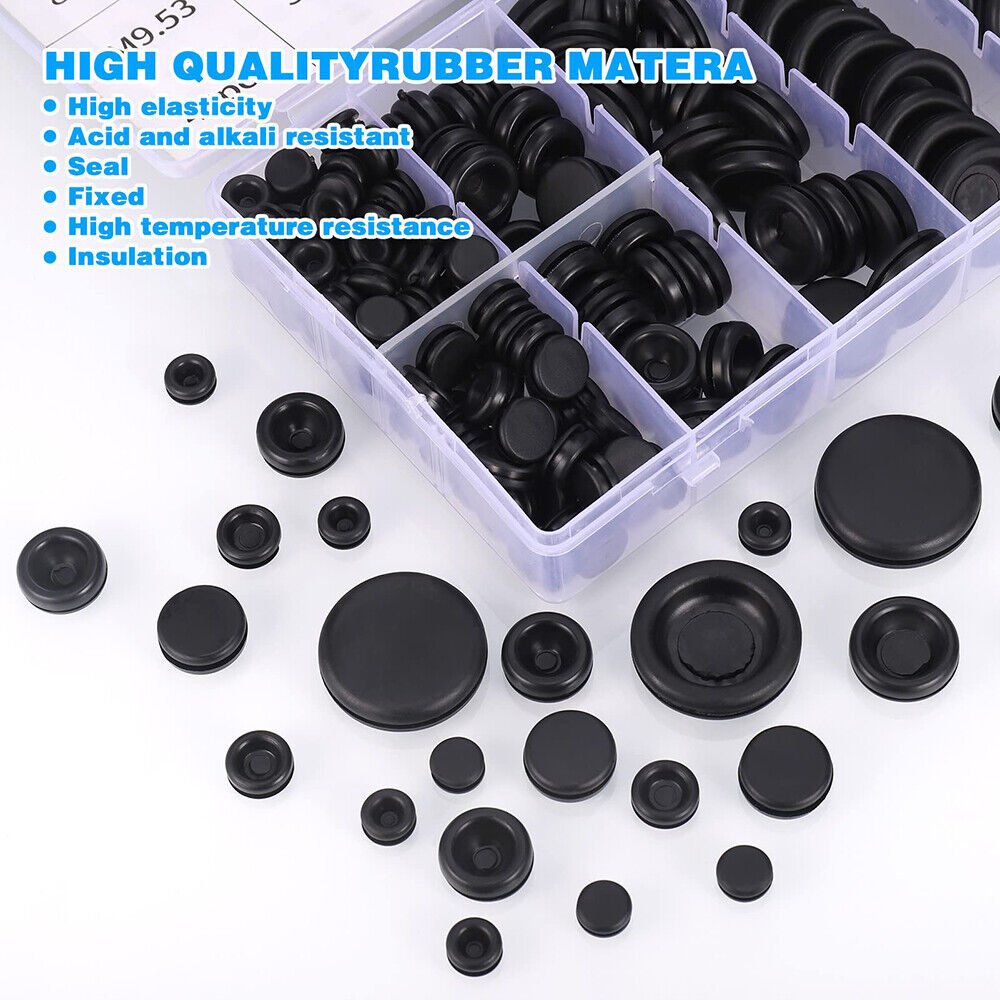
Rubber plugs turn leaky pipe nightmares into quick fixes! Seal irregular surfaces effortlessly—patch hoses, block drains, waterproof conduits. HomeDIYer's corrosion-resistant plugs withstand -40°F to 212°F & oils. Pro tip: Add silicone grease for longer life.
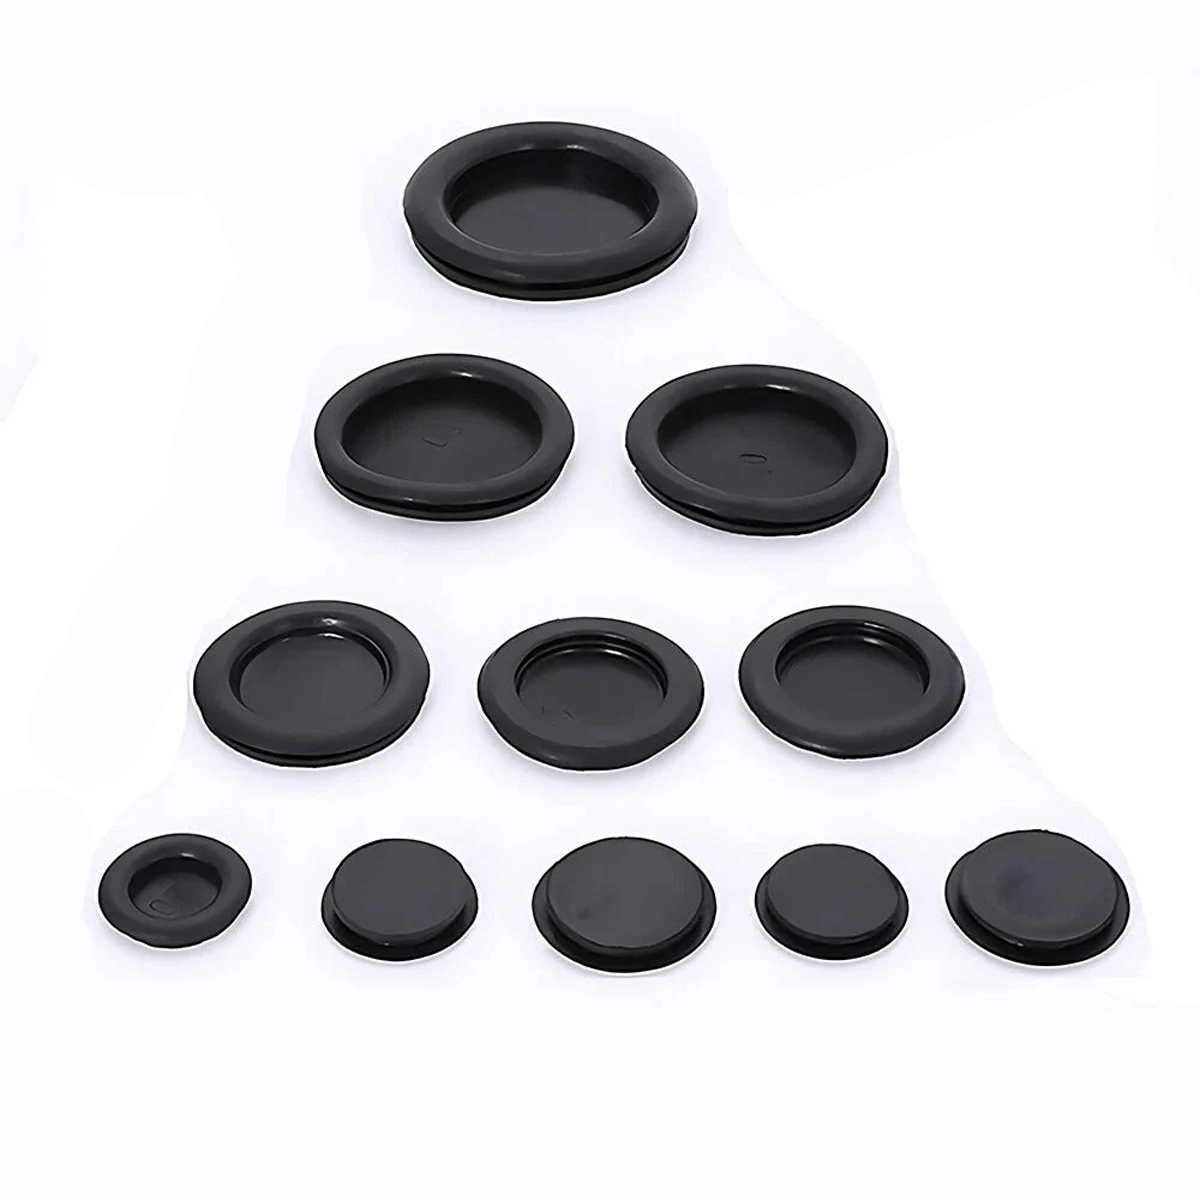
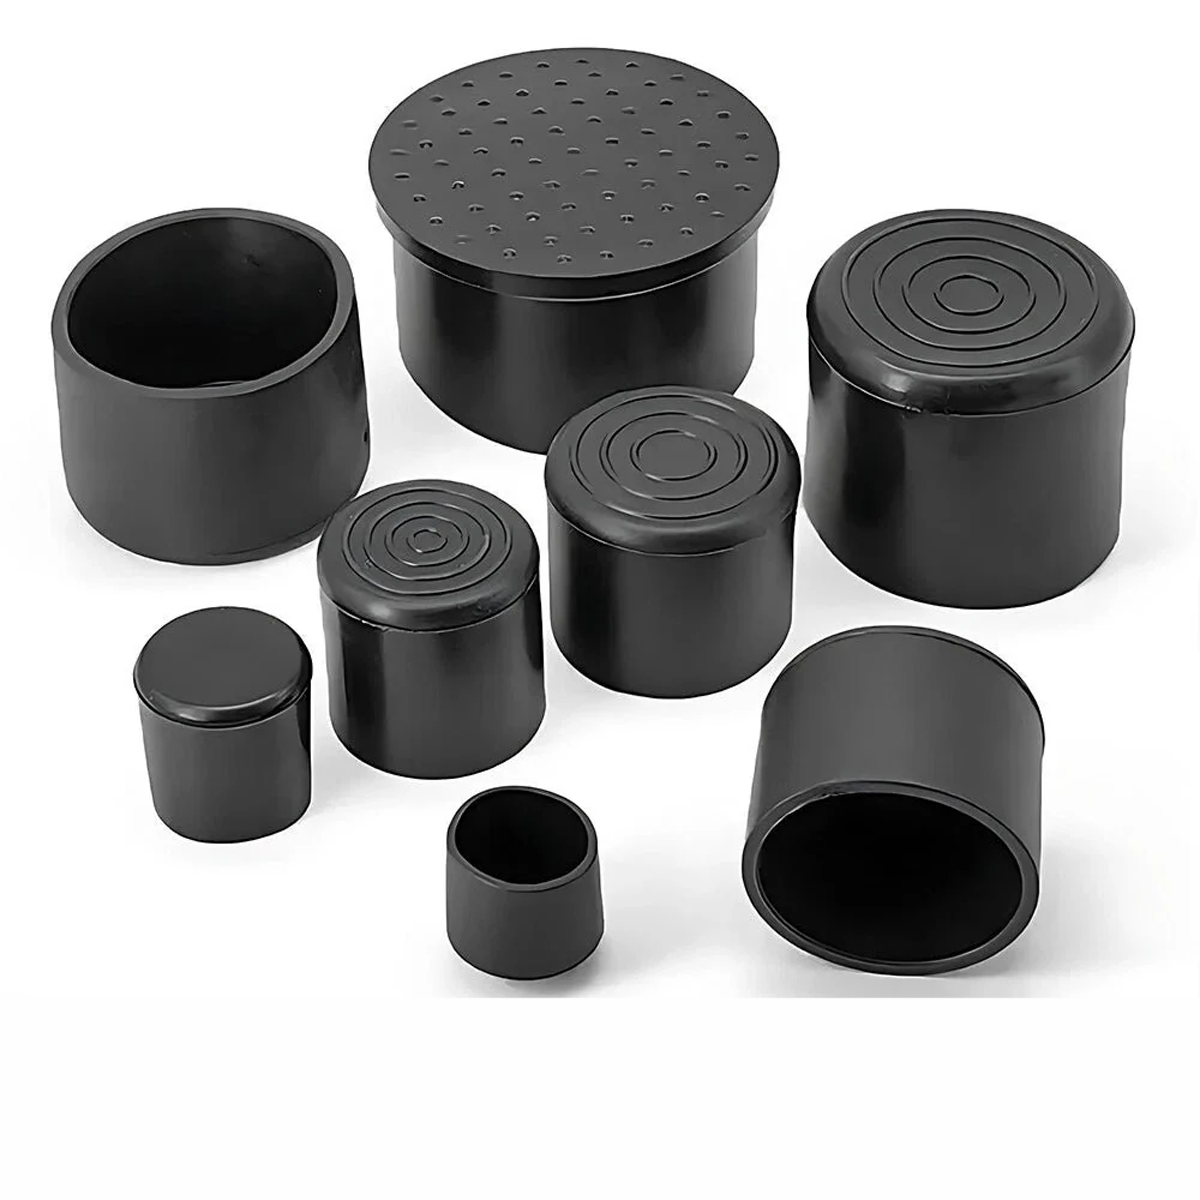
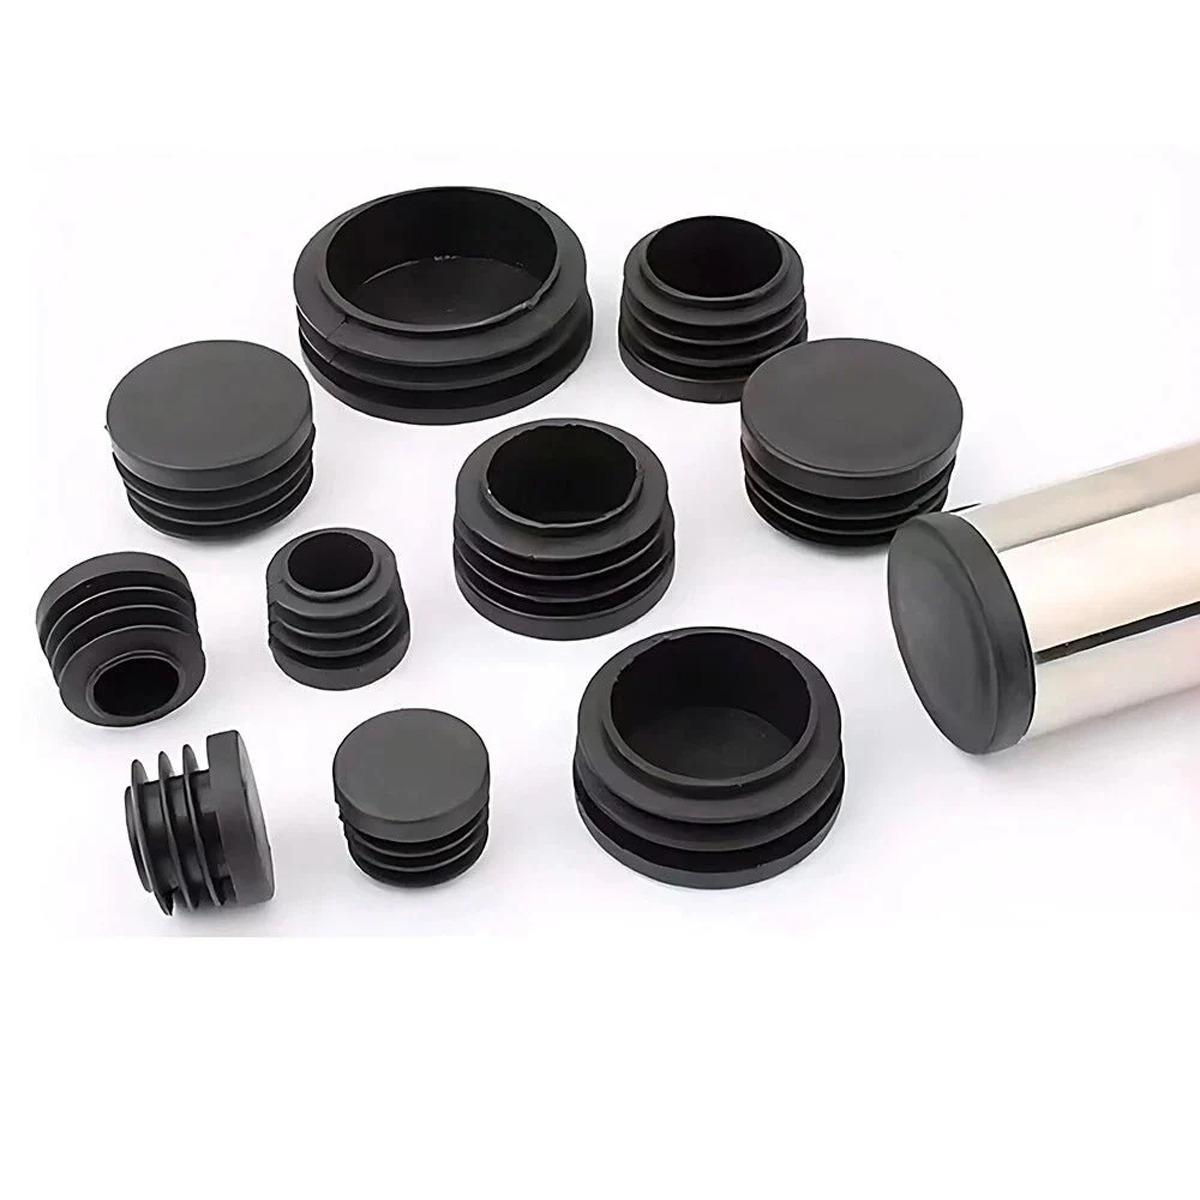
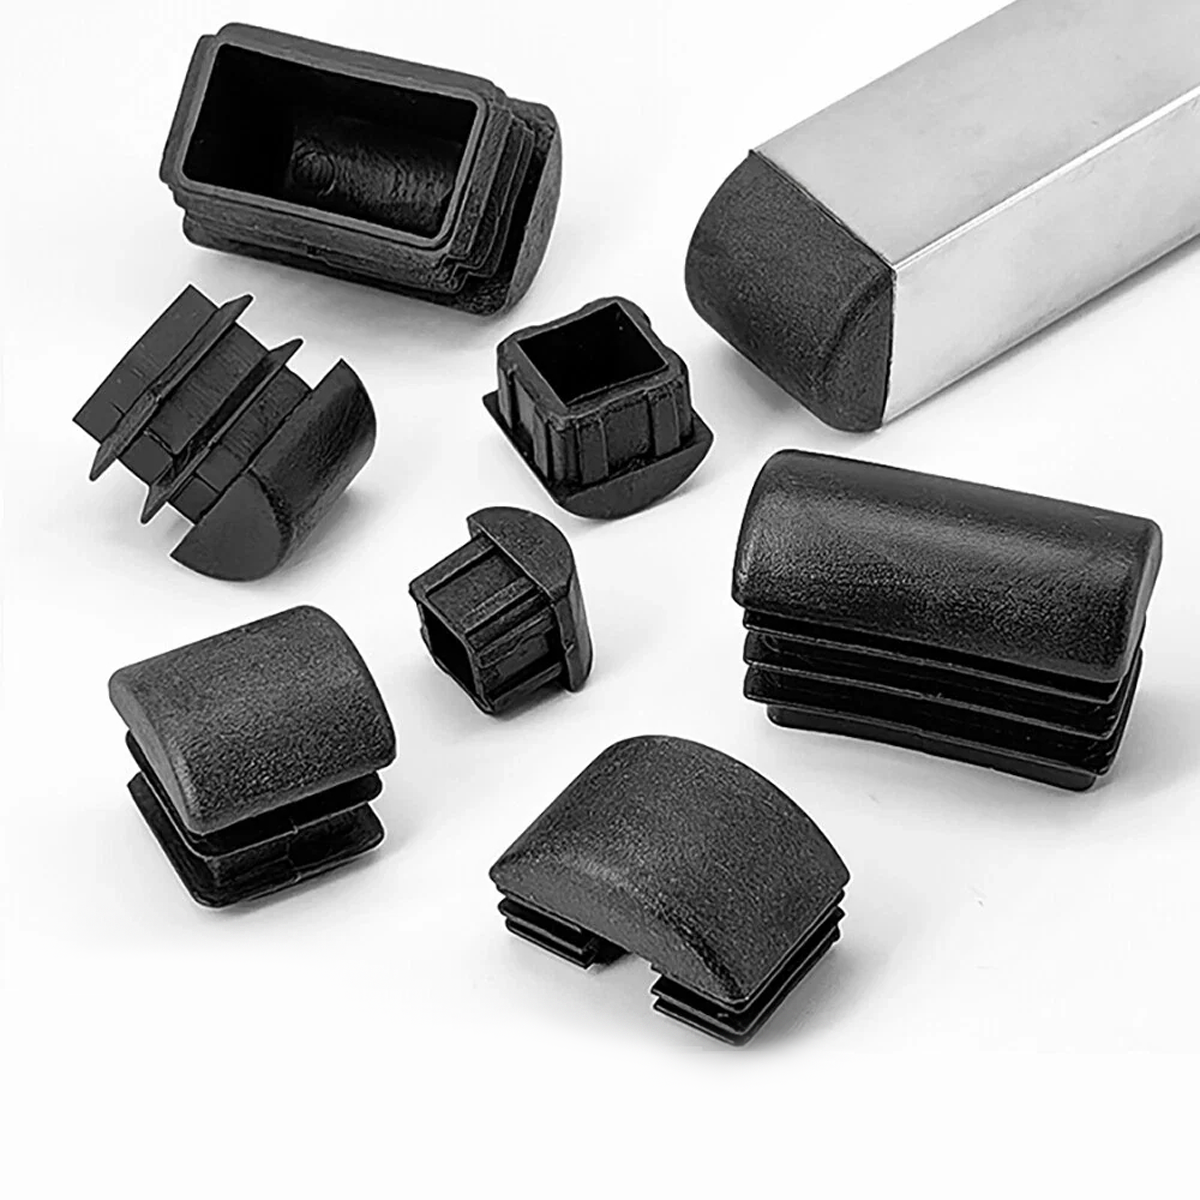
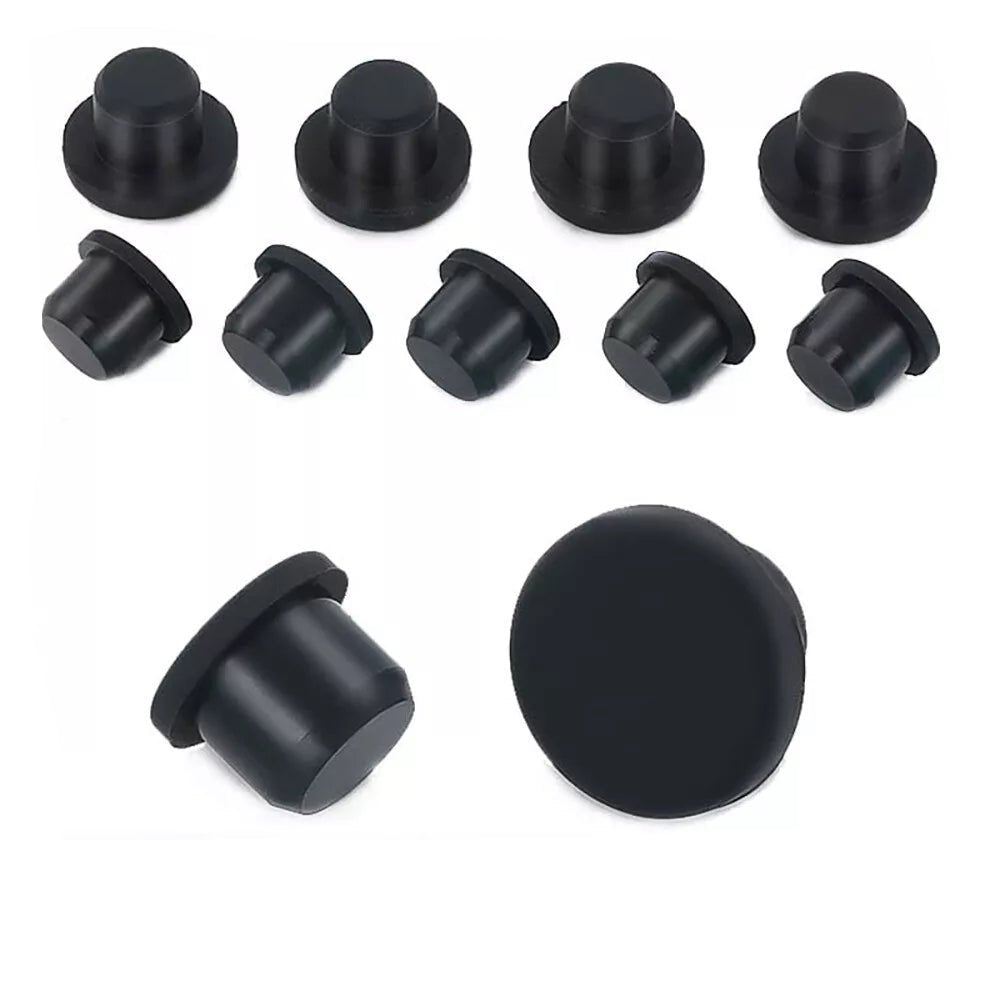
Types of Rubber Plugs & Their Uses
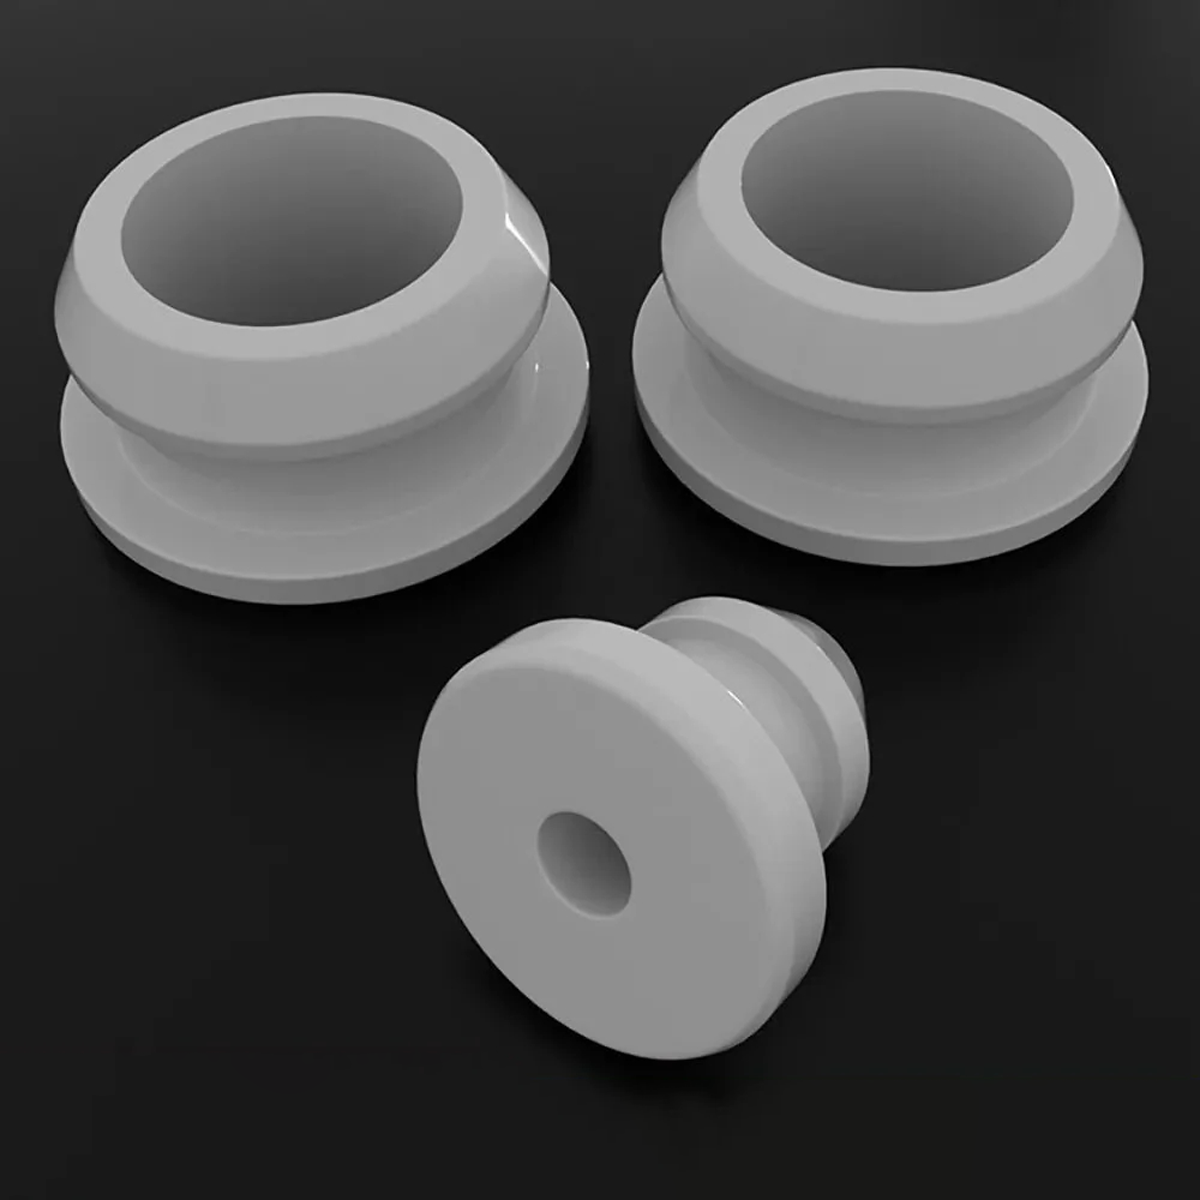
1. Expansion Plugs
Ideal for temporary pipe sealing during repairs. The tapered design grips walls when tightened, perfect for plumbing freeze tests.
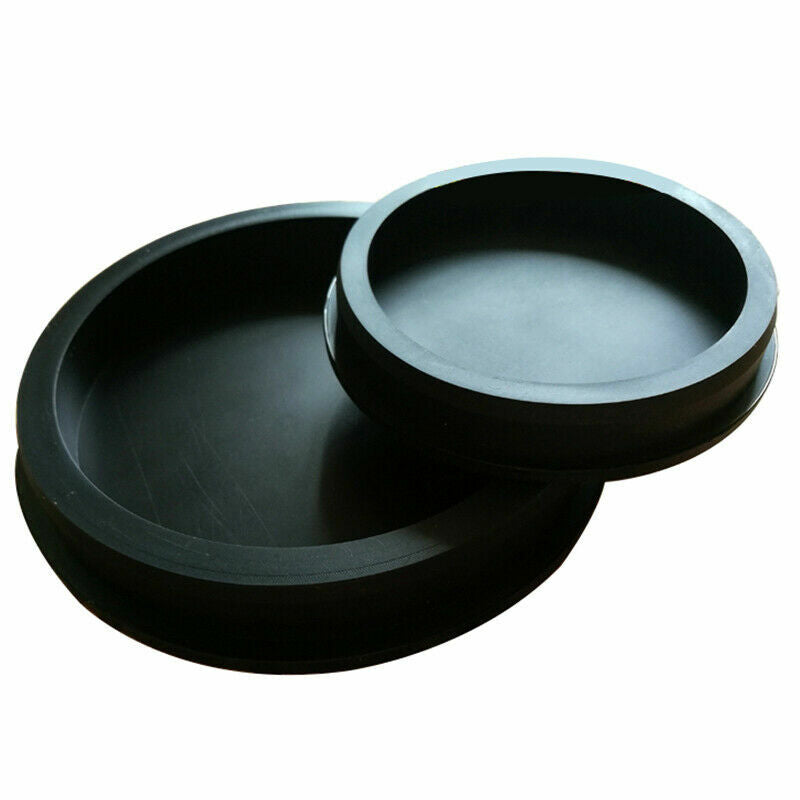
2. Drain Plugs
Stop leaks in sinks, tubs, and machinery. Our EPDM rubber plugs handle hot water without degrading.
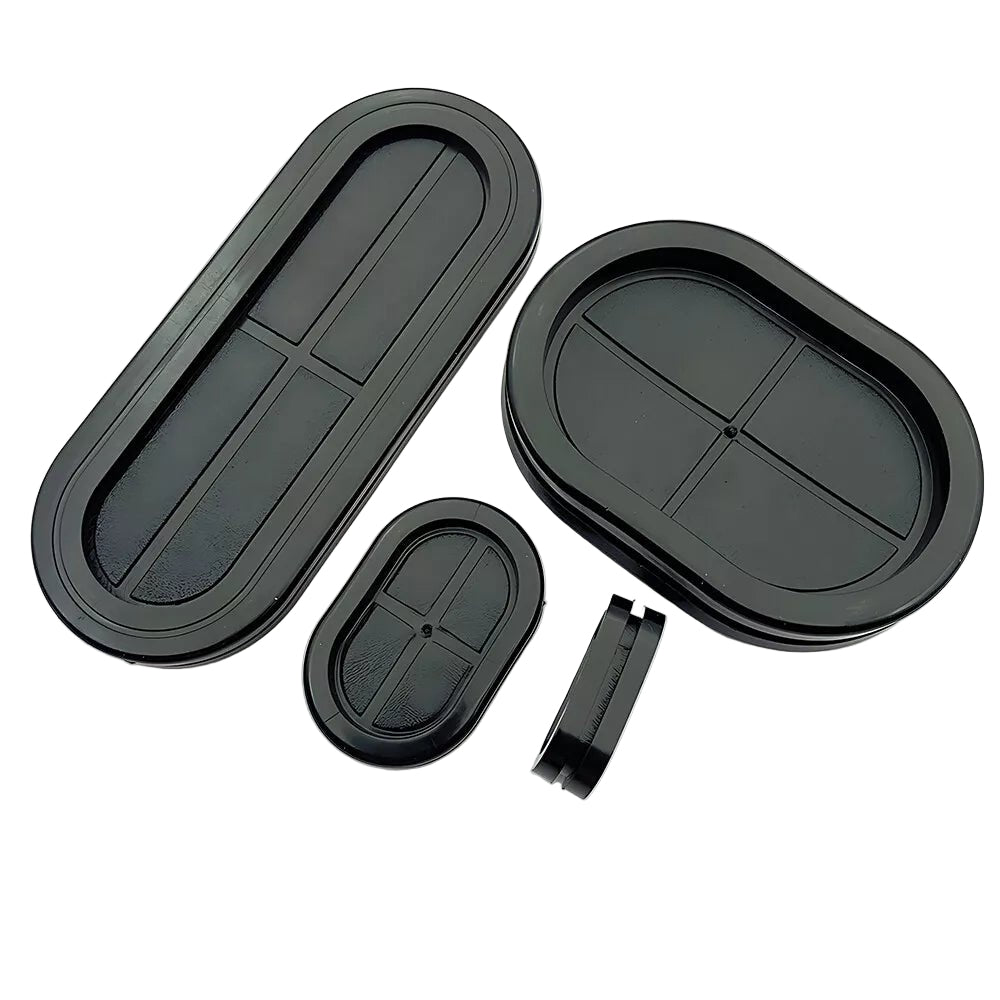
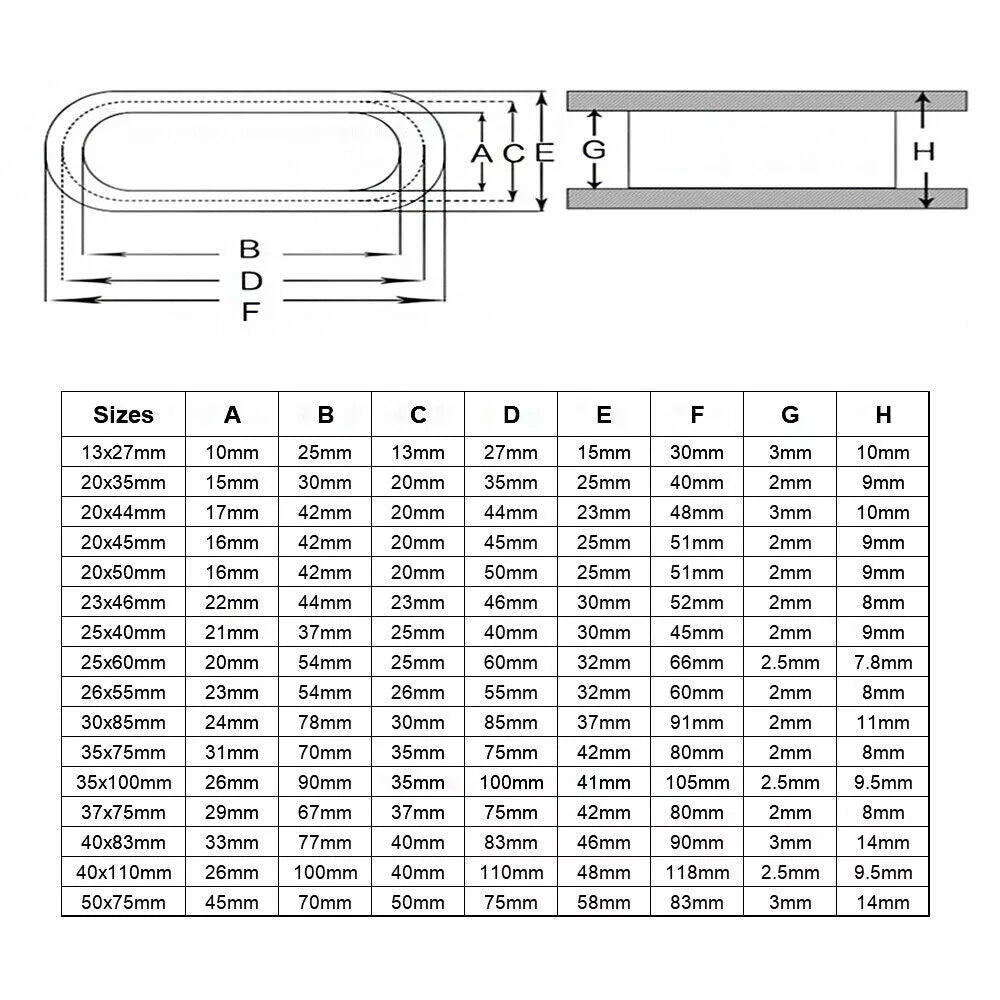
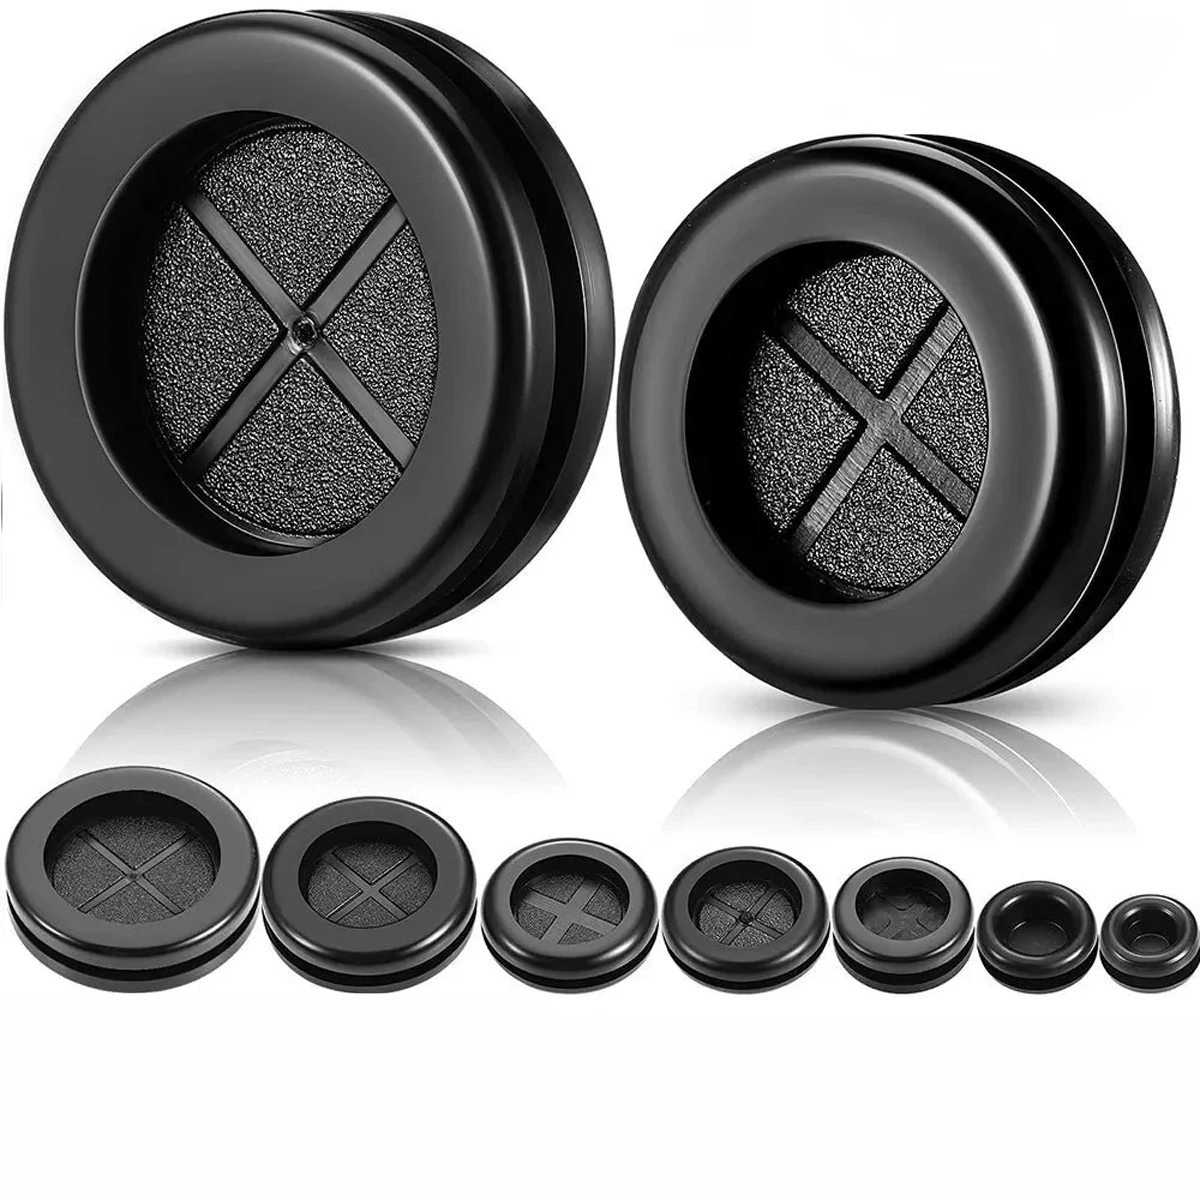
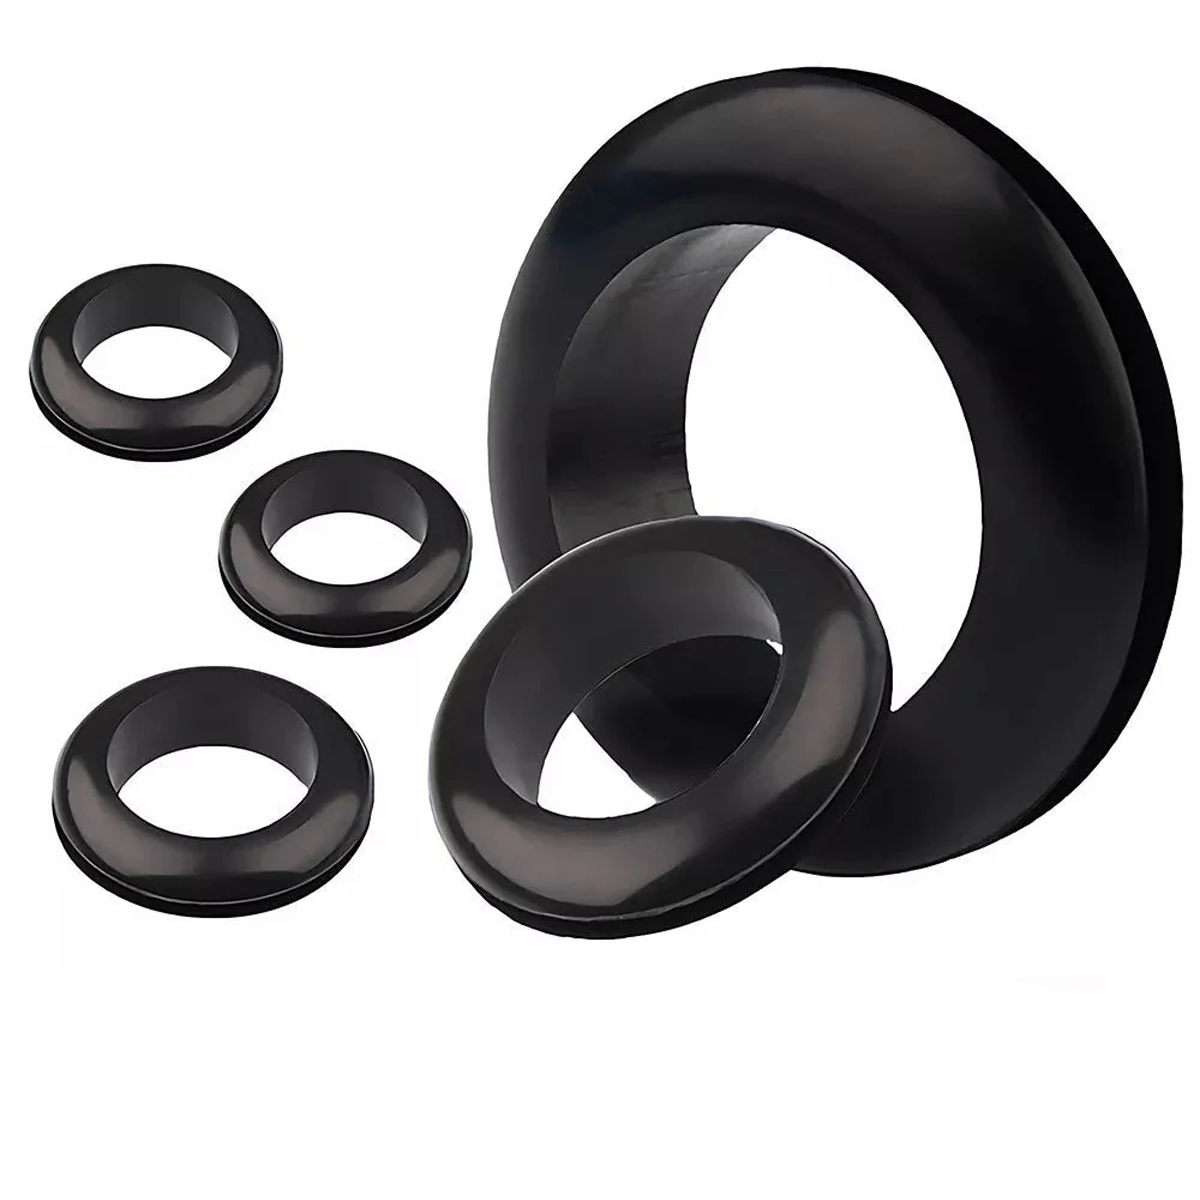
3. Grommet Plugs
Protect wires passing through metal/wood. Flame-retardant options available.
4. Test Plugs
Pressure-test PVC pipes effortlessly. Withstand 15 PSI—no specialized tools needed.
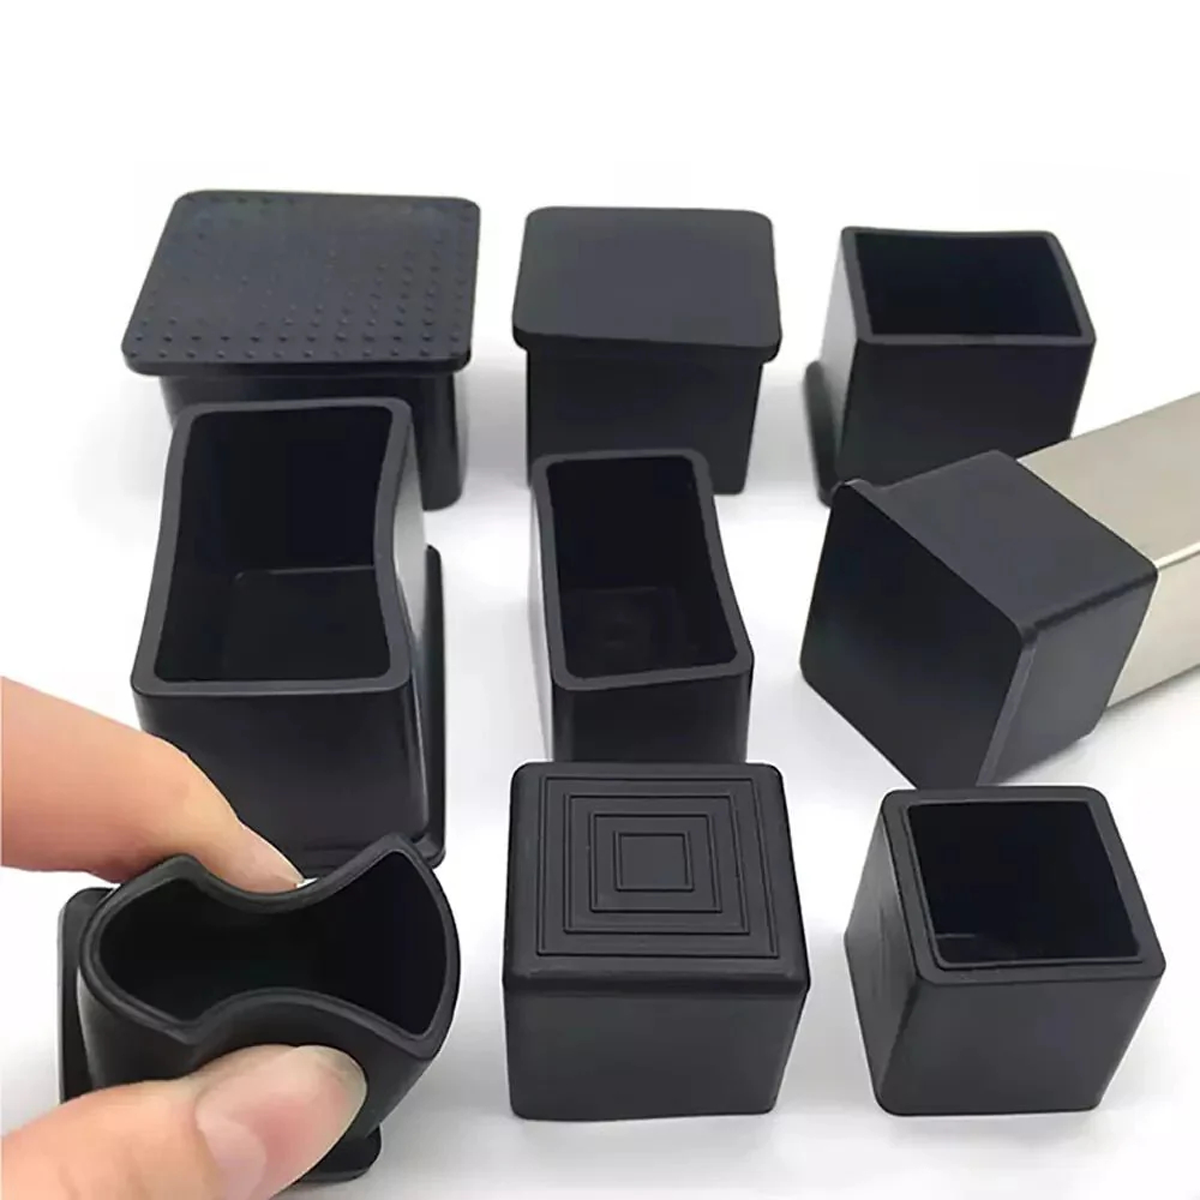
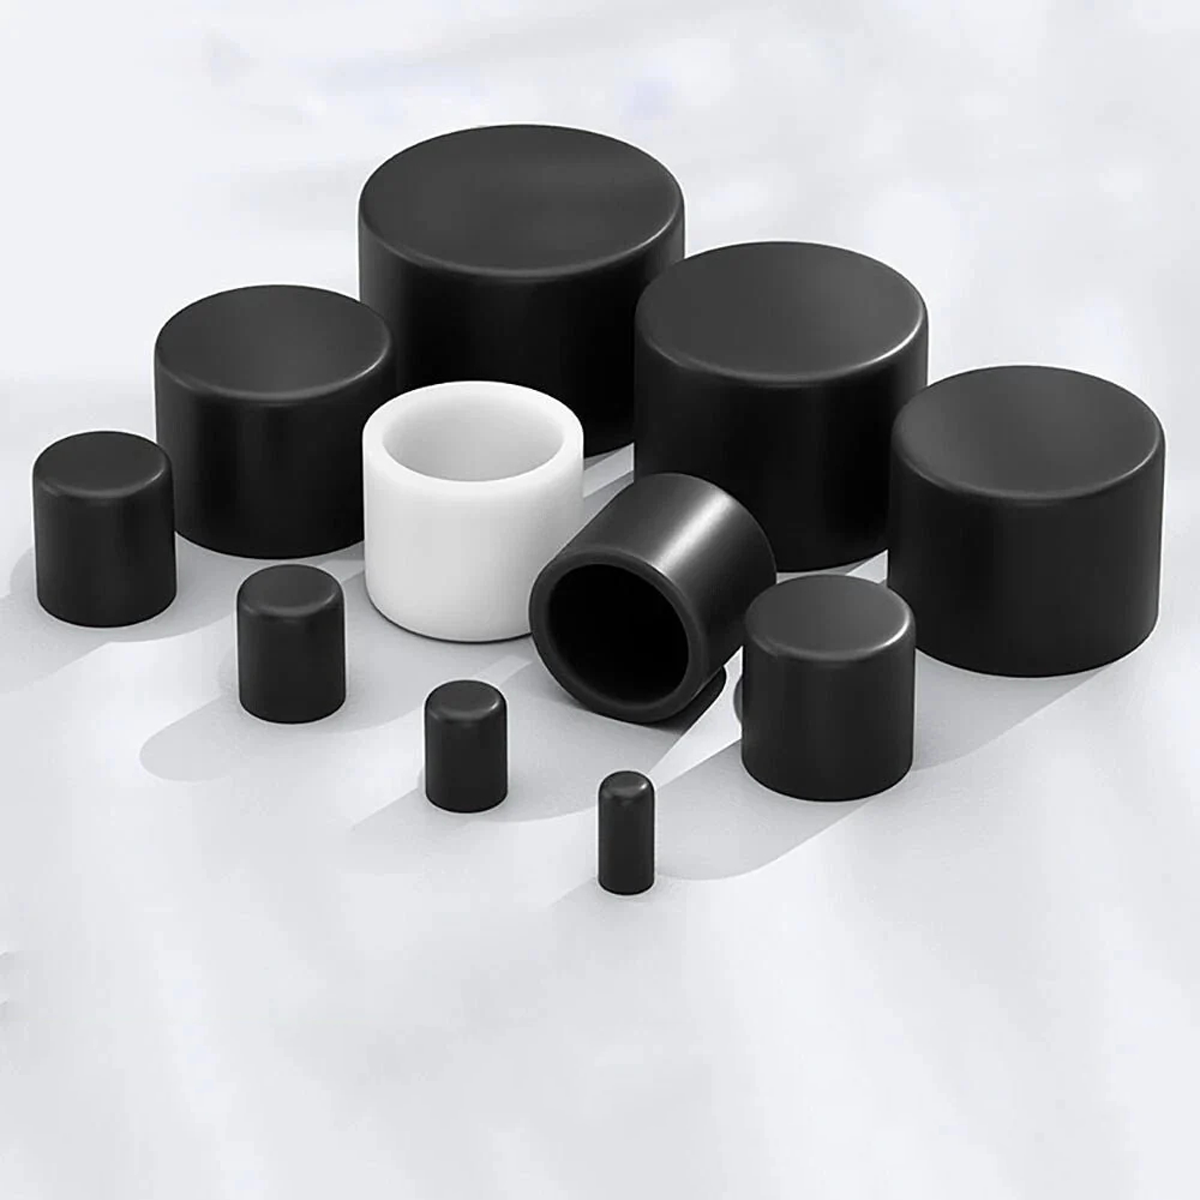
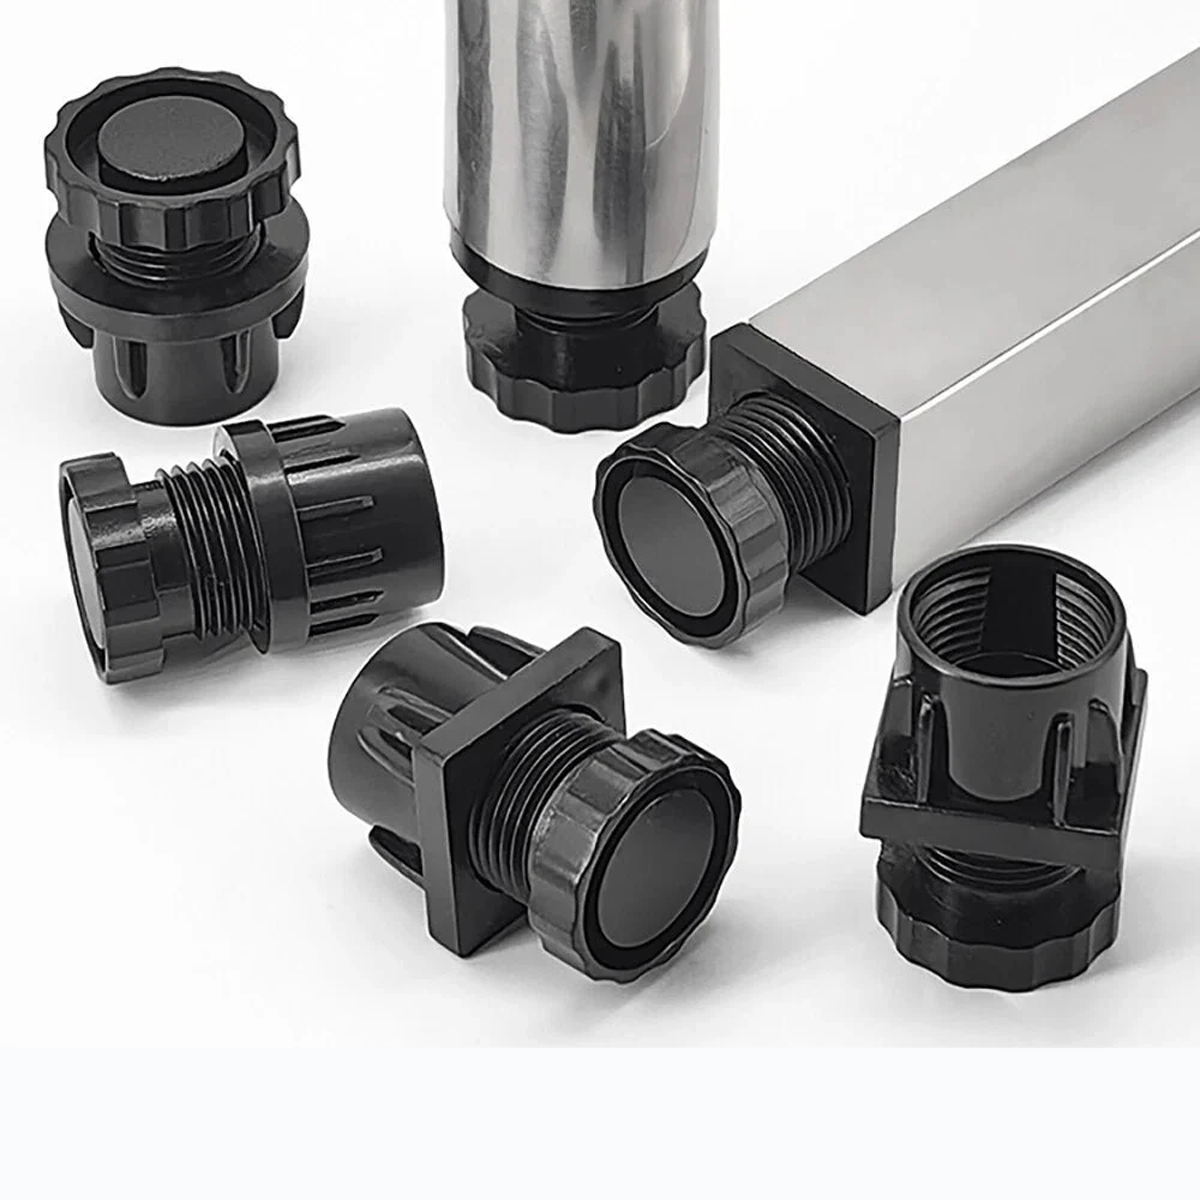
5. Specialty Plugs
Spark Plug Sockets: Rubber inserts prevent ignition damage. Fountain Plugs: UV-resistant for outdoor water features.
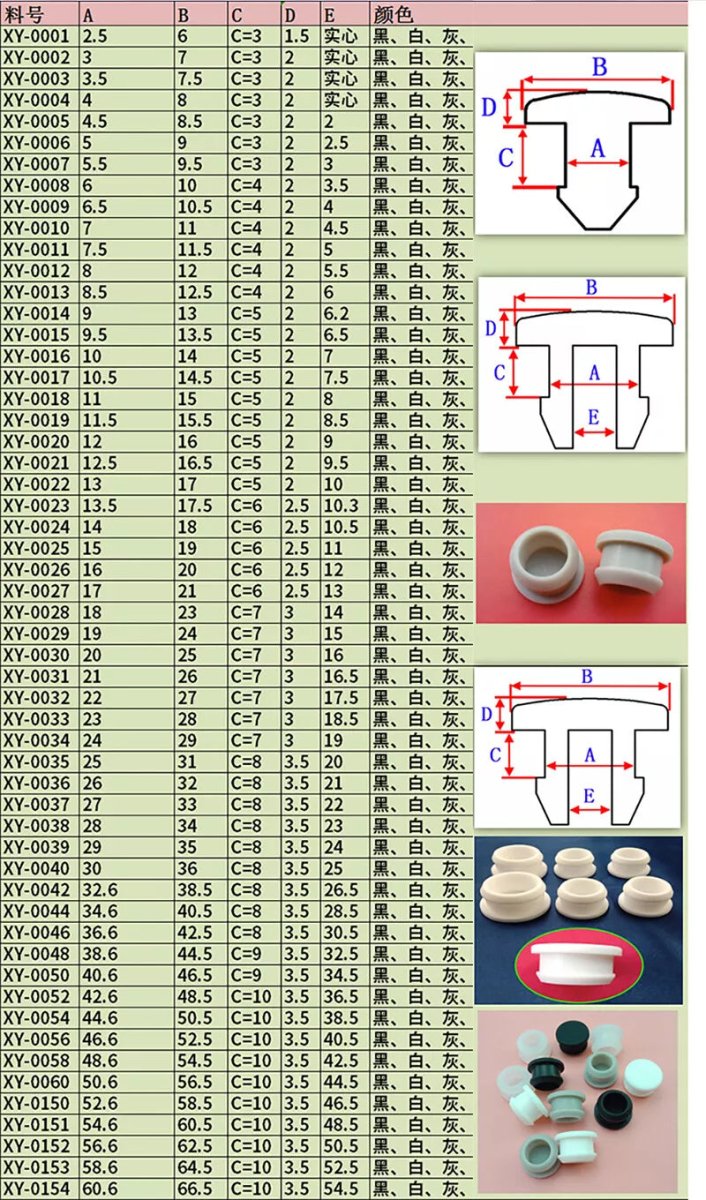
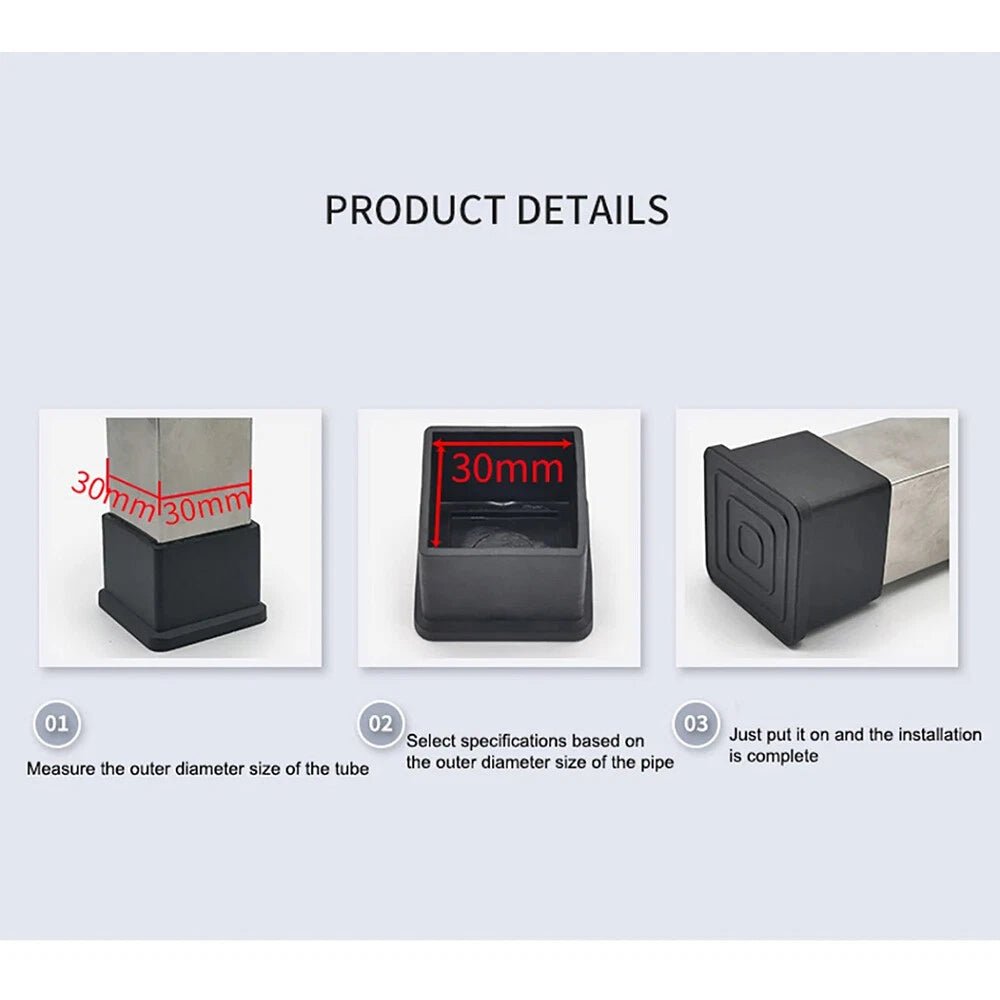
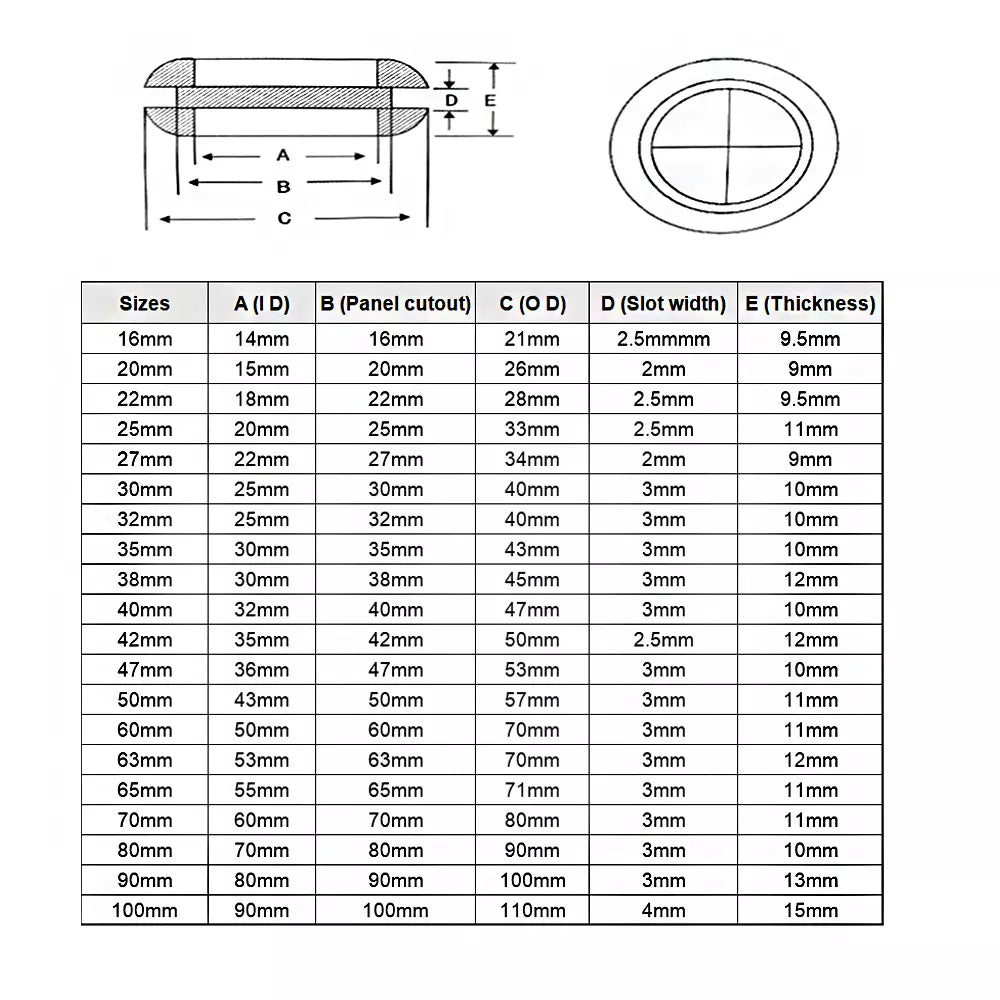
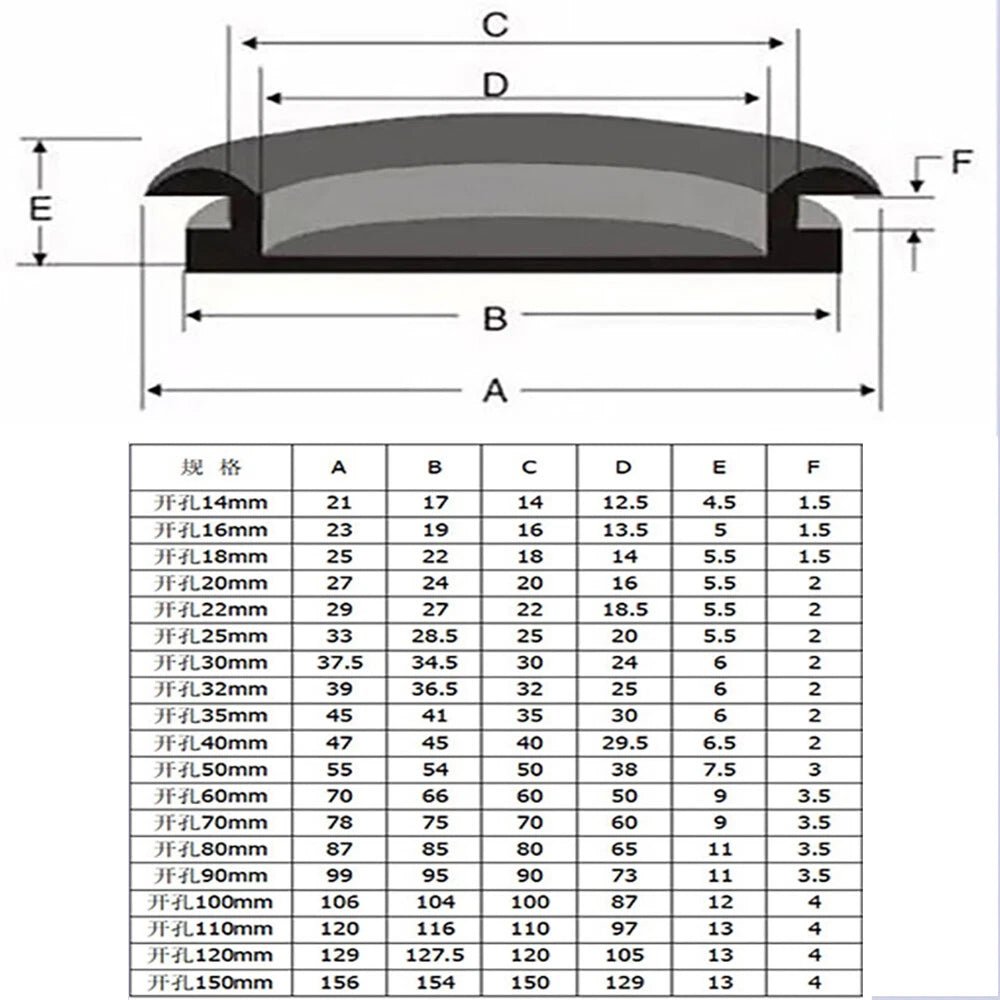
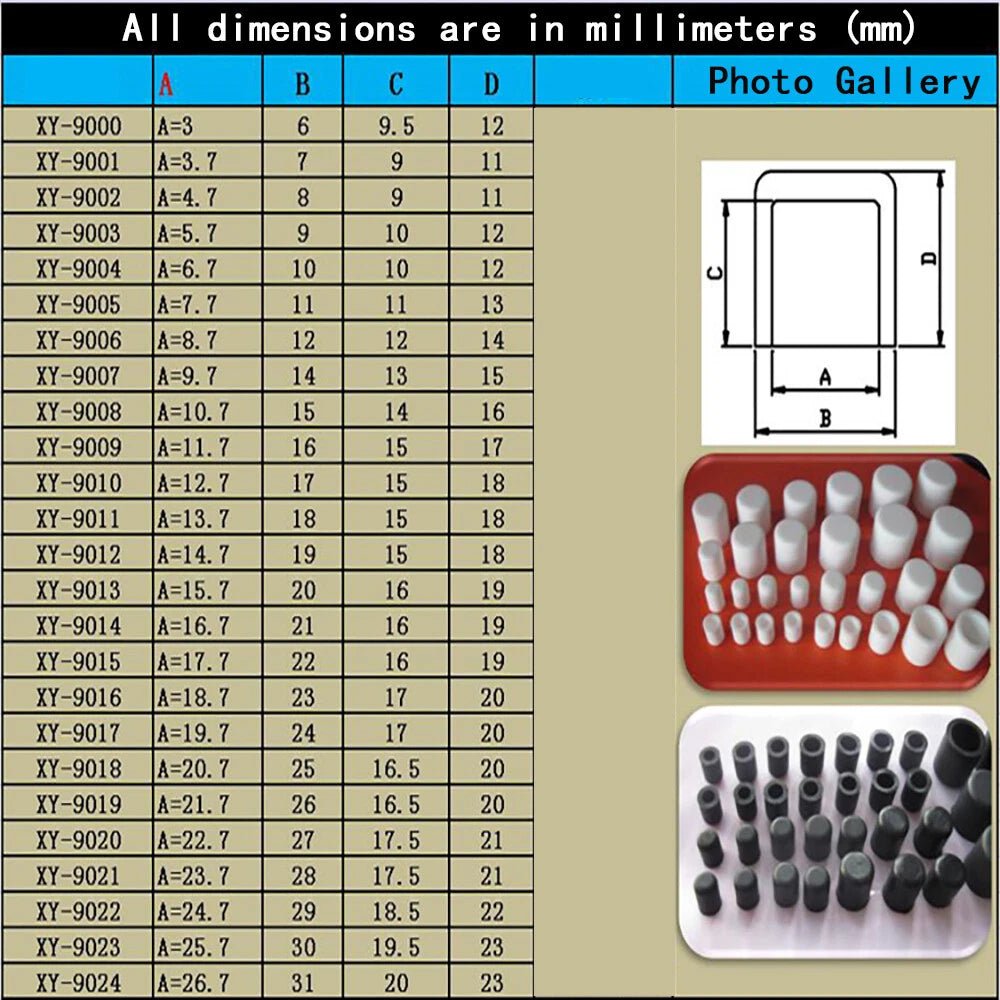
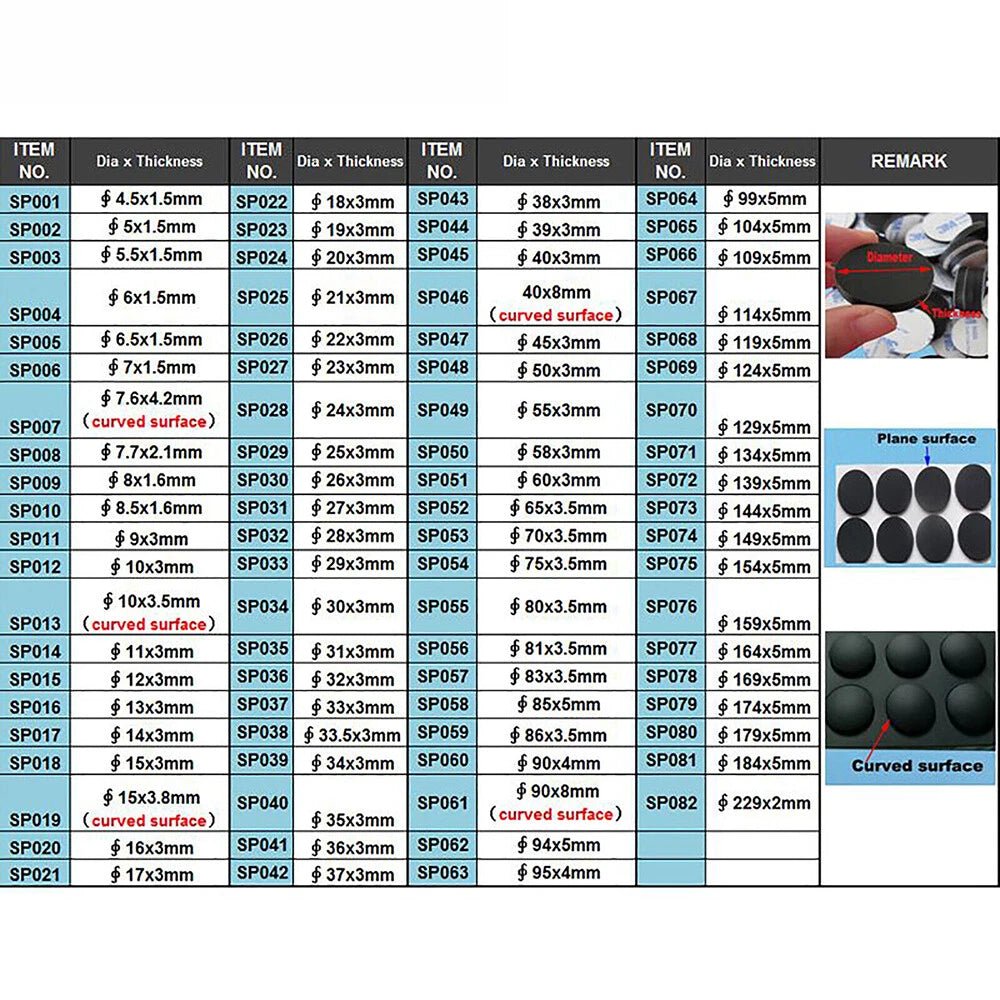
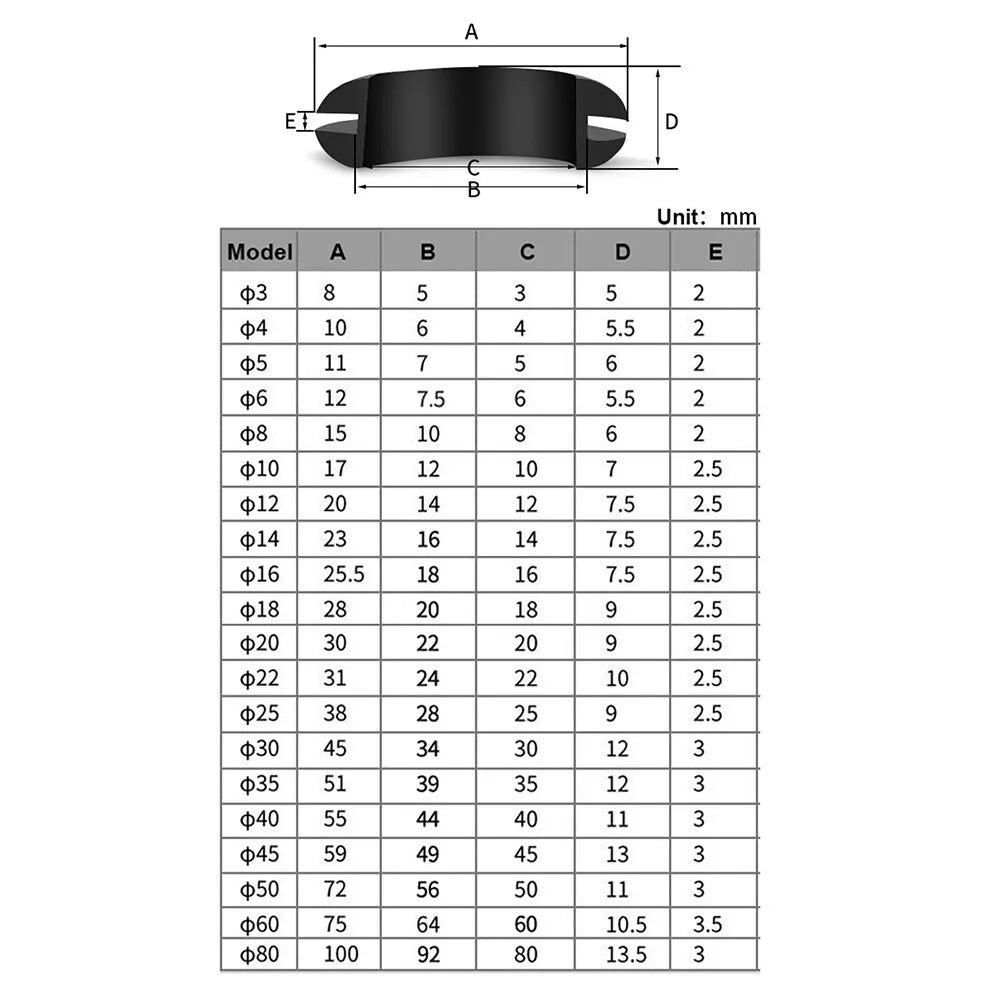
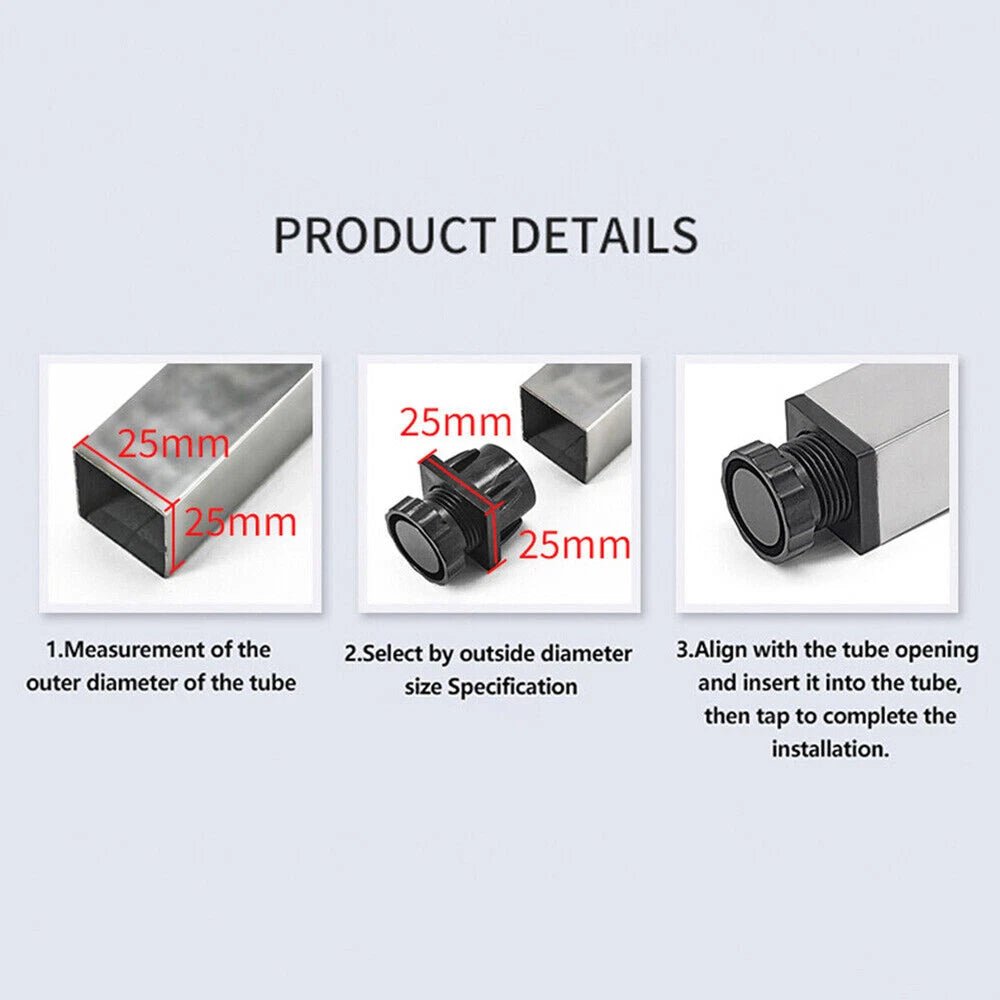
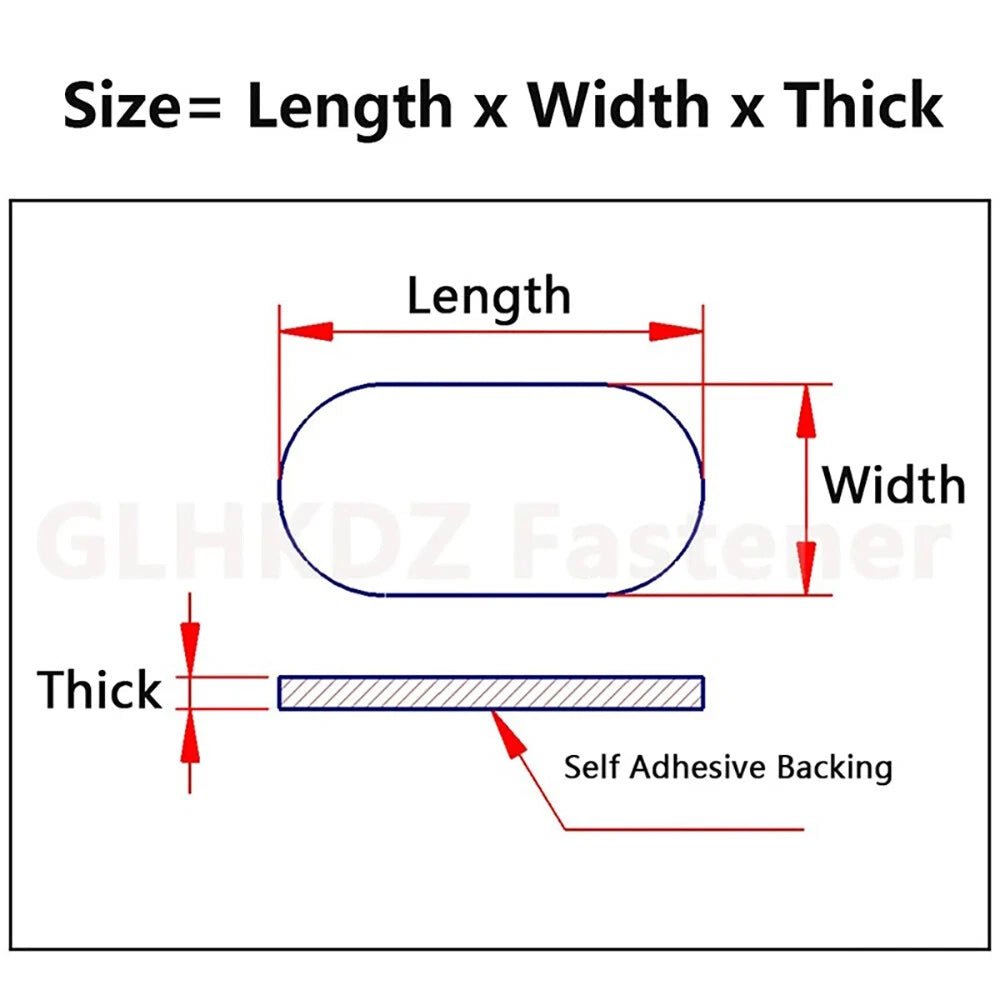
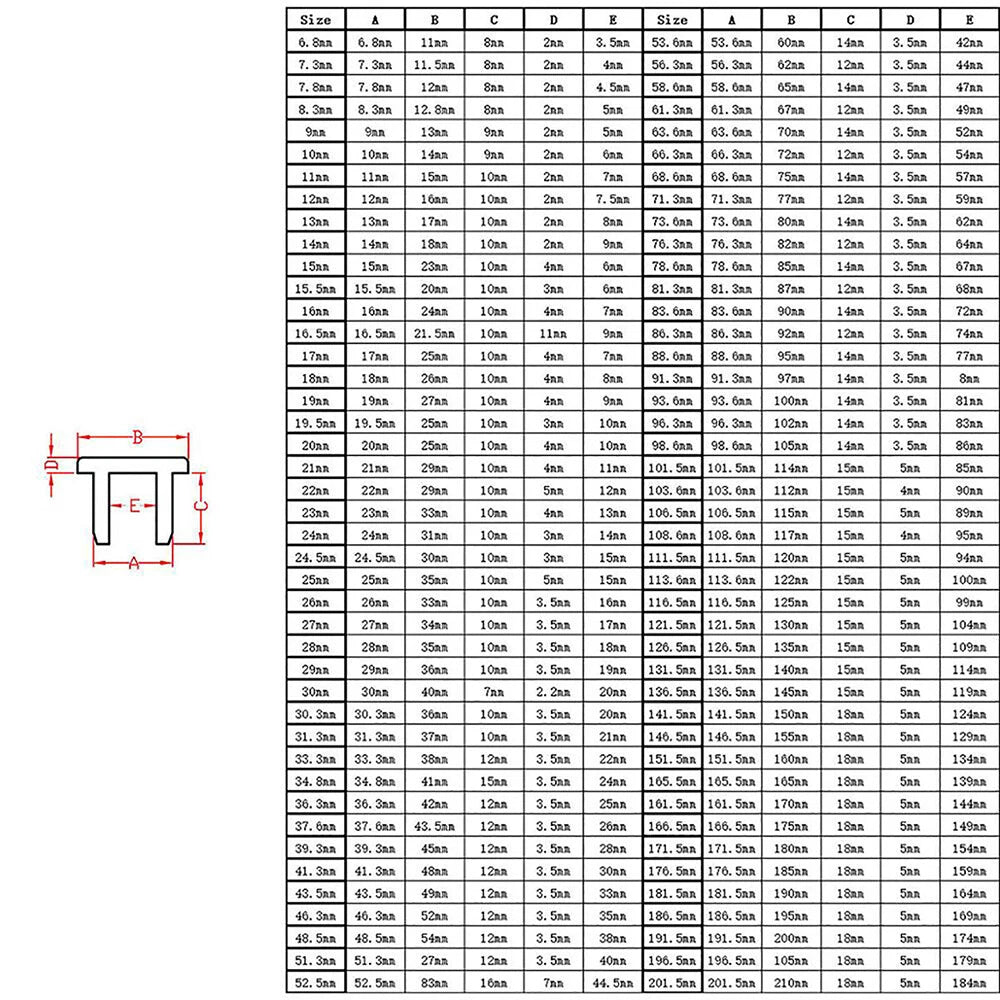
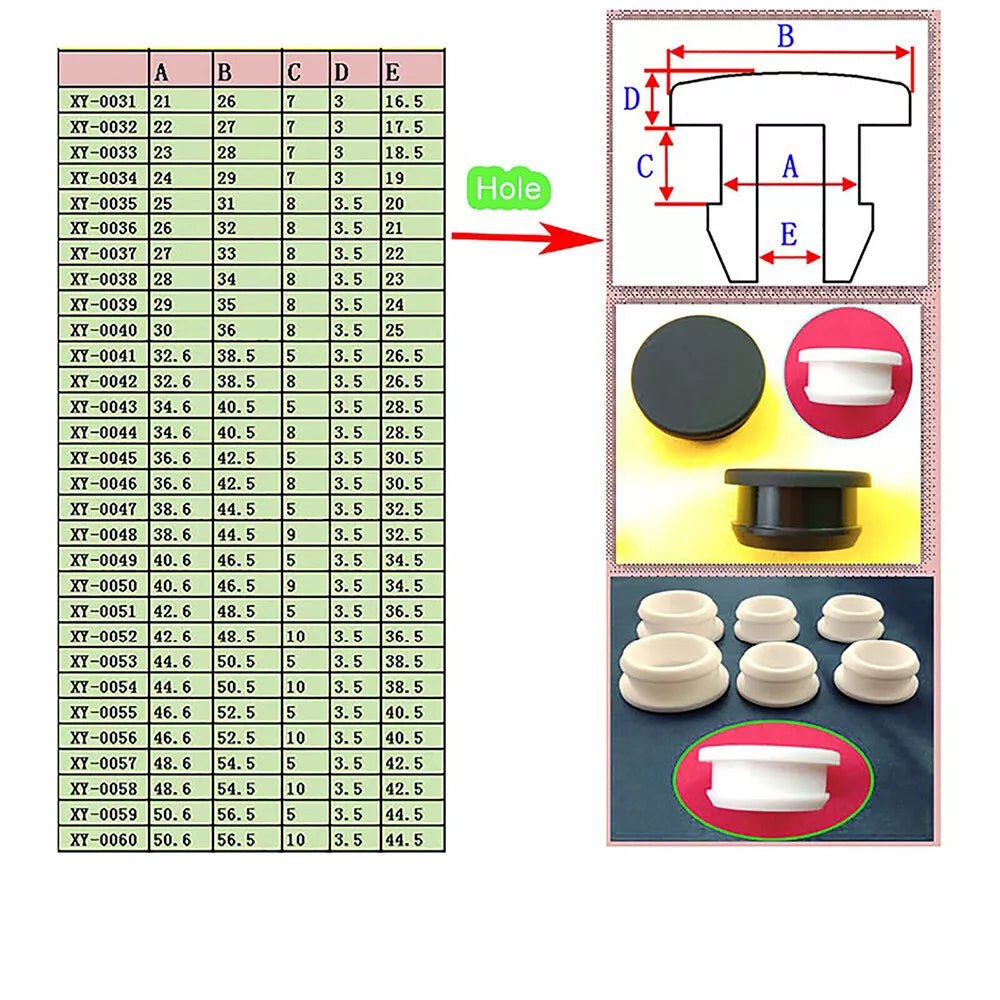
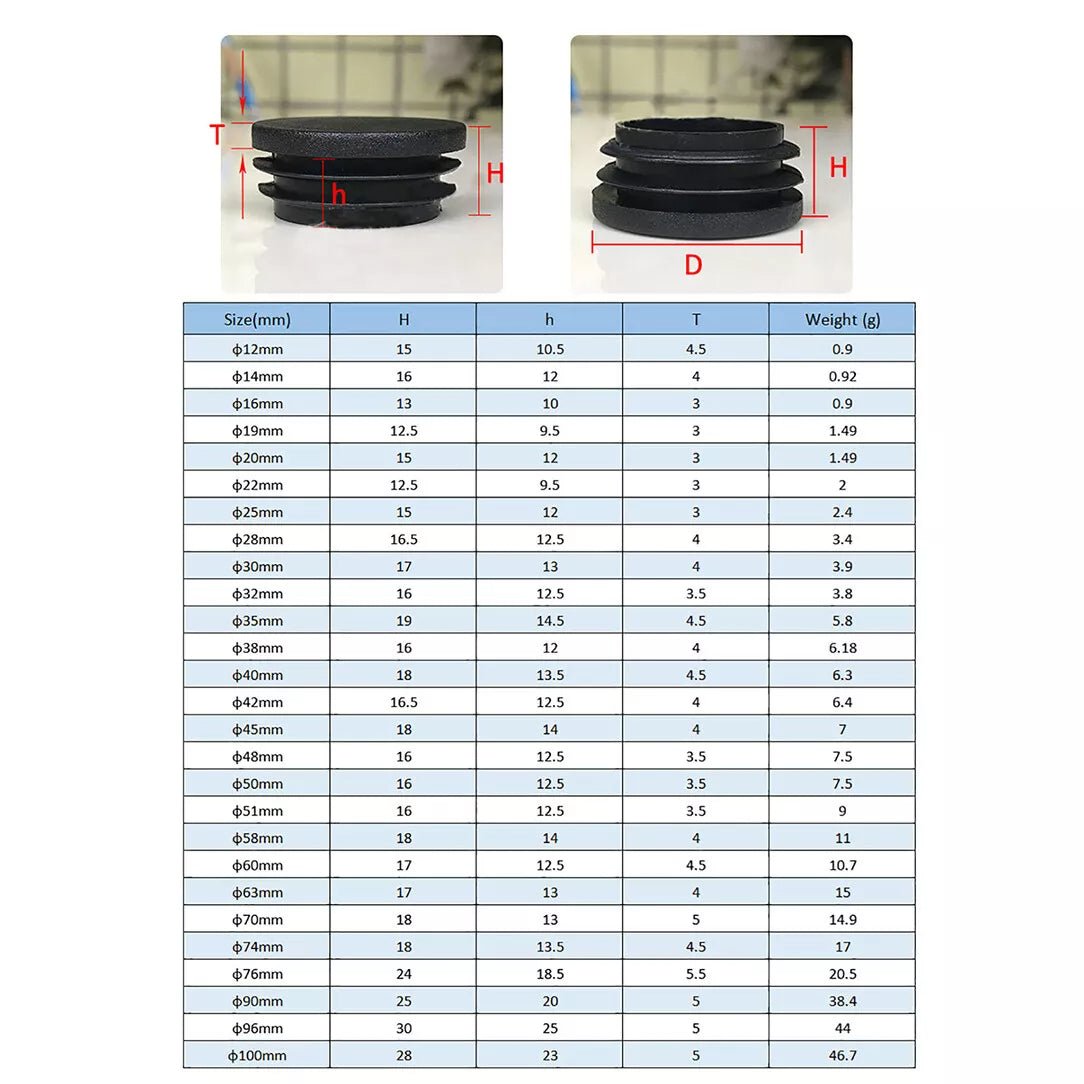
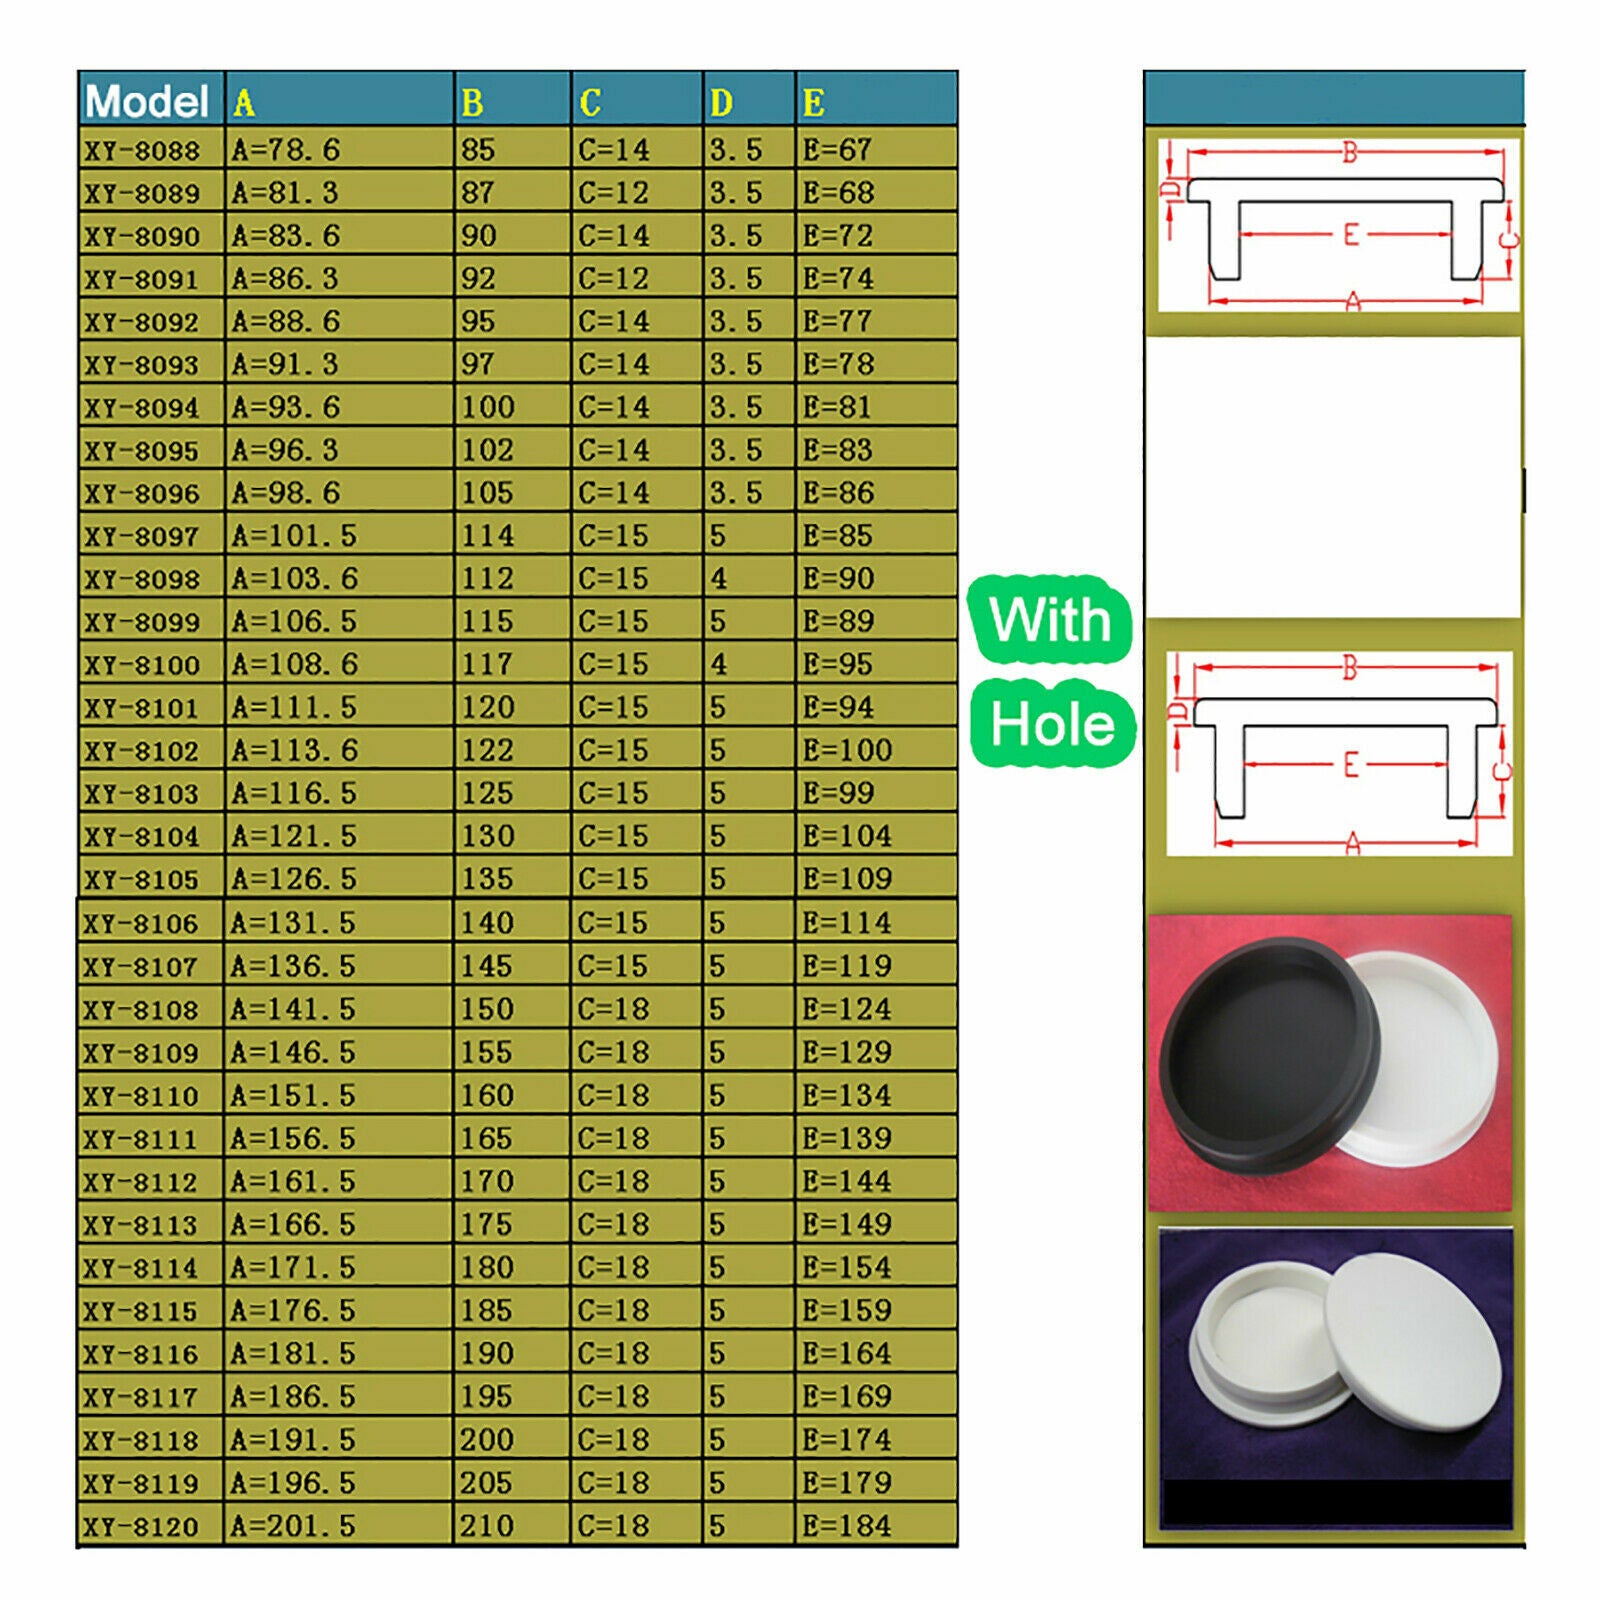
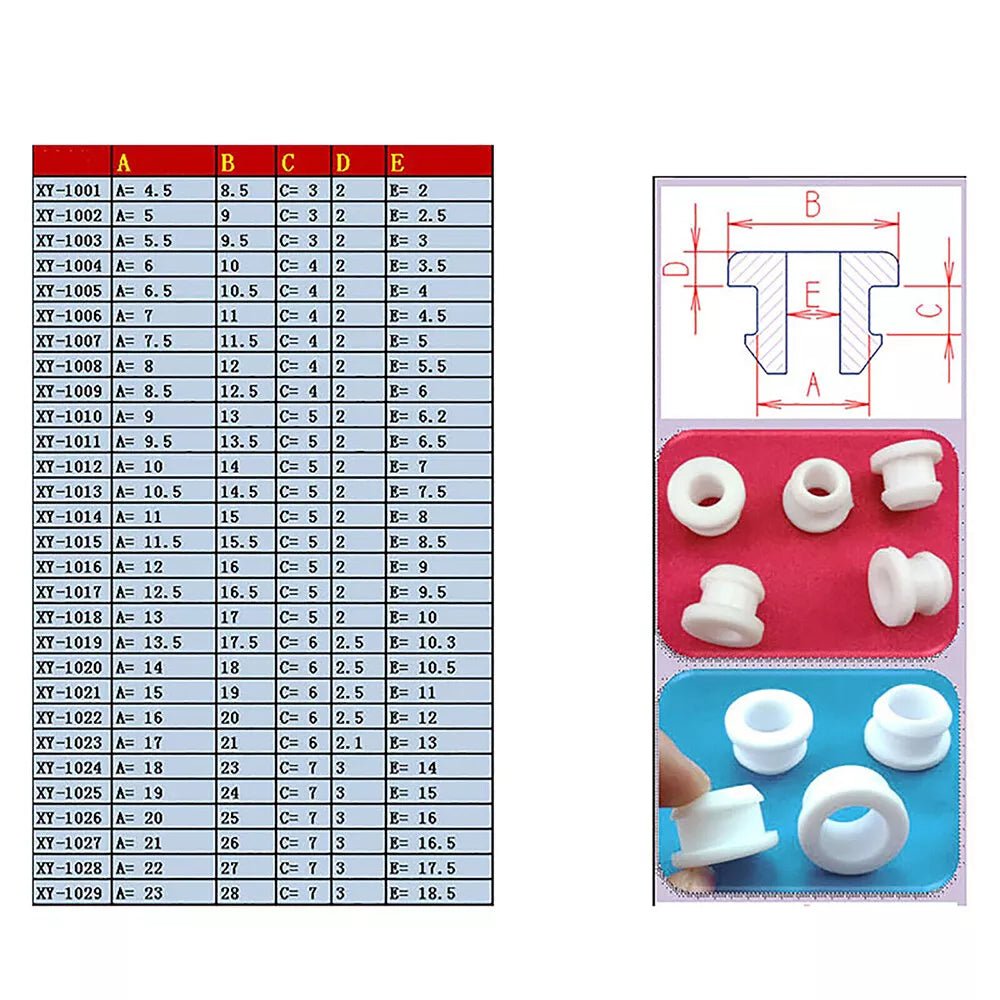
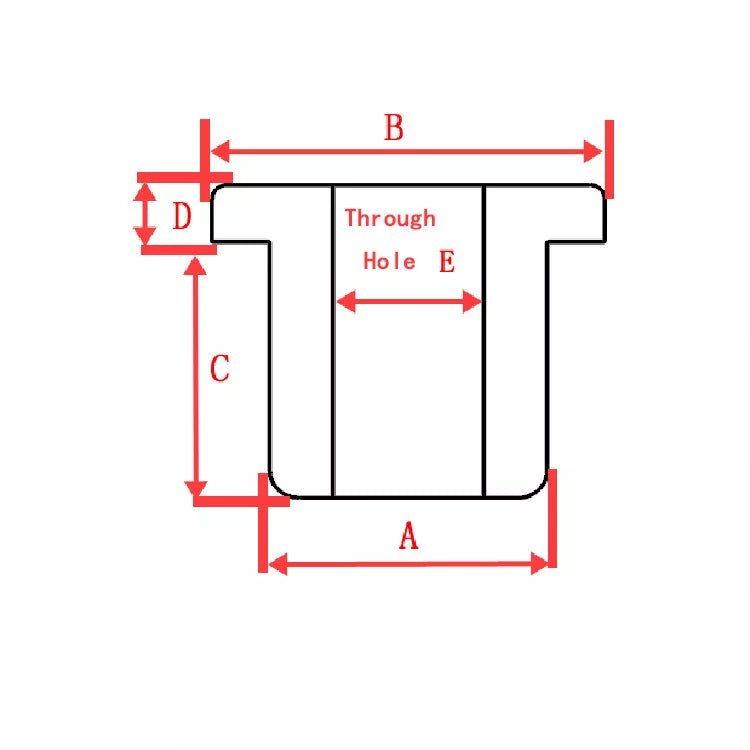
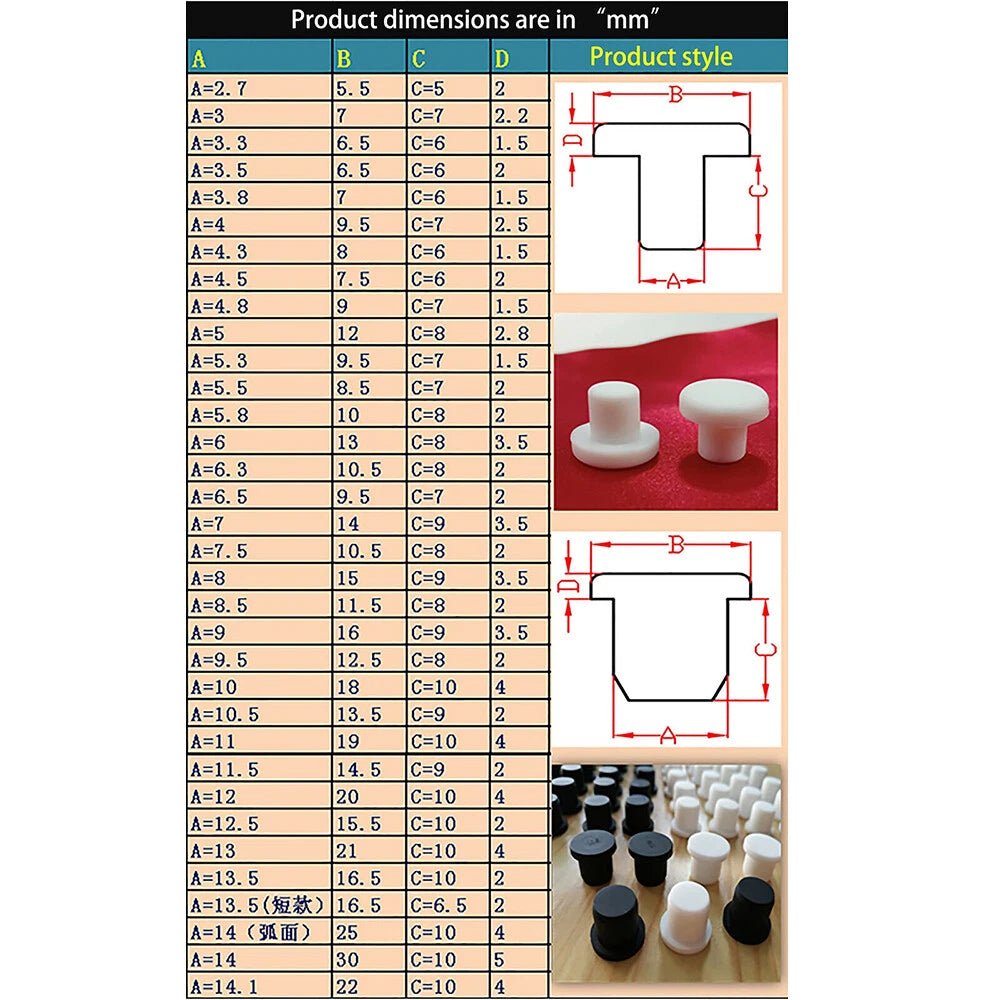
Rubber Plugs Sizing Guide: Measure Once, Seal Perfectly
Step 1: Measure hole diameter with calipers. For pipes, note inner/outer dimensions.
Step 2: Match to common sizes:
Small holes (5/16"–3/8"): Electronics, cables
Standard (1/2"–1"): Drains, pipes
Large (1.5"–4"): Industrial equipment
⚠️ Pro Advice: Undersized plugs leak; oversized ones strain materials. When in doubt, size up and use a washer.
Top 5 Rubber Plug DIY Fixes: Smart Sealing Solutions for Daily Life
-
Auto Maintenance: Seal oil pans or radiator ports. Resists motor oil degradation.
-
Plumbing Fixes: Stop leaks under sinks or freeze-proof outdoor pipes.
-
Electrical Safety: Waterproof junction boxes with grommet plugs.
-
Boating & Outdoors: Bilge plugs prevent flooding. Marine-grade EPDM resists saltwater.
-
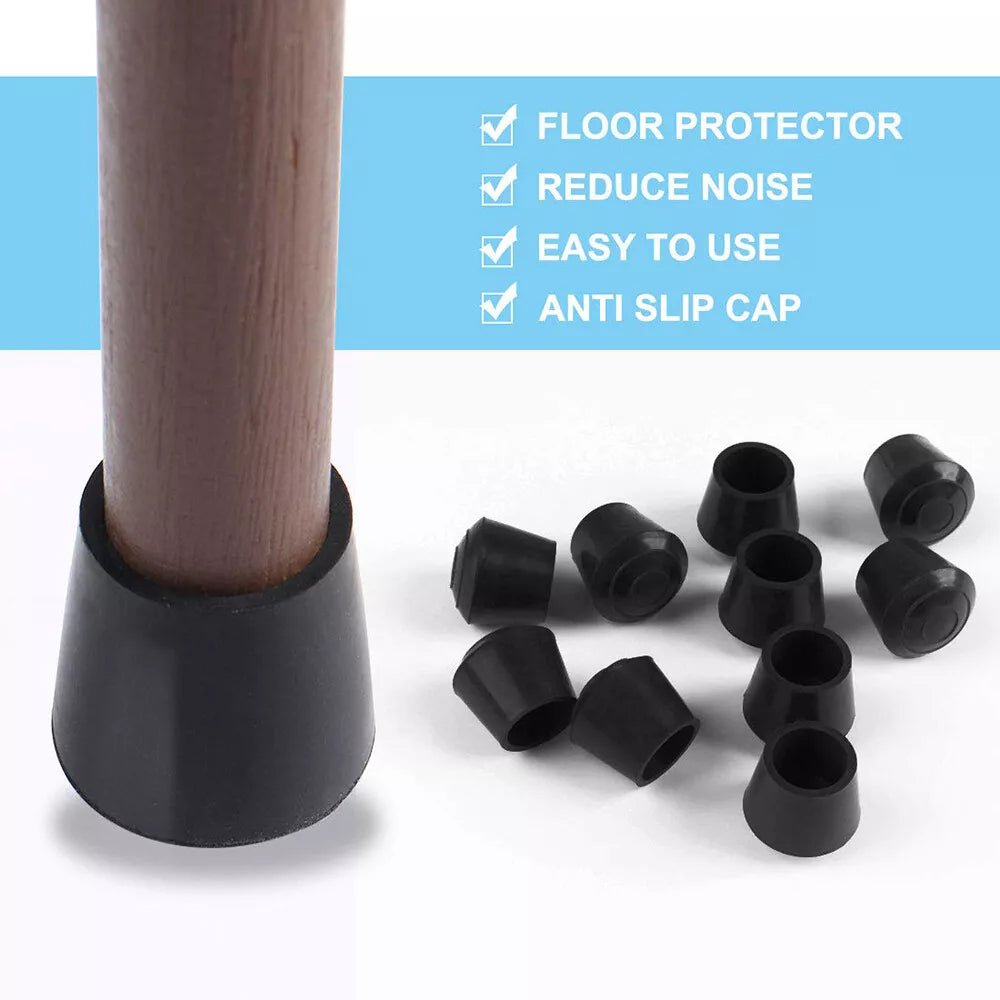
Creative Repurposing: Use tapered plugs as furniture feet or tool organizers.
About Rubber Plugs Installation: 3 Foolproof Techniques
Method 1: Hand-Tightened Seals
For drain plugs: Insert, twist clockwise until resistance is felt. No tools needed.
Method 2: Expansion Plug Setup
Clean the pipe interior. Insert plug, tighten wing nut until snug. Test with low-pressure water flow.
Method 3: Grommet Installation
Punch a clean hole (deburr edges). Press grommet into place with a mallet. Insert plug flush with the surface.
✨ Hack: For stubborn holes, warm the rubber plug in hot water to increase pliability.
Why HomeDIYer Rubber Plugs Outperform
-
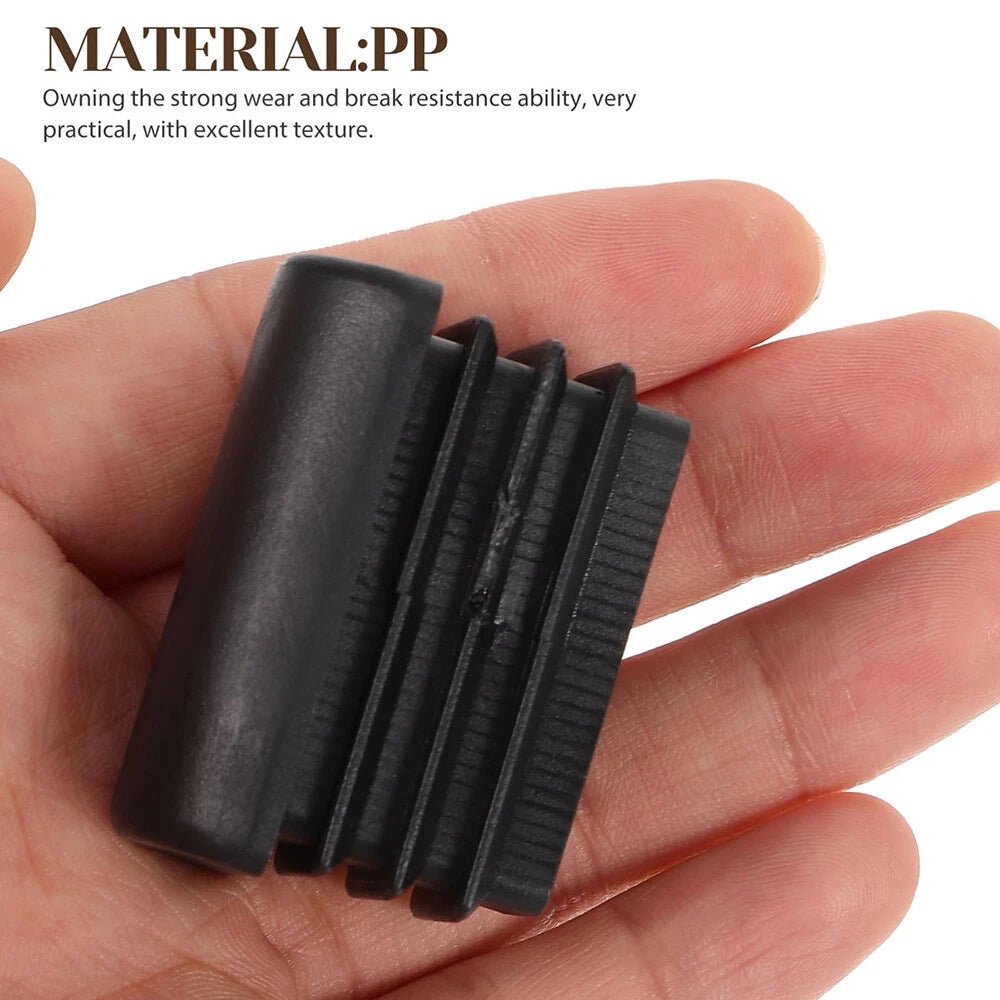
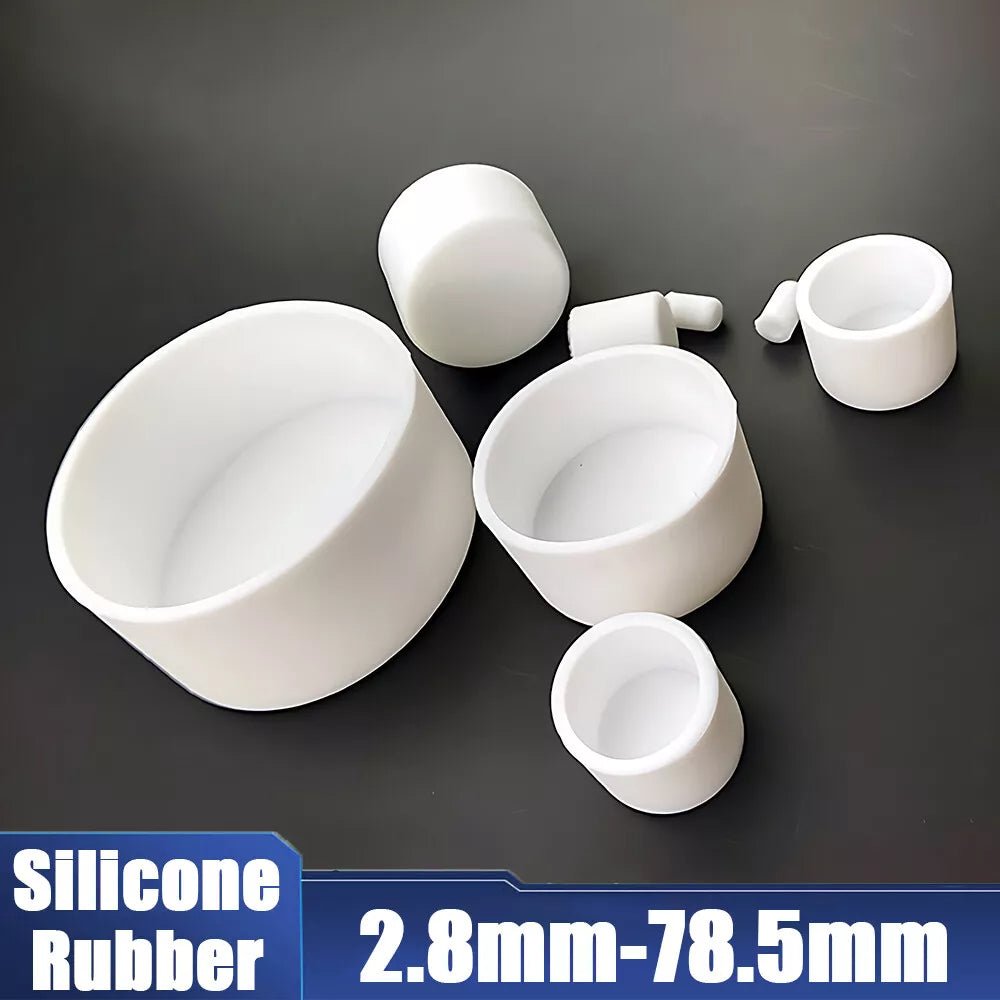
Material Science: Nitrile rubber (oil resistance) vs. EPDM (weather/UV resistance).
-
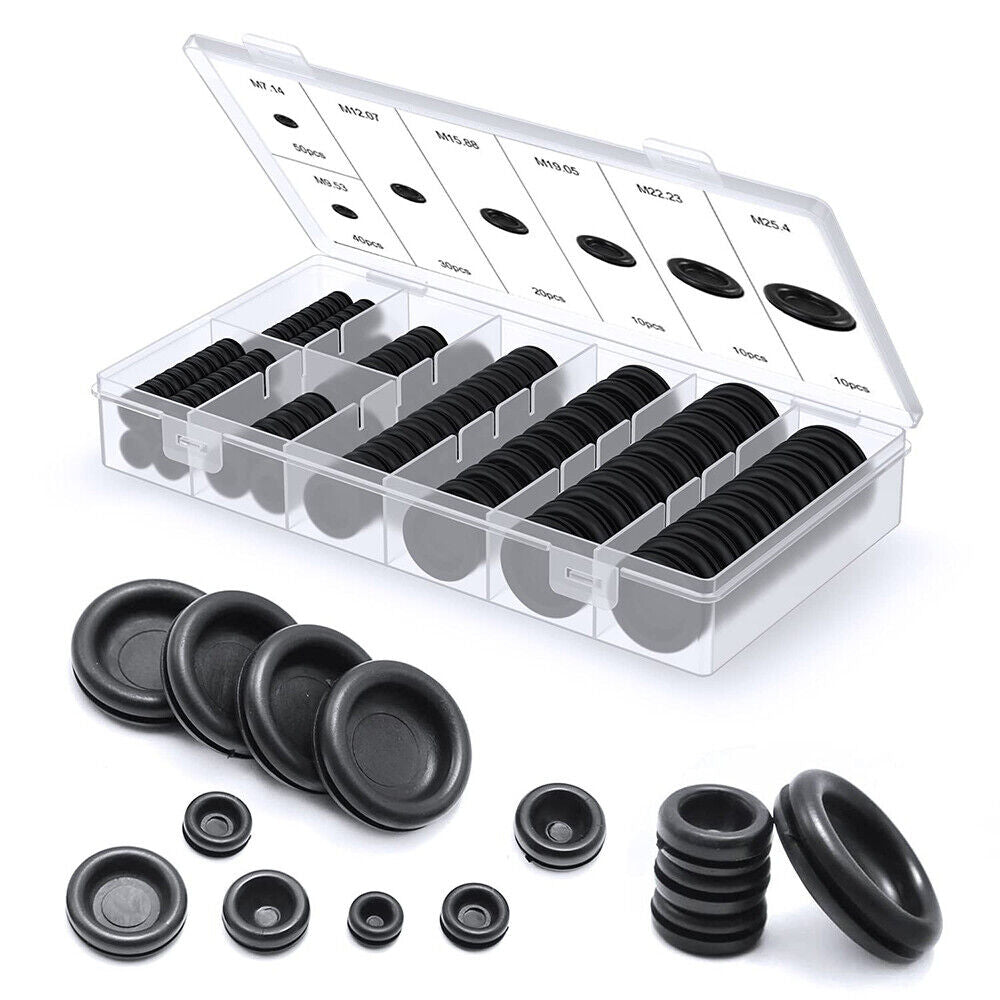
Value Kits: Our 10-piece plug assortments cover 90% of household needs.
-
Lifetime Guarantee: We replace failed plugs—no questions asked.
Maintenance & Troubleshooting
-
Issue: Plug Slippage
Fix: Roughen contact surfaces with sandpaper or use adhesive sealant.
-
Issue: Cracking in Cold Weather
Fix: Switch to silicone-based plugs (flexible below freezing).
-
Cleaning Tip: Soak in vinegar to remove mineral deposits. Never use petroleum-based cleaners.
Conclusion: Seal Smarter, Not Harder
Rubber plugs are the unsung heroes of DIY—small investments that prevent costly disasters. At HomeDIYer, we democratize professional-grade solutions. Whether you’re plugging a 1/2" sink hole or a 4" industrial pipe, our plugs deliver reliability without complexity.
Ready to conquer your next project?
Expertly engineered. DIY simplified.