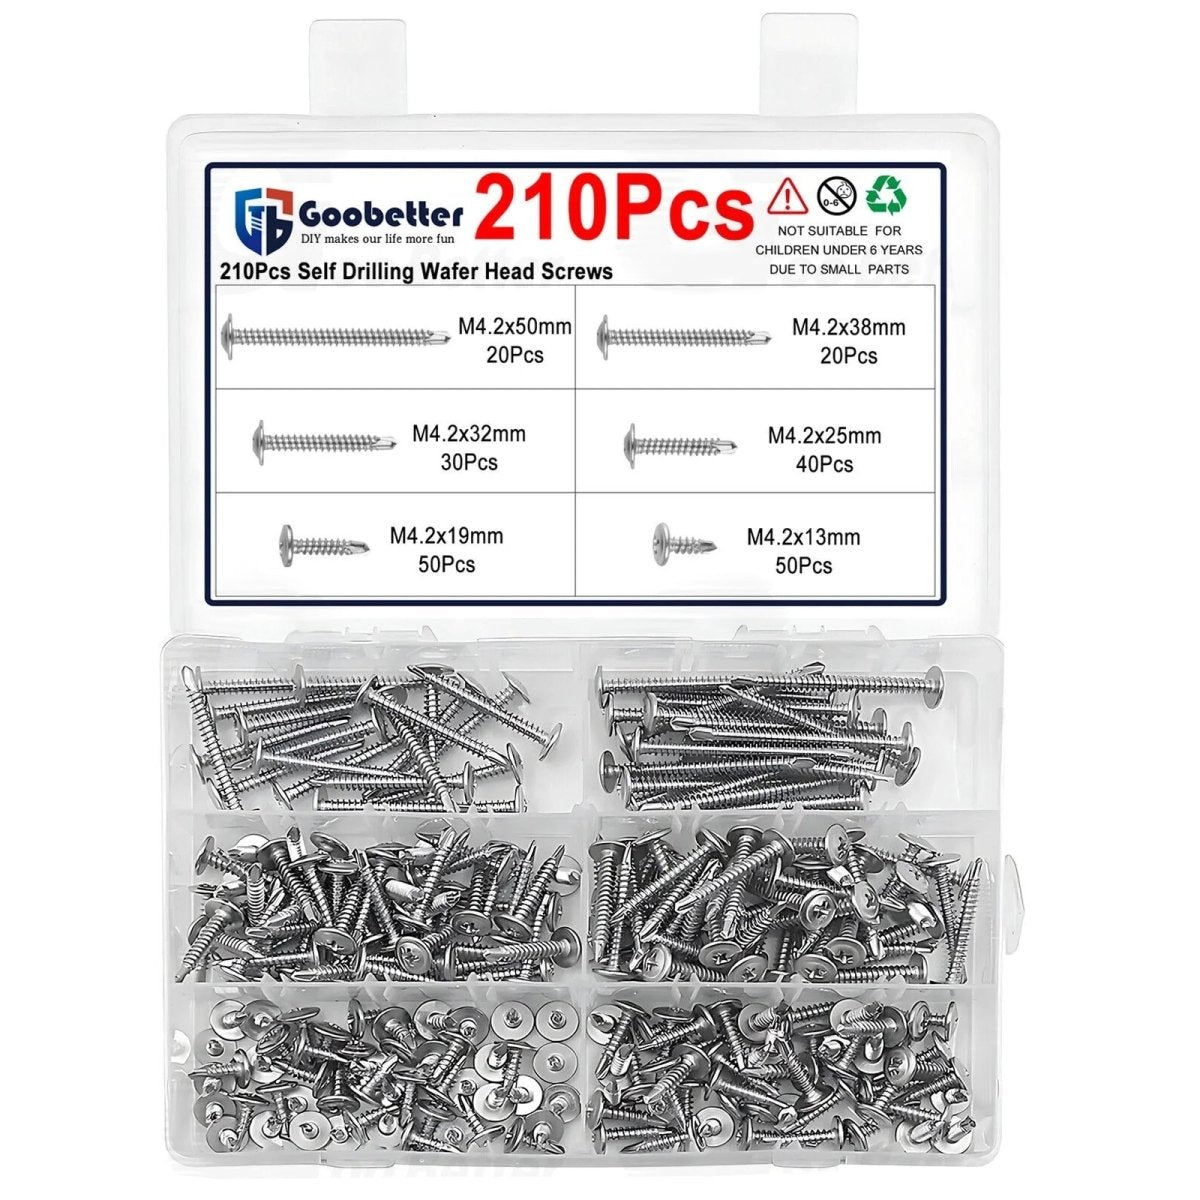
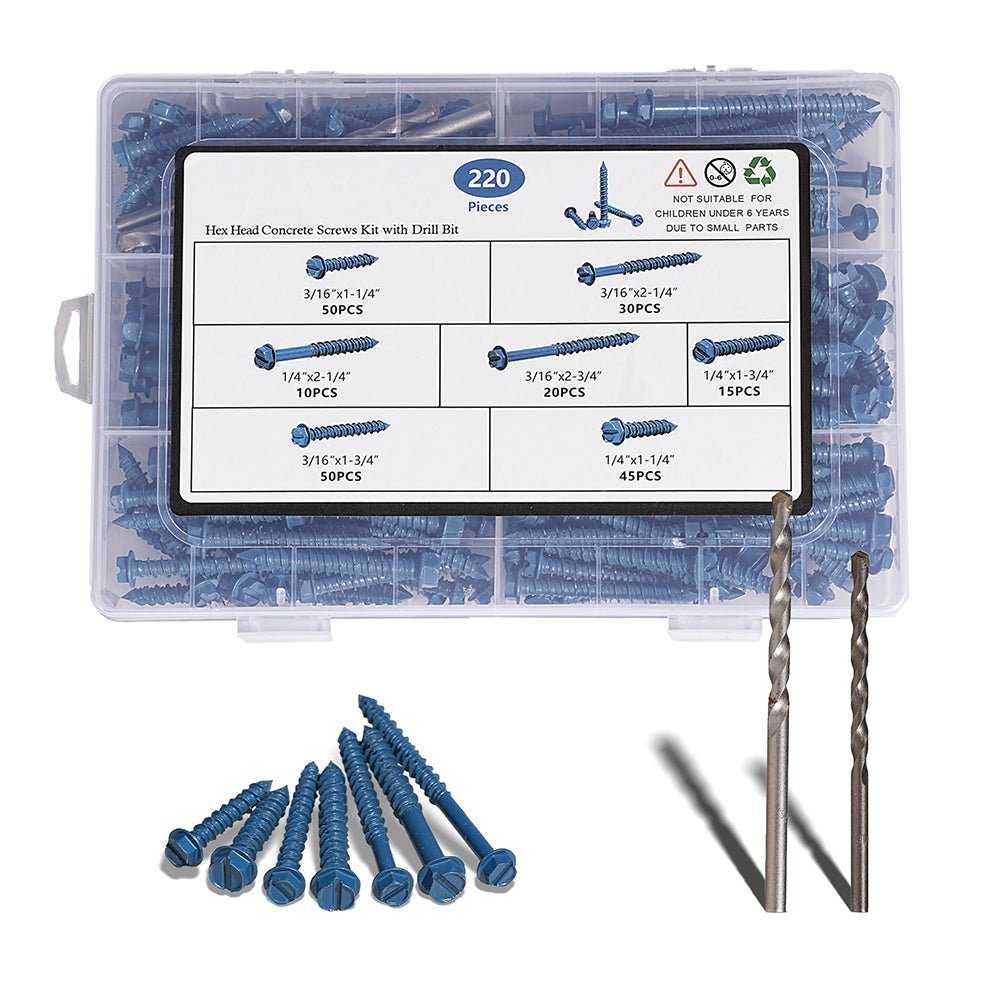
Homediyer’s computer mounting screws are precision-engineered for securing PC components like motherboards, SSDs, and power supplies. Made from anti-static stainless steel or nickel-plated brass, these screws prevent corrosion and ESD damage, ensuring safe installation for DIY builders and IT professionals.
-
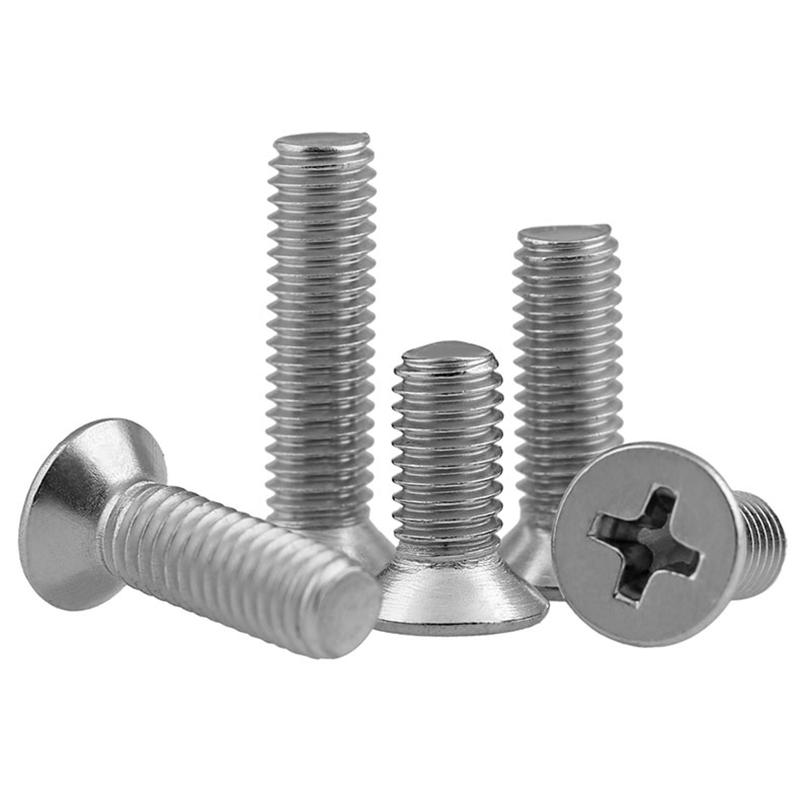
Materials: Stainless steel, nickel-plated brass, black oxide steel
-
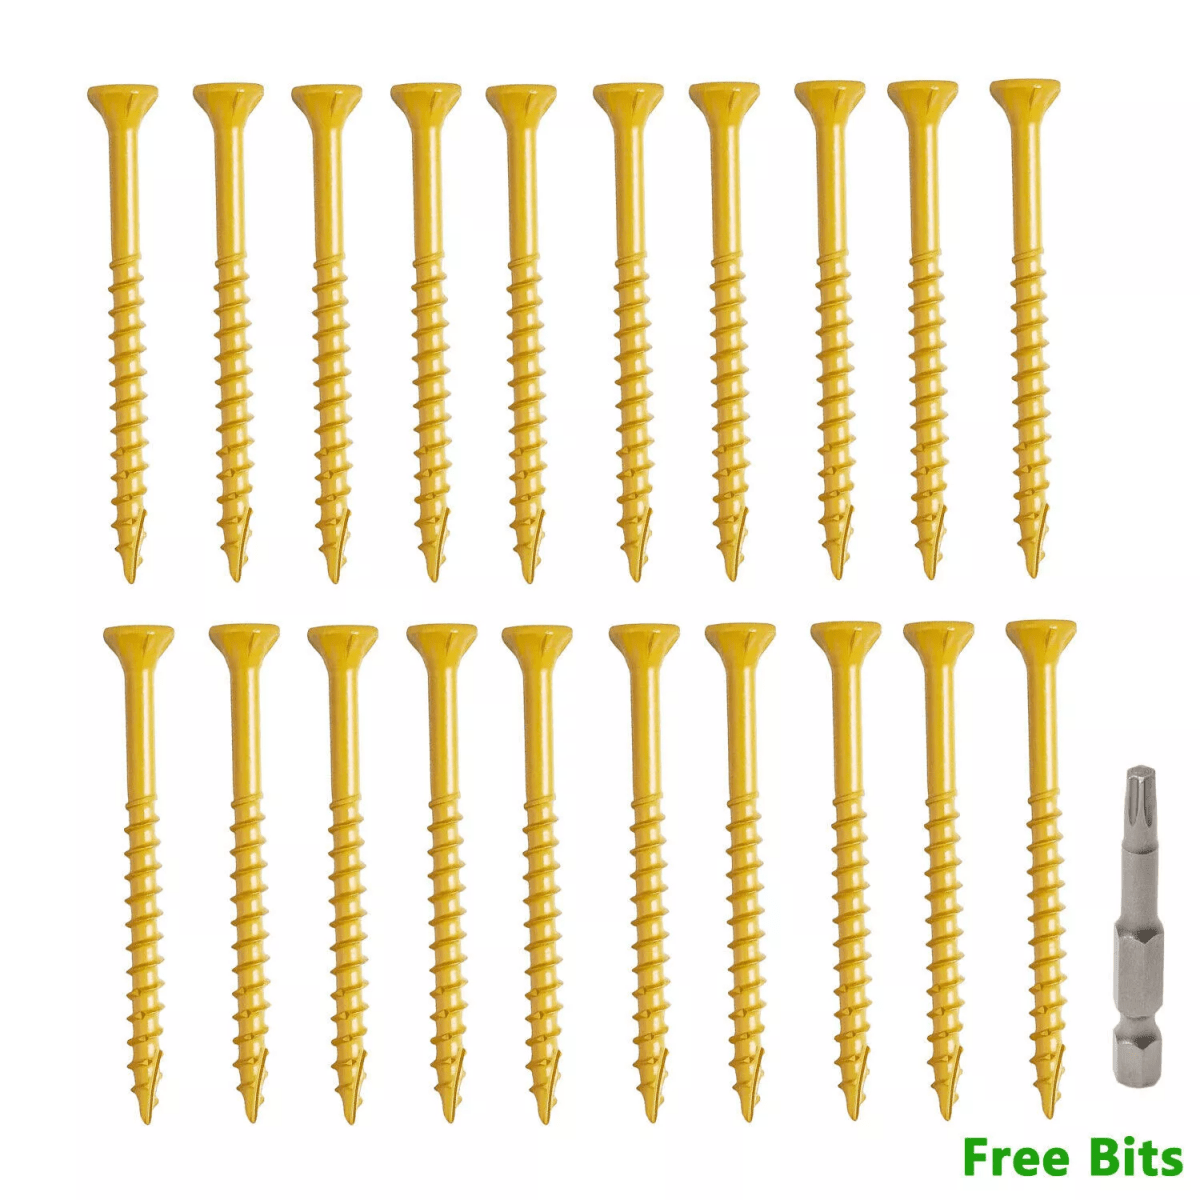
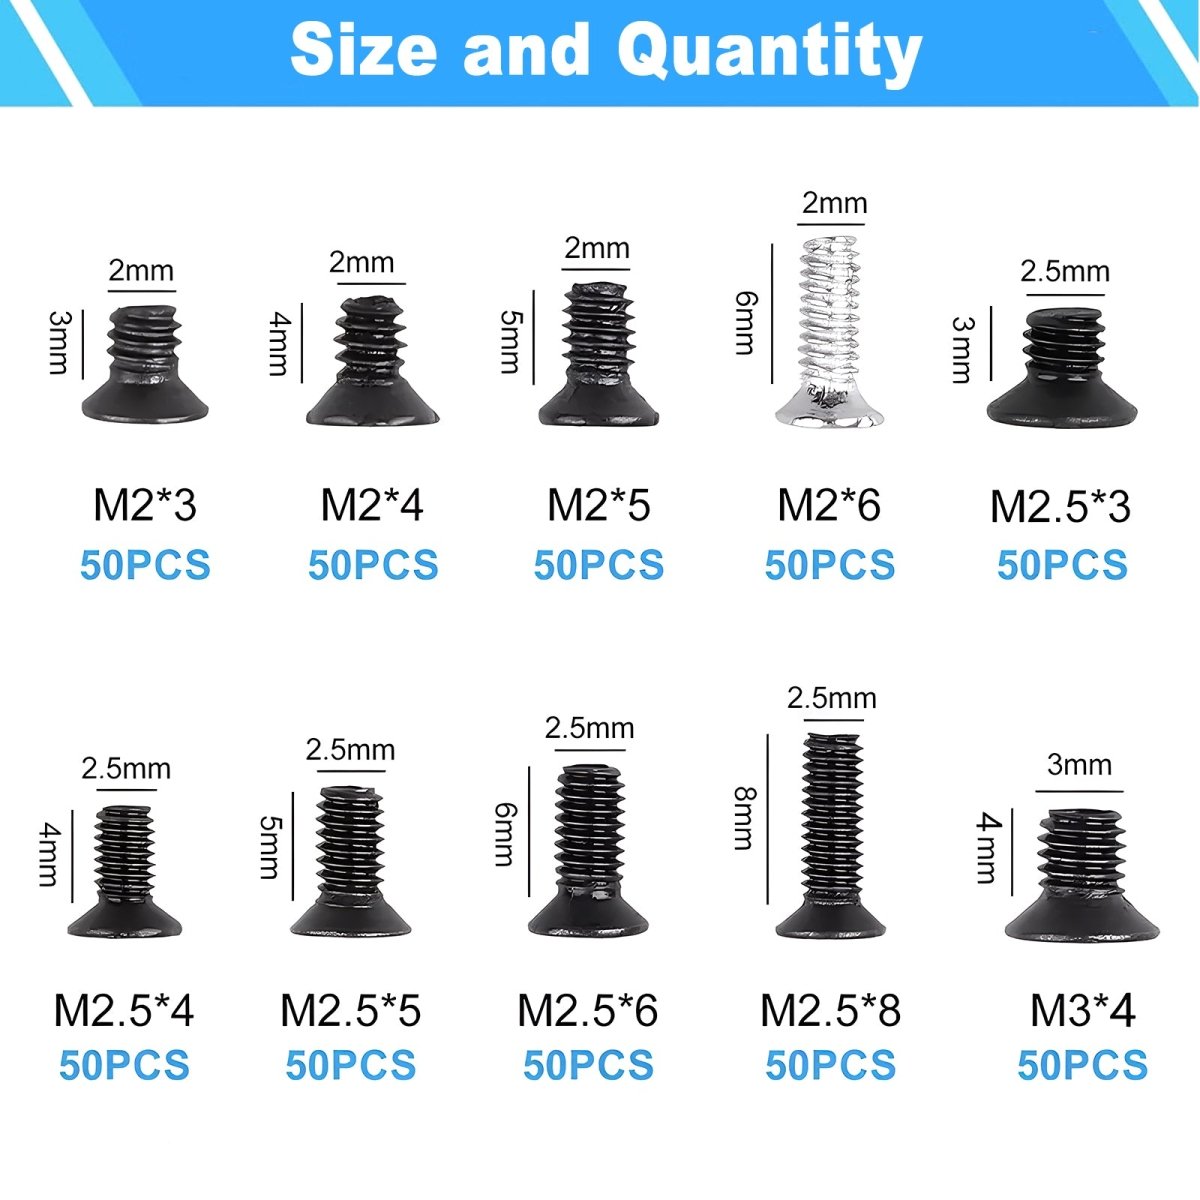
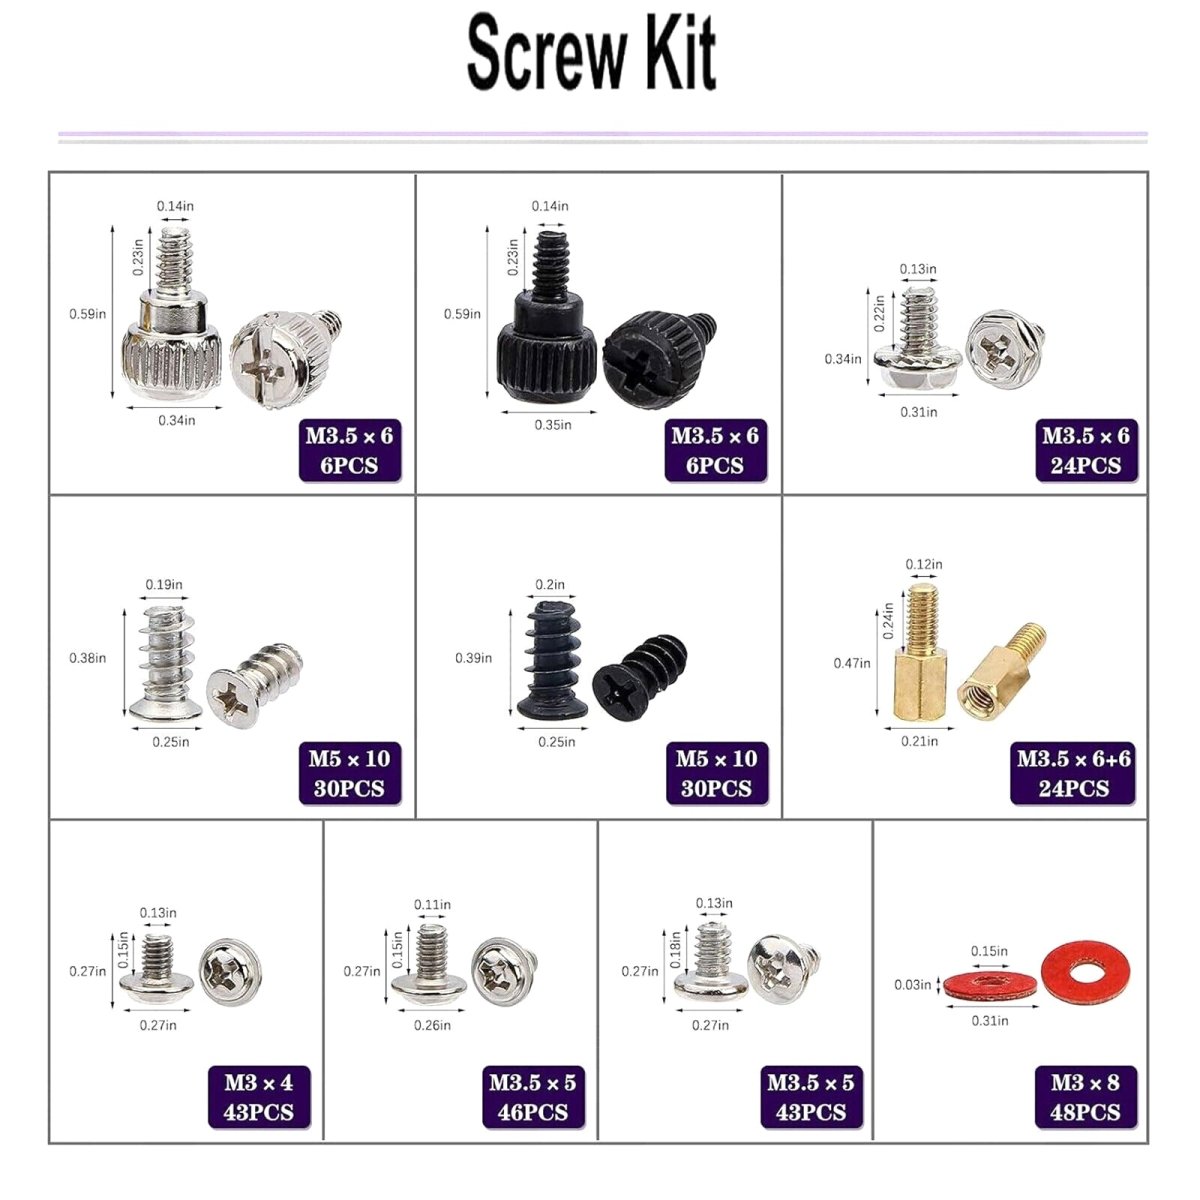
Types: M3, 6-32, M2.5 (standard PC screw sizes)
-
Head Styles: Pan head, flat head, thumb screws
-
Features: Anti-static coating, magnetic-friendly, RoHS-compliant
-
Compatibility: Fits ASUS, Dell, HP, and custom PC cases
The Ultimate Guide to Computer Mounting Screws: Sizing, Installation, and Pro Tips
Whether you’re mounting a monitor, securing a case fan, or building a custom PC, computer mounting screws are the unsung heroes of a stable, noise-free setup. At HomeDIYer, we know that using the wrong screw can lead to stripped threads, loose components, or even damaged hardware. In this guide, we’ll demystify screw sizes, materials, and best practices to ensure your next project is secure and hassle-free.
1. Why Computer Mounting Screws Matter
Computer screws are designed for precision. Unlike generic hardware store screws, they:
-
Prevent Over-Tightening: Delicate components like motherboards or SSDs require controlled torque.
-
Reduce Vibration: Anti-vibration screws (e.g., computer case fan mounting screws) keep fans quiet.
-
Ensure Compatibility: VESA mount screws (e.g., M4 10mm screws) fit standardized monitor brackets.
Using non-compliant screws, like using non-computer screws to mount a motherboard, risks short circuits or unstable assemblies.
2. Types of Computer Mounting Screws
a. Monitor Mounting Screws
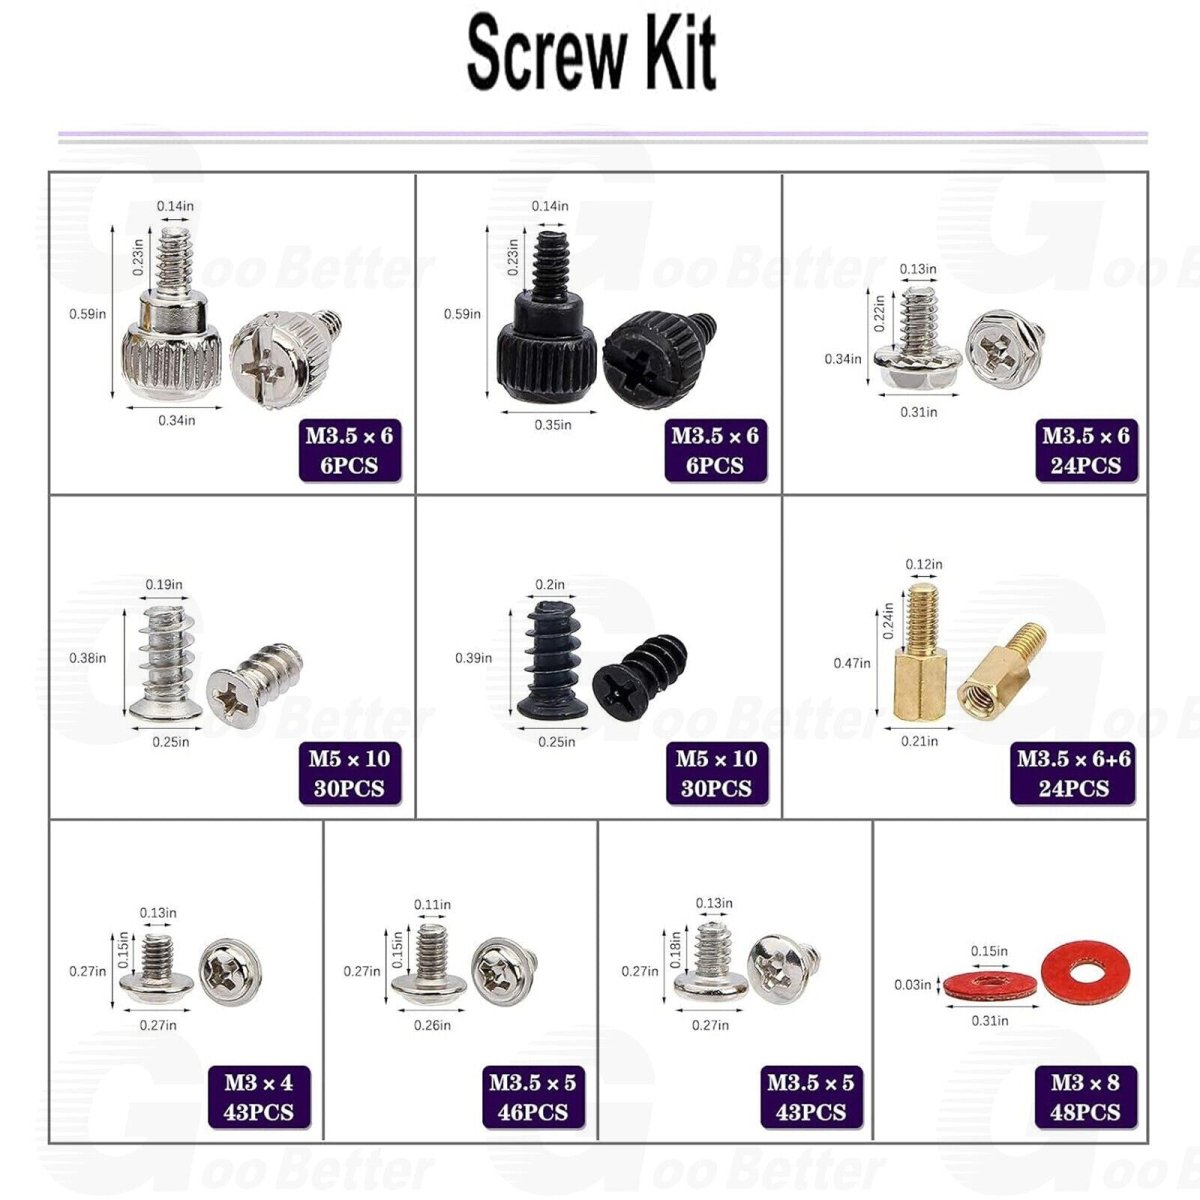
VESA Screws: Most monitors use M4 or M3 screws (e.g., Samsung computer monitor VESA mount screws). Check your monitor’s manual for size (common: 10mm length).
Stand/Bracket Screws: Secure stands with 6-32 UNC screws (often included with mounts).
b. Case and Fan Screws
Fan Mounting Screws: M3 5mm screws with rubber grommets reduce noise.
Anti-Vibration Options: Push-pin screws for easy fan swaps.
c. Hard Drive and Motherboard Screws
6-32 UNC Screws: Standard for PC cases and drive bays.
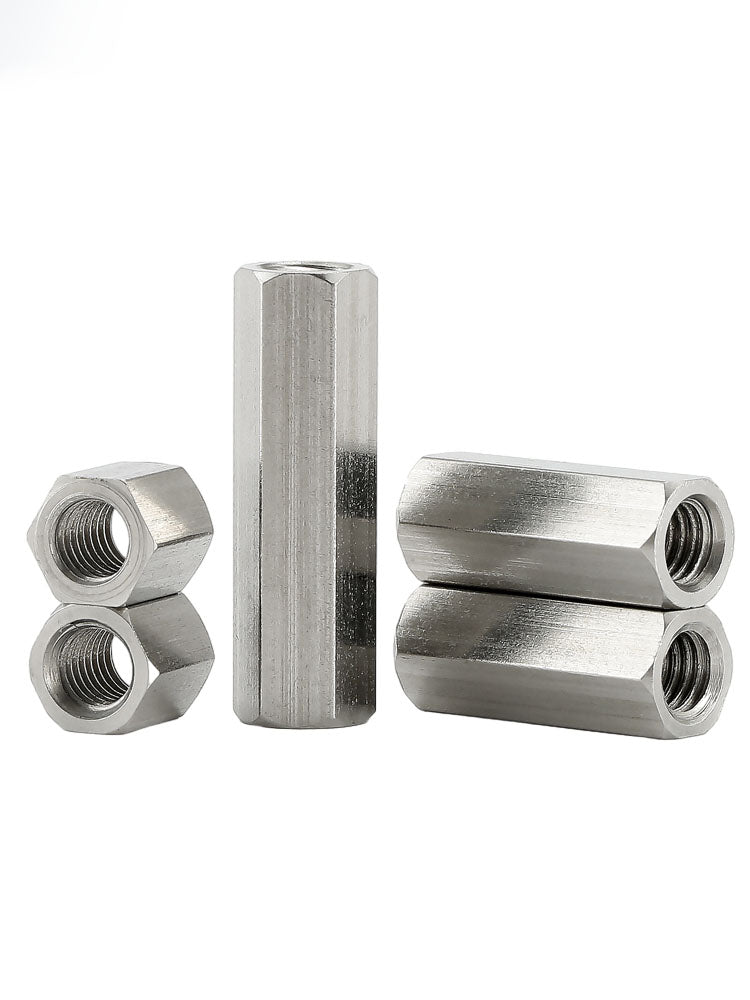
Brass Standoffs: Isolate motherboards from shorts.
3. How to Choose the Right Screw Size
a. Monitor Mounts
Check VESA pattern (e.g., 75x75mm or 100x100mm). Use M4 x 10mm screws for most brackets. For thicker panels, opt for M4 x 12mm.
b. Case Fans
120mm Fans: M3 x 5mm screws (self-tapping for plastic frames).
140mm Fans: M3 x 6mm screws for metal cases.
Pro Tip: Label screws with tape (e.g., “VESA M4”) to avoid mix-ups.
4. Step-by-Step Installation Guide
a. Mounting a Monitor
Align the Bracket: Match screw holes to the monitor’s VESA pattern.
Hand-Tighten First: Insert M4 screws loosely to avoid cross-threading.
Final Torque: Tighten with a screwdriver until snug—no need to force!
b. Securing Case Fans
Pre-Drill Holes (Optional): For metal cases, use a 3mm drill bit to prevent stripping.
Attach Rubber Grommets: Slide them onto M3 screws before threading into the fan.
5. Removing Stubborn or Stripped Screws
Stuck with a stripped computer monitor mount screw? Try these fixes:
-
Rubber Band Trick: Place a band over the screw head for extra grip.
-
Screw Extractor Kit: Ideal for deeply stripped screws.
-
Heat Method (Advanced): Warm the screw with a soldering iron to loosen threadlocker.
Warning: Avoid excessive force—you could damage the monitor’s internals!
6. Common Questions Answered
Q: Do computer cases come with mounting screws?
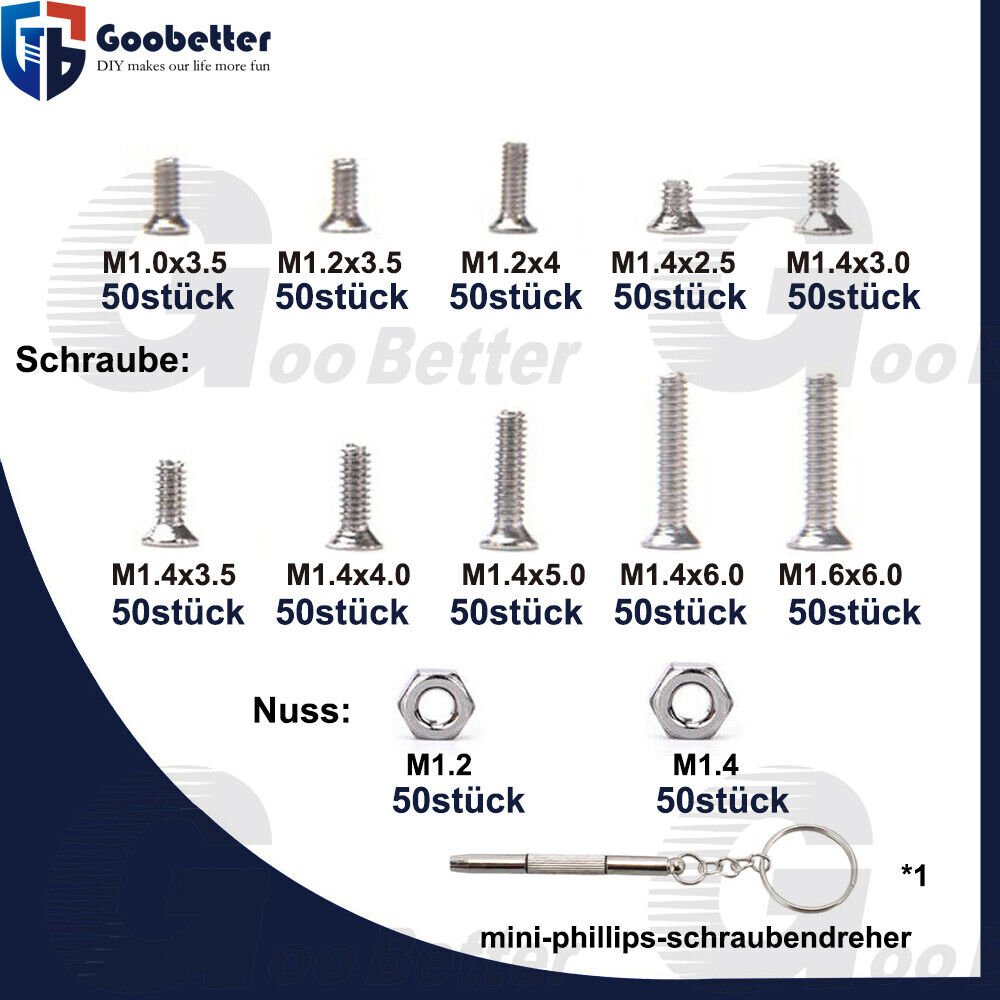
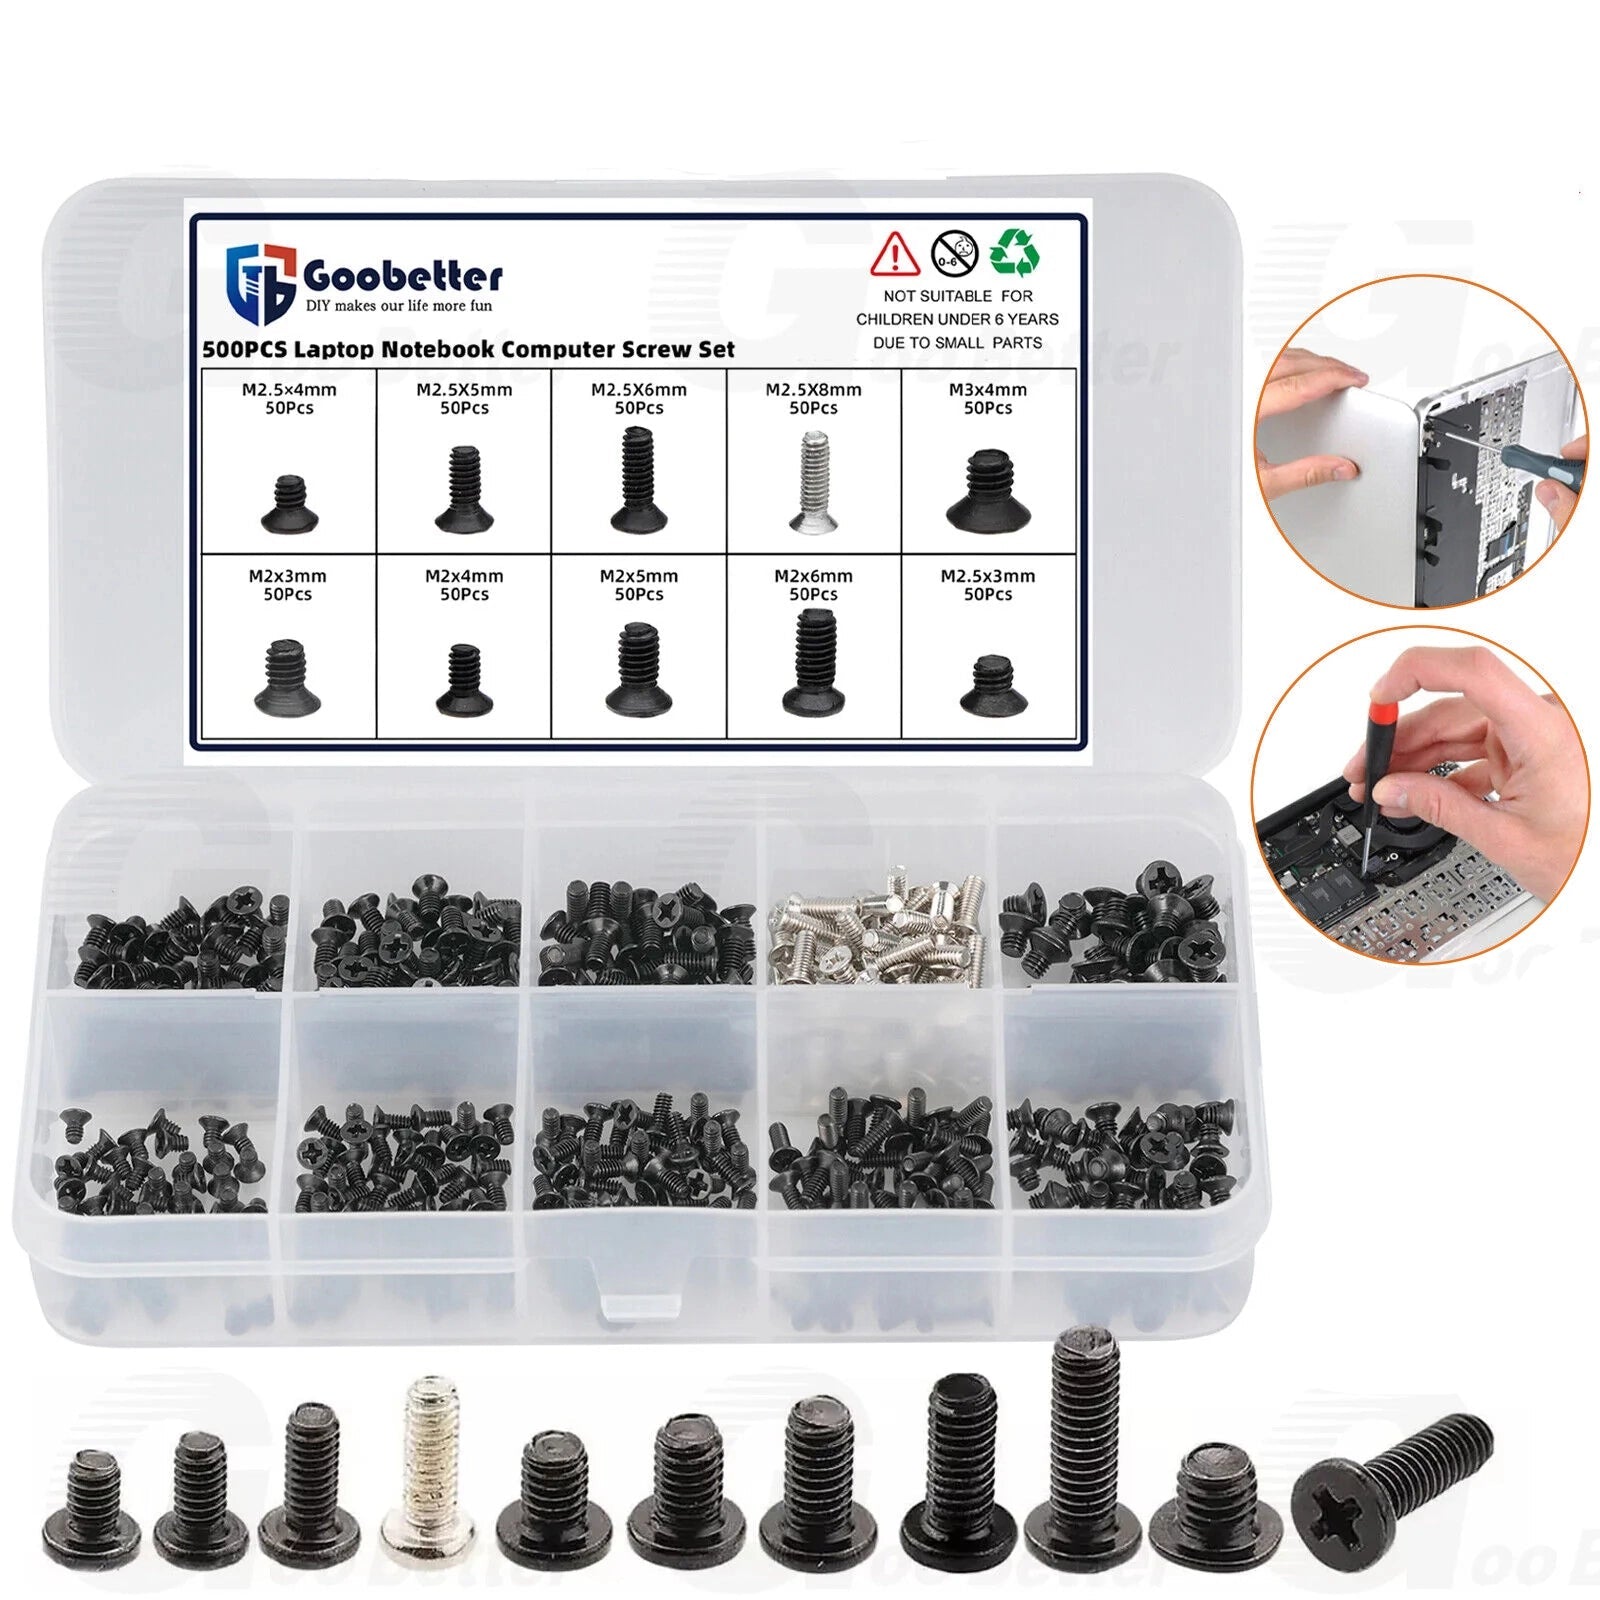
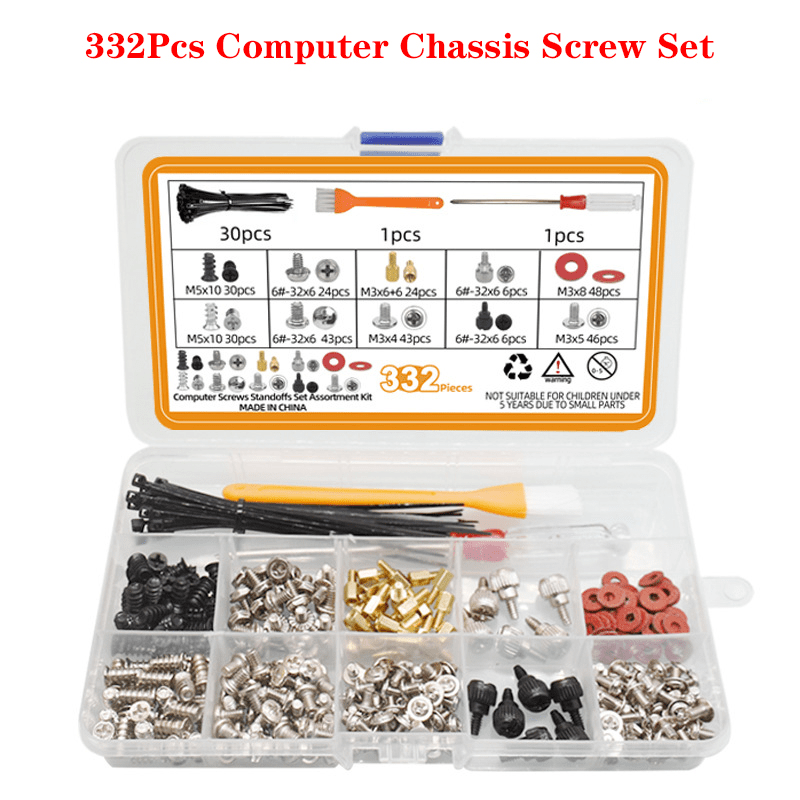
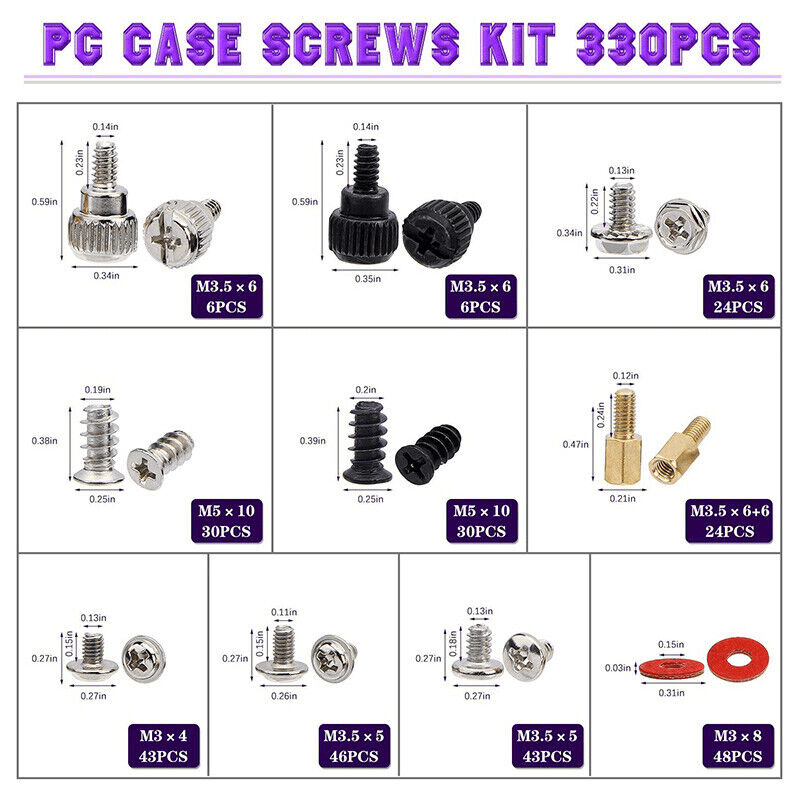
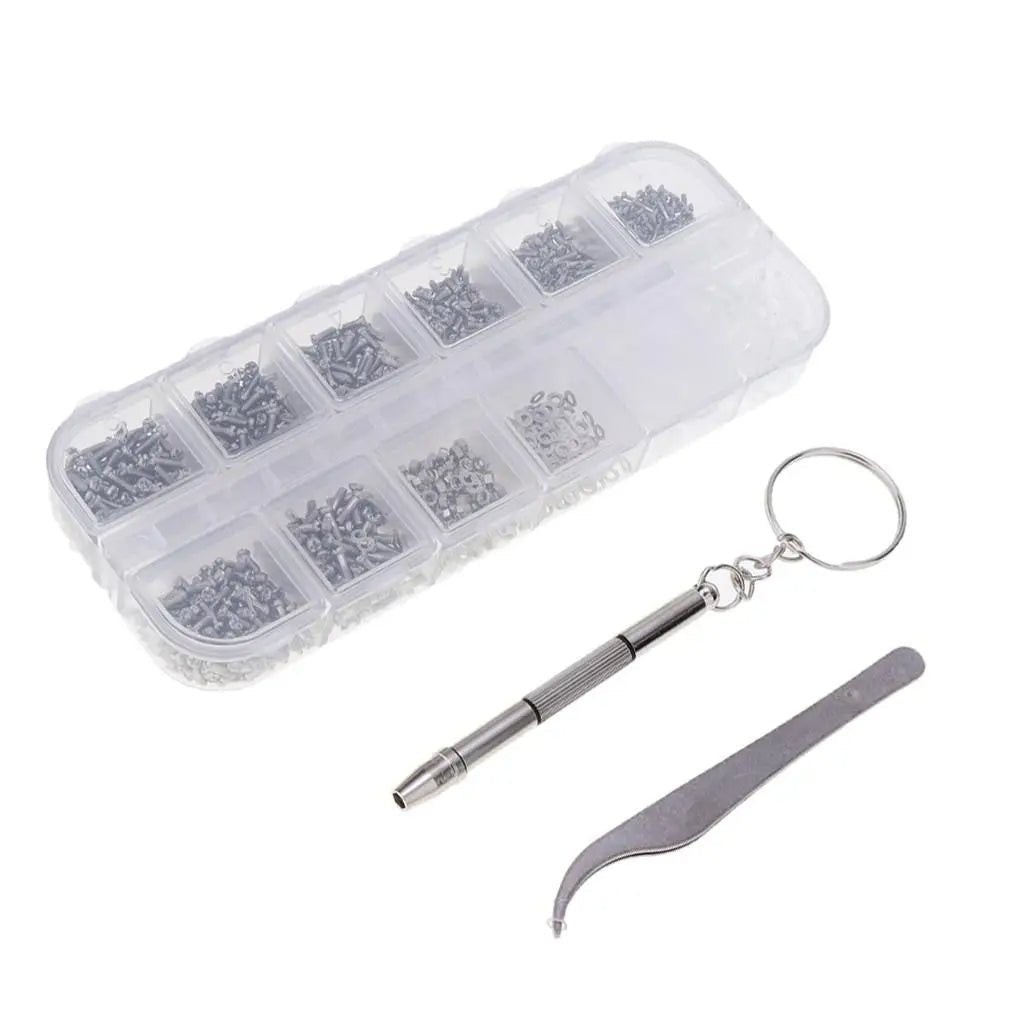
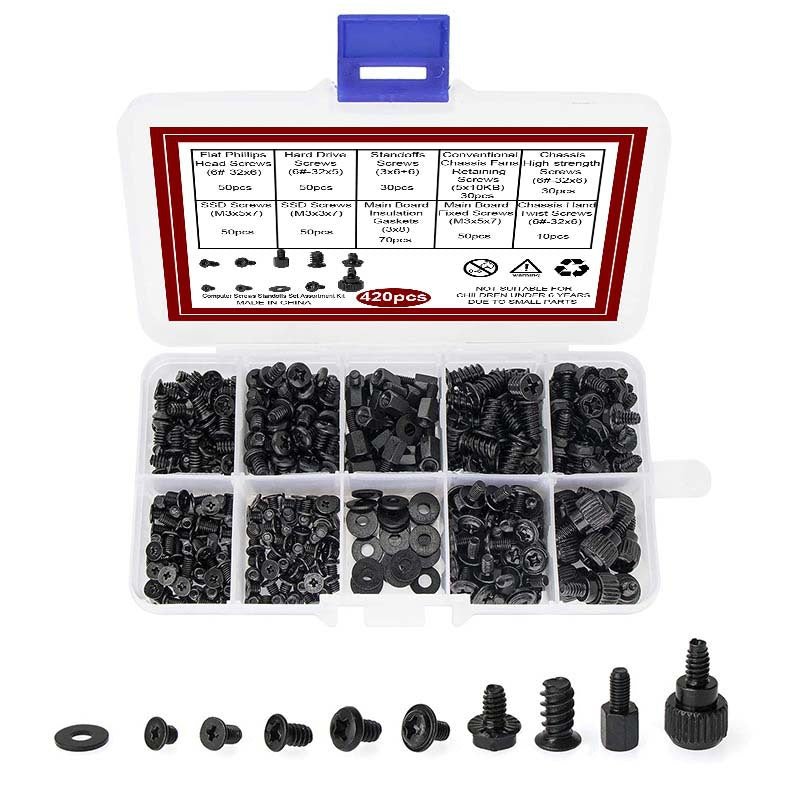
A: Most cases include screws for fans, drives, and motherboards. Check the manual or buy a universal computer case screw kit for replacements.
Q: Can I reuse old screws?
A: Yes, but inspect for wear. Corroded or bent screws (e.g., HP computer hard drive screws) should be replaced.
Q: What’s the difference between M3 and 6-32 screws?
A: M3 screws are metric (3mm diameter), while 6-32 screws are imperial (common in U.S.-made cases).
7. Why Choose HomeDIYer Computer Screws?
Our screws are engineered for durability and precision:
-
VESA-Compliant Kits: Includes M3, M4, and 6-32 screws for monitors, TVs, and brackets.
-
Anti-Vibration Packs: Nylon washers and rubber grommets for silent fans.
-
Bulk Discounts: Save on 100+ packs for workshops or IT teams.
8. Pro Tips for a Flawless Build
-
Magnetic Screwdriver: Prevents drops inside your case.
-
Organize with Trays: Sort screws by type (e.g., motherboard, fan, VESA).
-
Check Depth: For wall-mounted monitors, ensure screws don’t protrude into the screen.
By mastering the nuances of computer mounting screws, you’ll avoid stripped threads, reduce noise, and extend the life of your hardware. Ready to upgrade your setup? Explore our Computer Mounting Screws Collection for premium fasteners trusted by DIYers and pros alike!
How to Install Computer Mounting Screws
-
Ground Yourself: Use an anti-static wristband to prevent ESD damage.
-
Select Screw Size: Match the screw to the component (e.g., M3 for motherboards).
-
Align the Component: Position the motherboard/SSD over standoffs in the case.
-
Hand-Tighten First: Start screws by hand to avoid cross-threading.
-
Secure with a Screwdriver: Use a magnetic Phillips #1 or #2 driver for final tightening.
-
Pro Tip: Do not overtighten – snug is sufficient to avoid PCB damage.
Common Uses for Computer Mounting Screws
-
PC Assembly: Secure motherboards, GPUs, and power supplies.
-
SSD/HDD Installation: Mount 2.5” or 3.5” drives in cases or racks.
-
Laptop Repairs: Replace stripped screws in keyboards or chassis.
-
Server Maintenance: Fasten components in rack-mounted systems.