

Table of Contents
- Introduction
- Why Use a Picture Hanging Kit?
- What’s Inside a Picture Hanging Kit with Nails?
- About Picture Hanging: Additional Tools You May Need
- Step-by-Step Guide: How to Use a Picture Hanging Kit with Nails
- Common Mistakes to Avoid in Picture Hanging
- Advanced Tips for a Professional Finish
- Frequently Asked Questions About Picture Hanging
- Conclusion
Introduction
Every home tells a story, and the pictures you hang are part of that story. But nothing ruins the moment like a crooked frame, a wall full of holes, or worse—a frame crashing down in the middle of the night. That’s why using a picture hanging kit with nails is such a game-changer.
Instead of guessing where to hammer or stressing about whether the hook will hold, these kits provide everything you need for safe, sturdy, and stress-free picture hanging.
Why Use a Picture Hanging Kit?
- Durability – Nails and hooks are engineered for different weights.
- Variety – Options for small photos up to heavy mirrors.
- Simplicity – Pre-matched nails, hooks, and wires that work together.
- A cleaner wall – Reduces unnecessary holes compared to trial-and-error hanging.
Buying a ready-made kit like the Heavy-Duty Picture Hanging Kit saves time and ensures you’re using tested, reliable hardware.

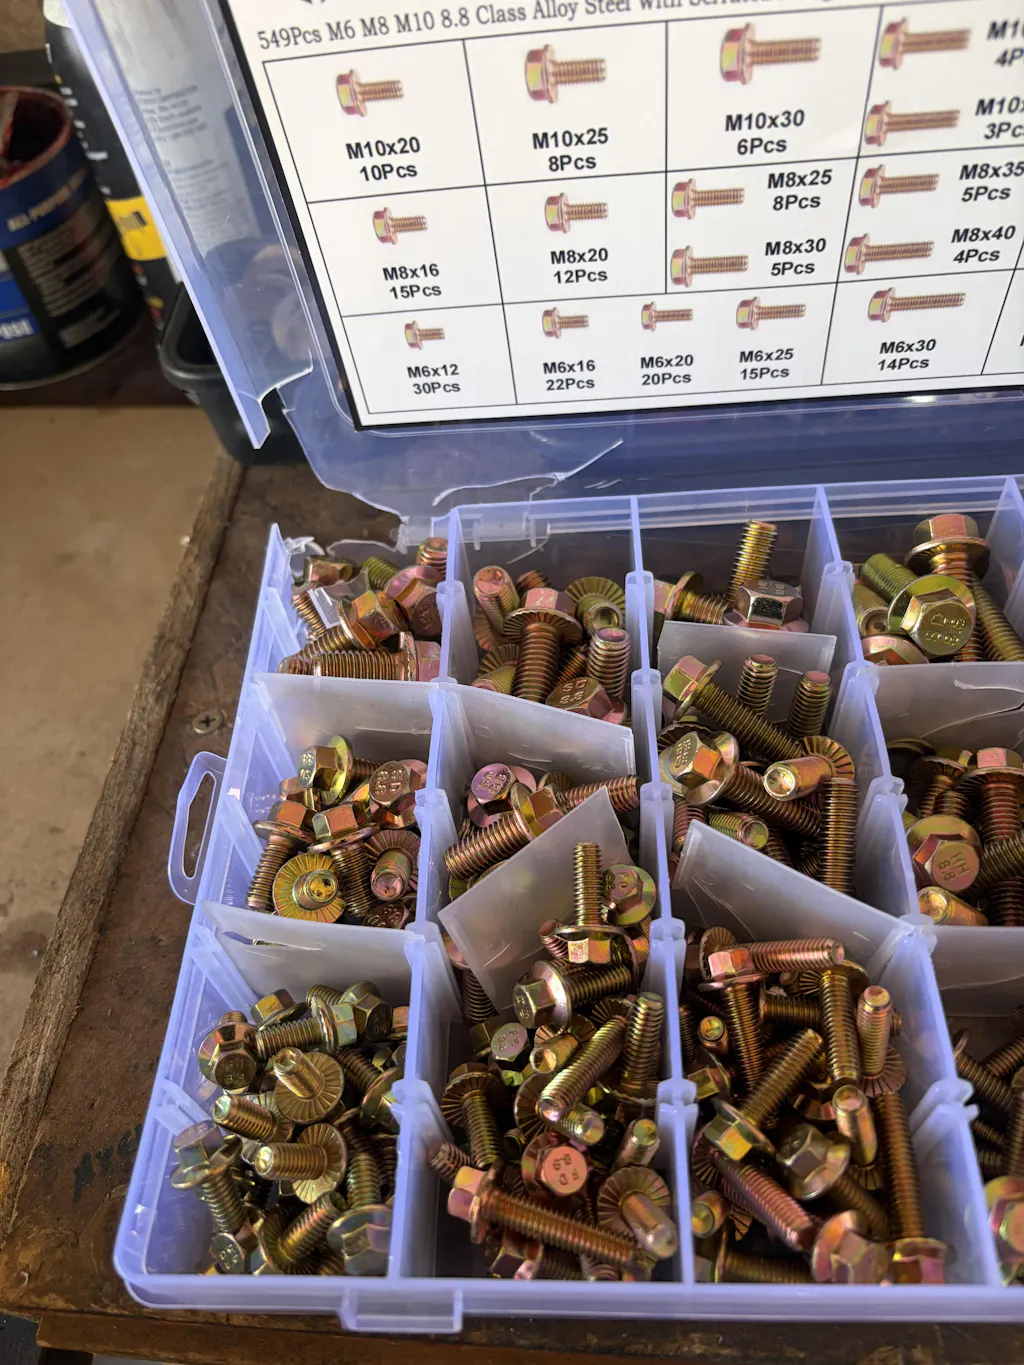
What’s Inside a Picture Hanging Kit with Nails?
Most high-quality kits include:
- Nails (different lengths for various wall types)
- Hooks (angled to provide stability)
- Wire (ideal for wider or heavier frames)
- D-rings and sawtooth hangers
- Wall anchors (sometimes included for extra support)
Pro Tip: Not all kits are created equal. Cheaper ones may bend or snap under weight. Go for heavy-duty kits to avoid accidents.
About Picture Hanging: Additional Tools You May Need
- A hammer
- A level (bubble or digital)
- A tape measure
- A pencil for marking spots
- (Optional) stud finder for heavy items
Step-by-Step Guide: How to Use a Picture Hanging Kit with Nails
Step 1: Choose the Right Spot
- Think about height—art usually looks best at eye level (around 57–60 inches from the floor).
- Consider furniture placement and wall symmetry.
Step 2: Mark Your Spot
- Use a pencil to lightly mark the wall.
- For multiple frames, lay them out on the floor first to preview the arrangement.
Step 3: Select the Right Hook & Nail
- Check the weight rating. (For example, a 30-lb hook is perfect for a medium frame, while a 100-lb hook works for a mirror.)
- Always err on the side of stronger support.
Step 4: Hammer the Nail at an Angle
- Insert the nail through the hook at a 45-degree angle.
- This helps distribute weight and prevents the nail from slipping out.
Step 5: Add Wire or Use Direct Hooks
- If your frame has D-rings or sawtooth hangers, you can hook it directly.
- For wider frames, thread wire across the back and rest it on the hook.
Step 6: Check with a Level
- Hang your frame and adjust until it’s straight.
- Use felt pads behind corners to prevent tilting.
Step 7: Enjoy Your Artwork
Step back, admire, and make small adjustments if needed.
Common Mistakes to Avoid in Picture Hanging
- Using the wrong size hook → leads to falling frames.
- Hammering nails straight in → weaker hold compared to angled nails.
- Skipping the level → crooked pictures are noticeable immediately.
- Overloading → don’t exceed the stated weight limit.
Advanced Tips for a Professional Finish
- Use two hooks for larger frames to prevent shifting.
- For gallery walls, create a paper template on the wall before hammering.
- Consider wall anchors if you’re hanging on drywall without studs.
- Always double-check weight limits—mirrors especially need extra care.
Frequently Asked Questions About Picture Hanging
Q1: Can I reuse nails and hooks?
Yes, but only if they’re not bent or damaged. For heavy items, always use fresh hardware.
Q2: What if I’m renting and can’t make big holes?
You can still use a picture hanging kit, but stick to smaller nails or consider removable adhesive hooks.
Q3: How many pounds can a picture hanging kit with nails hold?
It depends on the kit—our Heavy-Duty Picture Hanging Kit supports up to 120 lbs with proper installation.
Q4: Can I hang on brick or concrete walls?
Yes, but you’ll need masonry nails or wall anchors instead of standard nails.
Q5: Do I need a stud finder?
Not for lightweight pictures, but for heavy mirrors or art, it’s highly recommended.
Conclusion
Using a picture hanging kit with nails is one of the simplest ways to decorate your home without stress. By choosing the right hardware, following a clear step-by-step process, and avoiding common mistakes, you can create a polished look that lasts for years.
If you’re ready to get started, our Heavy-Duty Picture Hanging Kit has everything you need in one box—strong, reliable, and perfect for any wall project.


Comments
Leave a comment