We've all been there. You're excited to assemble that new planter box, finally hanging those custom shelves, or repairing a beloved wooden chair leg. You grab your trusty drill, line up your wood screws, and start driving... only to hear that sickening CRACK as the wood splits right before your eyes. Your project is stalled, frustration mounts, and you're left staring at the damage, wondering, "What went wrong?" Chances are, the culprit was skipping one crucial step: pre-drilling holes for your wood screws. Let's dive into why this seemingly extra step is often the difference between a professional-looking, durable result and a frustrating pile of firewood.
Why Wood Splits: It's Not Just Bad Luck (It's Physics!)
Think of wood not just as a solid block, but as a bundle of tiny straws (wood fibers) glued together. When you drive a screw directly into it, especially near an edge or into hard or dry wood, the screw acts like a wedge. It forcefully pushes these fibers apart. This sudden pressure has nowhere to go, exceeding the wood's strength, and – crack – the wood splits along its grain. It's not personal; it's just physics! Pre-drilling creates a clear path for the screw shaft, drastically reducing this wedging force and letting the threads grip the surrounding wood without tearing it apart.
The Verdict: It Depends! (But Usually Yes)
There's no single "yes" or "no" answer that fits every situation. The need to pre-drill depends on several key factors:
-
The Wood Type & Condition:
-
Hardwoods (Oak, Maple, Walnut, Ash, etc.): Almost Always YES. These woods are dense and have less "give." Trying to drive a screw without a pilot hole is practically an invitation for splitting, especially near edges or ends. The force required is immense, and failure is likely.
-
Softwoods (Pine, Spruce, Cedar, Fir, etc.): Often, But Not Always. You can sometimes get away without pre-drilling small screws (#6 or smaller) into the middle of a thick, wide board of softwood. However, the risk significantly increases when:
-
Driving larger screws (#8 and up).
-
Screwing near an edge or end of the board (within 1-2 inches).
-
Working with very dry wood (like kiln-dried lumber).
-
Working with thin stock.
-
Recommendation: If you value your time and materials, pre-drilling in softwoods, especially for anything but the smallest screws in ideal locations, is still a best practice. It guarantees a clean result.
-
-
Plywood, OSB, MDF, Particleboard: YES, Especially for Sheet Goods. The layers in plywood can separate (delaminate) if a screw forces them apart. OSB, MDF, and particleboard are prone to crumbling and blowout at the exit point without pre-drilling. A pilot hole and often a countersink are essential for a clean, strong connection.
-
-
Screw Size & Type:
-
Larger Diameter Screws (#8, #10, #12, etc.): Absolutely YES. The larger the screw, the more wood it displaces, exponentially increasing the splitting force. Pre-drilling is non-negotiable.
-
Smaller Diameter Screws (#4, #6): Likely YES for hardwoods and near edges/ends in softwoods. Maybe not for center-of-wide-board softwood applications, but caution is advised.
-
Specialty Screws: Some modern screws (like certain deck screws or "no pre-drill" variants) have aggressive threads, self-tapping tips, or thinner shanks designed to reduce splitting in softwoods. Read the packaging carefully! They often still recommend pre-drilling for hardwoods or critical applications. Don't assume "no pre-drill" means never pre-drill.
-
-
Location on the Wood:
-
Near an Edge or End Grain: CRITICAL YES. This is the highest-risk zone. The wood has minimal material holding it together laterally. Pre-drilling is absolutely mandatory here, regardless of wood type or screw size. Driving a screw even a fraction too close to the end without a pilot hole is asking for a split.
-
Middle of a Wide Board: Lower risk, but still often recommended. While splitting is less likely here in thick softwood with small screws, pre-drilling ensures the screw drives straight and prevents the head from sinking unevenly or tearing the wood fibers on the surface.
-
-
Project Criticality:
-
Structural Applications (Decking, Framing, Furniture Joints): ALWAYS YES. The integrity and safety of the project depend on strong, reliable connections without splits. Never skip pre-drilling here.
-
Cosmetic Projects (Crafts, Decorative Items): Highly Recommended. A split can ruin the look and compromise the piece. Pre-drilling ensures a clean, professional finish.
-
Beyond Splitting: The Other Crucial Benefits of Pre-Drilling
While preventing splits is the headline act, pre-drilling offers several other significant advantages:
-
Easier Driving & Reduced Cam-Out: A pilot hole guides the screw, making it much easier to drive, especially into hardwoods. You're less likely to strip the screw head ("cam-out") because the screw isn't fighting displacement resistance the whole way.
-
Accurate Placement: It's much easier to start a screw exactly where you want it when you have a small pilot hole as a guide. No more screws wandering off course as you start drilling.
-
Preventing Surface Tear-Out: Without a pilot hole, the screw head can tear and crush the wood fibers around it as it sinks, leaving an ugly, ragged depression. Pre-drilling allows the head to sit cleanly. (For a truly flush finish, you often need a countersink hole too).
-
Stronger Hold? (The Surprising Bit): While it might seem counterintuitive, pre-drilling correctly can sometimes lead to a better hold. How? By removing just enough material for the screw shaft, you allow the threads to bite cleanly into the solid wood surrounding the hole, maximizing friction and pull-out resistance. Forcing a screw into un-drilled wood can compress and crush the fibers the threads are trying to grip, potentially weakening the hold over time. Think clean grip vs. crushed grip.
-
Protecting Your Screws: Less driving resistance means less stress on your screw heads, reducing the chance of stripping them. Your bits and screws will last longer.
Mastering the Pre-Drill: How to Do It Right
Pre-drilling isn't complicated, but doing it correctly makes a huge difference:
-
Choose the Right Drill Bit Size: This is paramount! The pilot hole should be slightly smaller than the screw's root diameter (the solid shaft inside the threads), but as large as or very slightly larger than the screw's shank diameter (the smooth part just under the head, if it exists). A bit too small, and you haven't solved the splitting problem. A bit too large, and the threads have nothing to bite into, drastically weakening the hold.
-
The Goldilocks Zone: The pilot hole should be about 70-90% of the screw's root diameter. For common wood screws, this usually translates to:
-
#6 Screw: ~1/16" (1.6mm) or 5/64" (2.0mm) bit
-
#8 Screw: ~3/32" (2.4mm) or 7/64" (2.8mm) bit
-
#10 Screw: ~7/64" (2.8mm) or 1/8" (3.2mm) bit
-
#12 Screw: ~9/64" (3.6mm) or 5/32" (4.0mm) bit
-
-
Pro Tip 1: Many screw manufacturers provide recommended pilot hole sizes on the box or their website. When in doubt, consult this! (At [Your Brand Name], we list recommended pilot sizes for all our wood screw lines right on the product pages).
-
Pro Tip 2: Hold the screw and the drill bit up to the light. The bit should look slightly thinner than the screw's core (the part without threads). If it looks thicker than the threads, it's way too big. If it looks thinner than the core, it might be too small.
-
Pro Tip 3: Test on Scrap Wood! Always, always drill a pilot hole into a piece of scrap from the same project material and try driving the screw. If it drives smoothly without splitting and feels tight, your bit size is good. If it's hard to drive and risks splitting, go up one size (e.g., from 1/16" to 5/64"). If the screw feels loose and doesn't grip well, go down one size.
-
-
Drill the Hole Straight: Use a drill or impact driver held perpendicular to the wood surface. A drill press is ideal for critical accuracy, but a steady hand works for most jobs. A wonky pilot hole leads to a wonky screw.
-
Drill to the Correct Depth: The pilot hole needs to be at least as deep as the screw's threaded portion will go. A good rule of thumb is the length of the screw minus the height of the head. For screws going into the end grain, drill slightly deeper to ensure threads engage solid wood past the end grain fibers, which are weaker. A depth stop collar on your drill bit is incredibly helpful for consistency.
-
Countersinking (For a Flush Finish): If you want the screw head to sit perfectly flush with or below the wood surface (essential for most furniture and finish work), you need to create a conical recess for the head after drilling the pilot hole. This is called countersinking.
-
Use a Combination Bit: These bits have a pilot drill and a countersink cutter combined in one tool. They are incredibly efficient and ensure perfect alignment. (We swear by our [Your Brand Name] Precision Countersink Sets – they make this step foolproof).
-
Or Use a Separate Countersink Bit: Drill the pilot hole first, then switch bits to a countersink.
-
When Can You Maybe Skip the Pre-Drill? (Proceed with Caution!)
There are limited scenarios where experienced DIYers might forgo pre-drilling, but understand the risks:
-
Small Screws (#4, #6) into Thick, Wide Softwood (Pine/Fir): Only in the middle of the board, well away from any edges. Be prepared for slightly harder driving and a small risk of surface tear-out or hidden internal stress.
-
Modern "Self-Drilling" or "No Pre-Drill Needed" Screws: ONLY as explicitly stated by the manufacturer, ONLY for the wood types they specify (usually softwoods), ONLY when not near edges/ends, and ONLY for non-critical applications. Never assume this applies universally. Always test on scrap first! (Our [Your Brand Name] Pro-Grip Softwood Screws are designed for easier driving in pine and cedar away from edges, but we still recommend pre-drilling near ends or for critical joints!).
Real-World Test: Kitchen Drawer Front Repair - Pre-Drill vs. No Pre-Drill
-
The Problem: A solid oak drawer front had pulled loose from its side panel. The original screws (likely driven without pre-drilling near the edge) had caused minor splits and stripped out.
-
Test 1 (No Pre-Drill): Attempting to drive a new #8 screw into the existing hole near the edge of the oak. Result: Immediate, loud CRACK – a significant new split propagated from the hole. Project damaged further.
-
Test 2 (With Pre-Drill): Drilled a clean pilot hole with a 7/64" bit approximately 1/4" away from the damaged area, well into solid wood. Drove a new #8 x 1.5" screw. Result: Smooth driving, no splitting, strong hold. Drawer front securely reattached. Repair successful.
The Essential Toolkit for Flawless Screw Driving
Don't get caught halfway through a project missing a key tool:
-
Quality Drill/Driver: A reliable cordless drill/driver is essential. An impact driver is fantastic for driving long screws but not for drilling pilot holes (they can shatter small drill bits).
-
Sharp Drill Bits: Dull bits burn wood, make ragged holes, and require more force. Use high-speed steel (HSS) or brad-point bits for cleaner holes in wood. Replace them often! (Our [Your Brand Name] HSS Bit Sets are hardened for longer life).
-
Countersink Bits: Vital for flush finishes. Combination pilot/countersink bits are the ultimate time-savers.
-
Depth Stop: Ensures consistent pilot hole depth. Many drill bits have collars; otherwise, use masking tape wrapped around the bit at the desired depth.
-
Clamps: Holding workpieces securely prevents movement and ensures accurate drilling and screw placement.
-
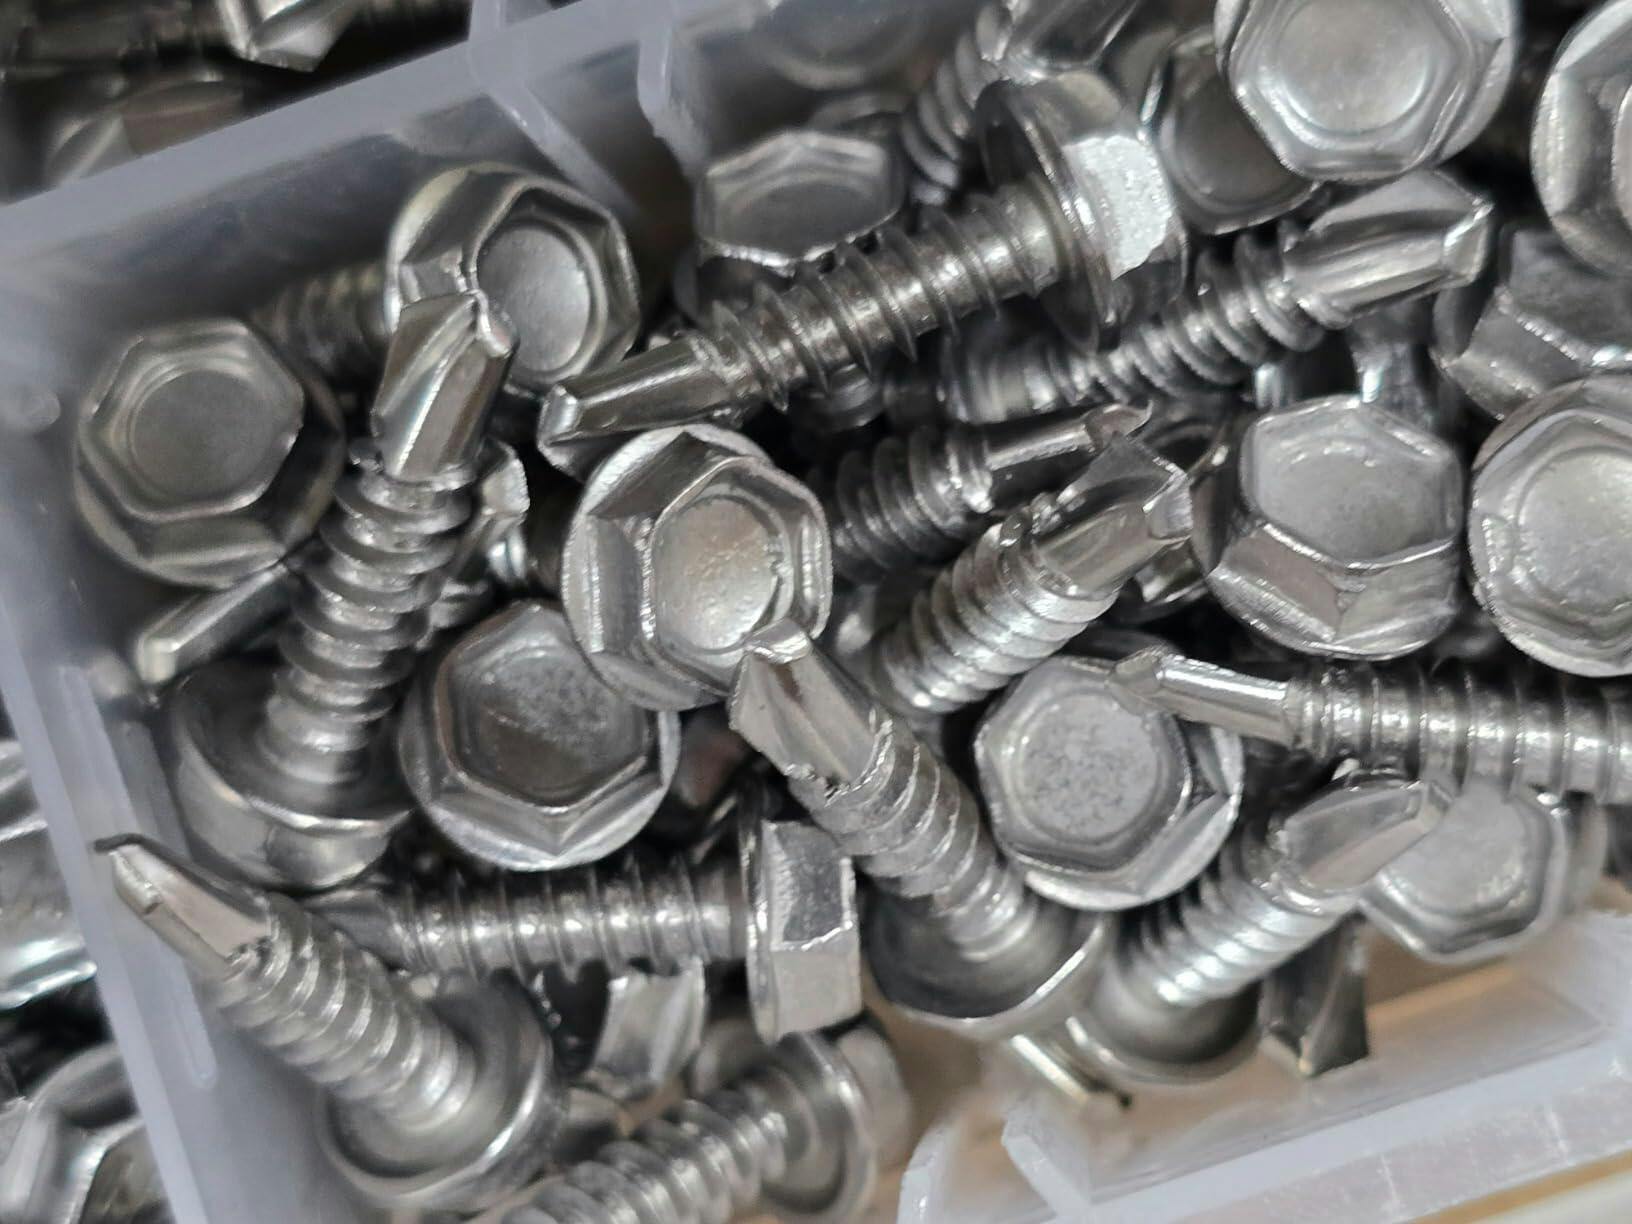
Screw Selection: Match the screw to the job! Length, gauge, head type (flat, pan, washer), and drive type (Phillips, Square, Torx - we highly recommend Torx/Star for superior grip and reduced cam-out) matter. (Explore our HomeDIYer Wood Screw Finder tool on the site!).
-
Lubricant/Wax (Optional but Helpful): Rubbing the screw threads on a bar of soap or candle wax significantly reduces driving friction, especially in hardwoods. Some pros use specialized screw lubricants.
Conclusion: Precision Over Speed
In the world of woodworking and DIY, the extra minute or two spent pre-drilling is rarely wasted time. It's an investment in the success, strength, and beauty of your project. While there are very specific scenarios where you might skip it in softwood, erring on the side of caution and making pre-drilling your standard practice is the hallmark of a thoughtful craftsman.
Think of it like sharpening your chisel before a cut or sanding between coats of finish – it's a fundamental step that elevates the result from "it works" to "it works beautifully and will last." Ditch the frustration of split wood, stripped screws, and wobbly joints. Grab those drill bits, make your pilot holes, and drive those screws with confidence! Your projects (and your sanity) will thank you.
Ready to Build Better? Browse our extensive range of premium [Your Brand Name] Wood Screws, Precision Drill Bits & Countersinks, and essential woodworking tools – all designed to help you achieve stronger, cleaner, and more professional results. Got a tricky wood screw question? Our support team of experienced woodworkers is always happy to help!