1. Product core introduction
Precision Hex Socket Countersunk Head Expansion Screws for Flush Anchoring | HomeDIYer
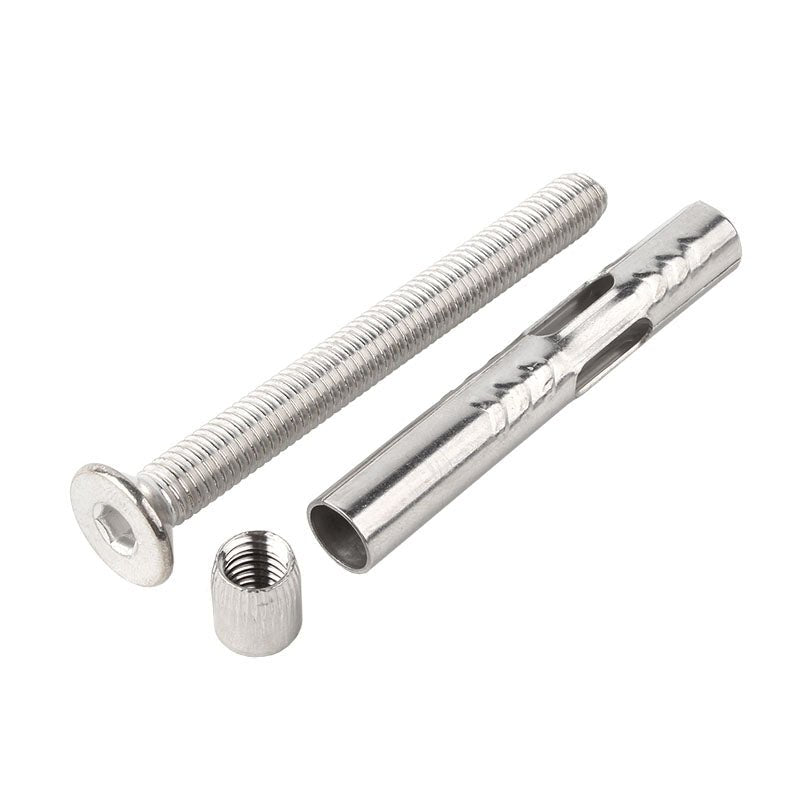
The 304 Stainless Steel Hex Socket Countersunk Head Expansion Screws are designed to provide a flush and reliable anchoring solution in concrete and masonry applications. Made from high-quality 304 stainless steel, these screws combine exceptional corrosion resistance with a sleek, countersunk finish for professional-grade results. Available in sizes M6, M8, M10, and M12, these screws are perfect for industrial, construction, and DIY projects.
2. The main characteristics of the product
• 304 Stainless Steel Construction: Superior durability and corrosion resistance for long-lasting performance in harsh environments.
• Hex Socket Design: Allows for precise and secure tightening using a hex key, ensuring a reliable fit.
• Countersunk Head: Provides a smooth, flush finish, making it suitable for applications where aesthetics and functionality are important.
• Expansion Mechanism: Creates a strong and stable hold in concrete and masonry surfaces.
• Versatile Size Range: Available in M6, M8, M10, and M12 to suit various load requirements and applications.
• Weather Resistant: Ideal for both indoor and outdoor use, including high-moisture environments.
3. Product use scene
Versatile and Reliable Anchoring for Various Applications
• Industrial Machinery: Securely fastens components in heavy machinery and equipment.
• Construction Projects: Ideal for anchoring structural components, fixtures, and supports.
• Home Renovations: Suitable for installing shelves, brackets, and decorative fixtures.
• Outdoor Installations: Reliable for fences, signage, and railings in outdoor spaces.
• DIY Projects: Perfect for creating flush and professional-grade fastening in custom builds.
4. Product use instructions
How to Use the 304 Stainless Steel Hex Socket Countersunk Head Expansion Screws | HomeDIYer
1. Drill a Pilot Hole: Use a drill bit matching the screw’s diameter to create a precise hole in the concrete or masonry surface.
2. Insert the Screw: Place the expansion screw into the pilot hole, ensuring the countersunk head aligns with the surface.
3. Tighten with a Hex Key: Use a compatible hex key to secure the screw, activating the expansion mechanism for a firm hold.
4. Check the Flush Fit: Ensure the countersunk head sits flush with the surface for a clean and professional finish.
5. Maintain Regularly: Clean periodically to preserve the stainless steel’s polished finish and prevent debris buildup.


