


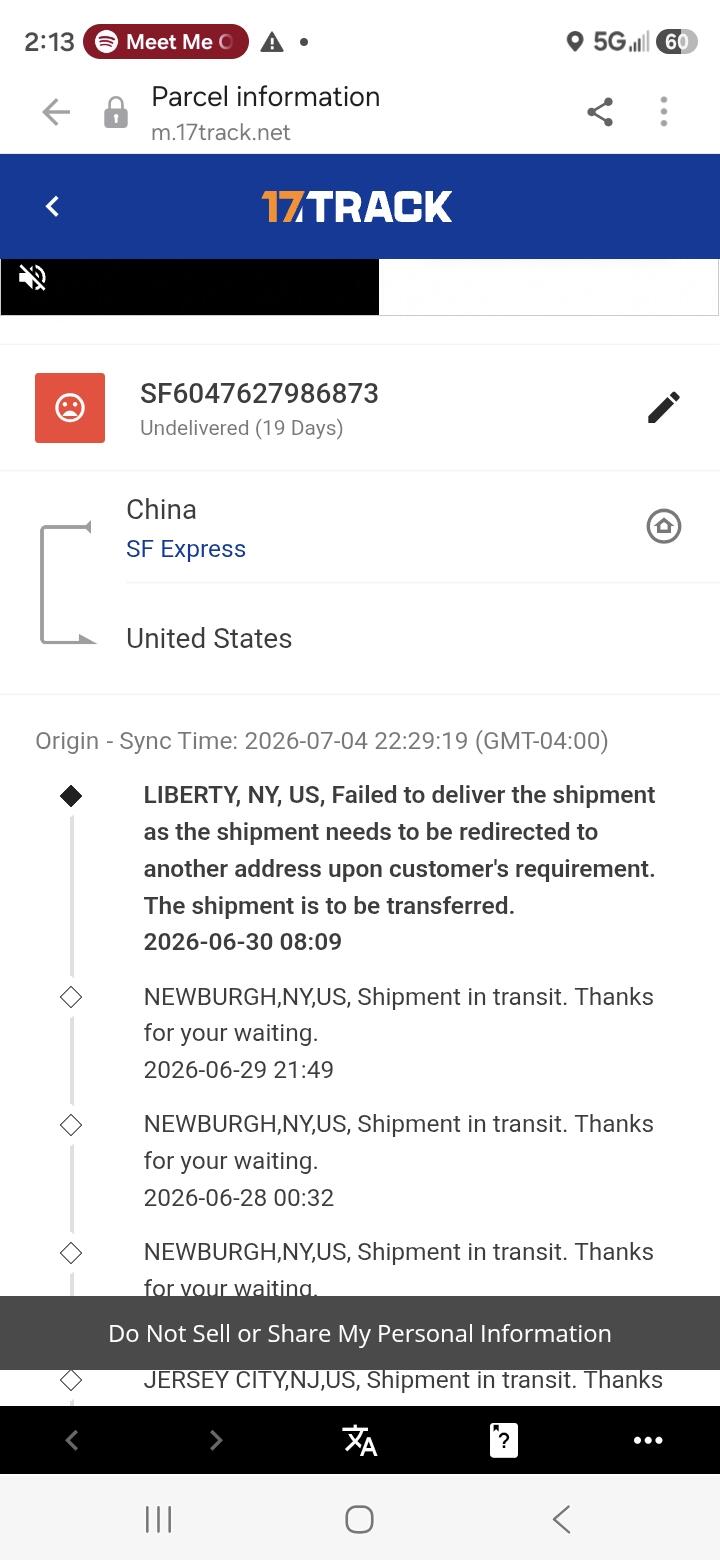
Haven't received the order yet! It's been over 19 days!
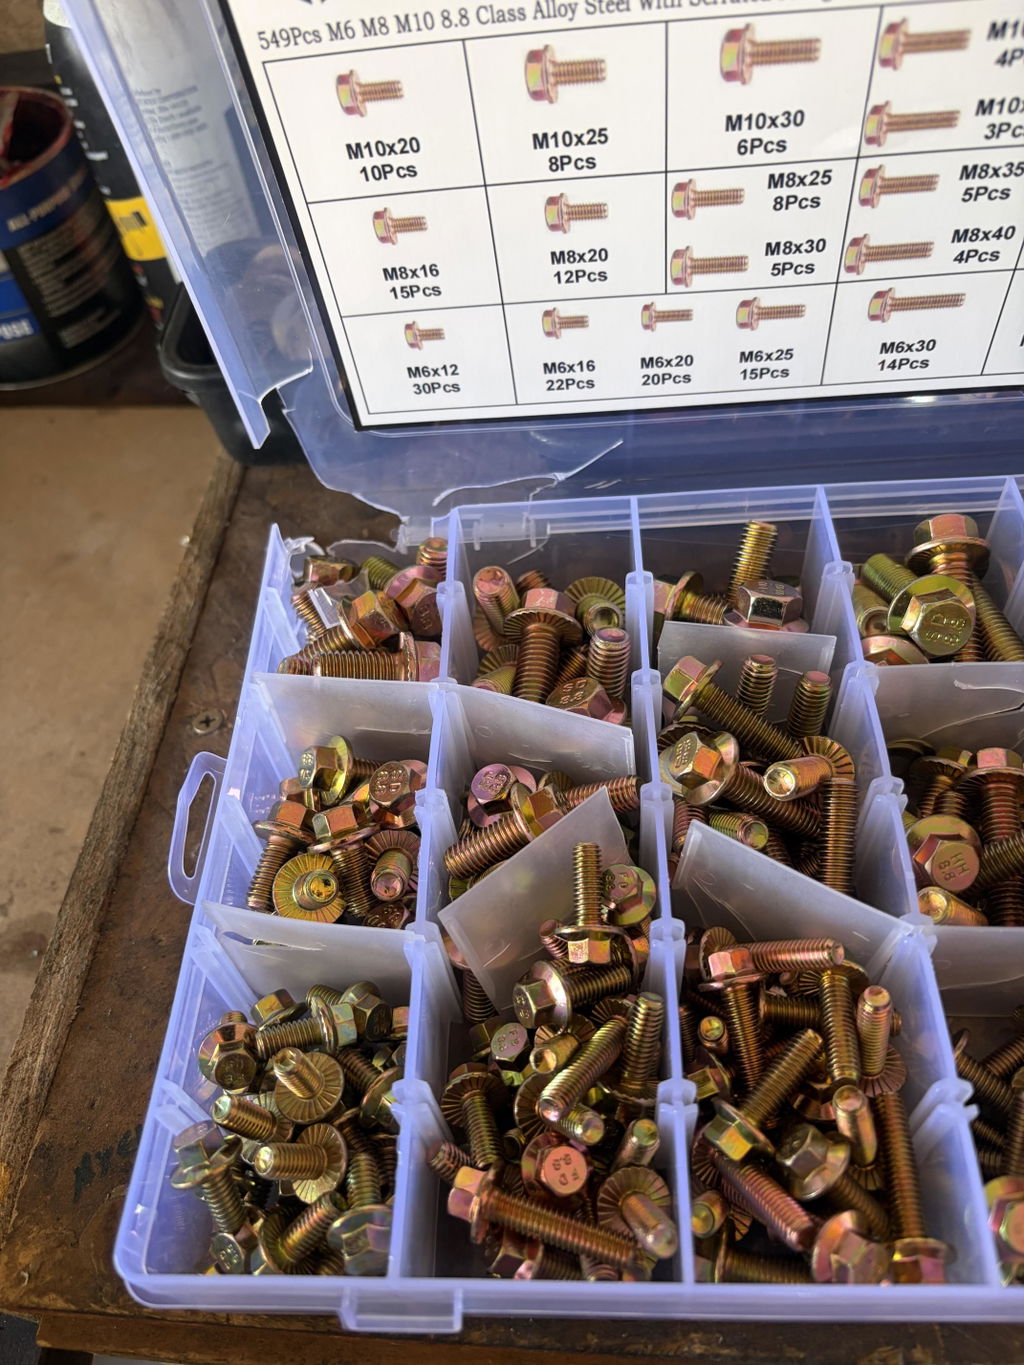
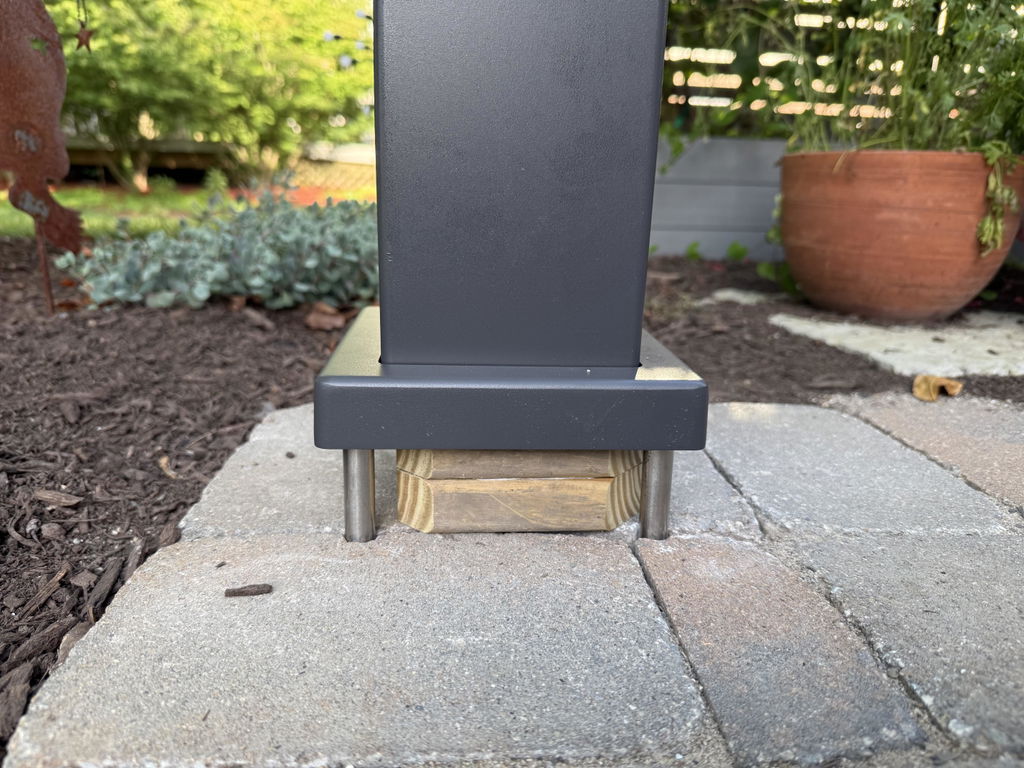
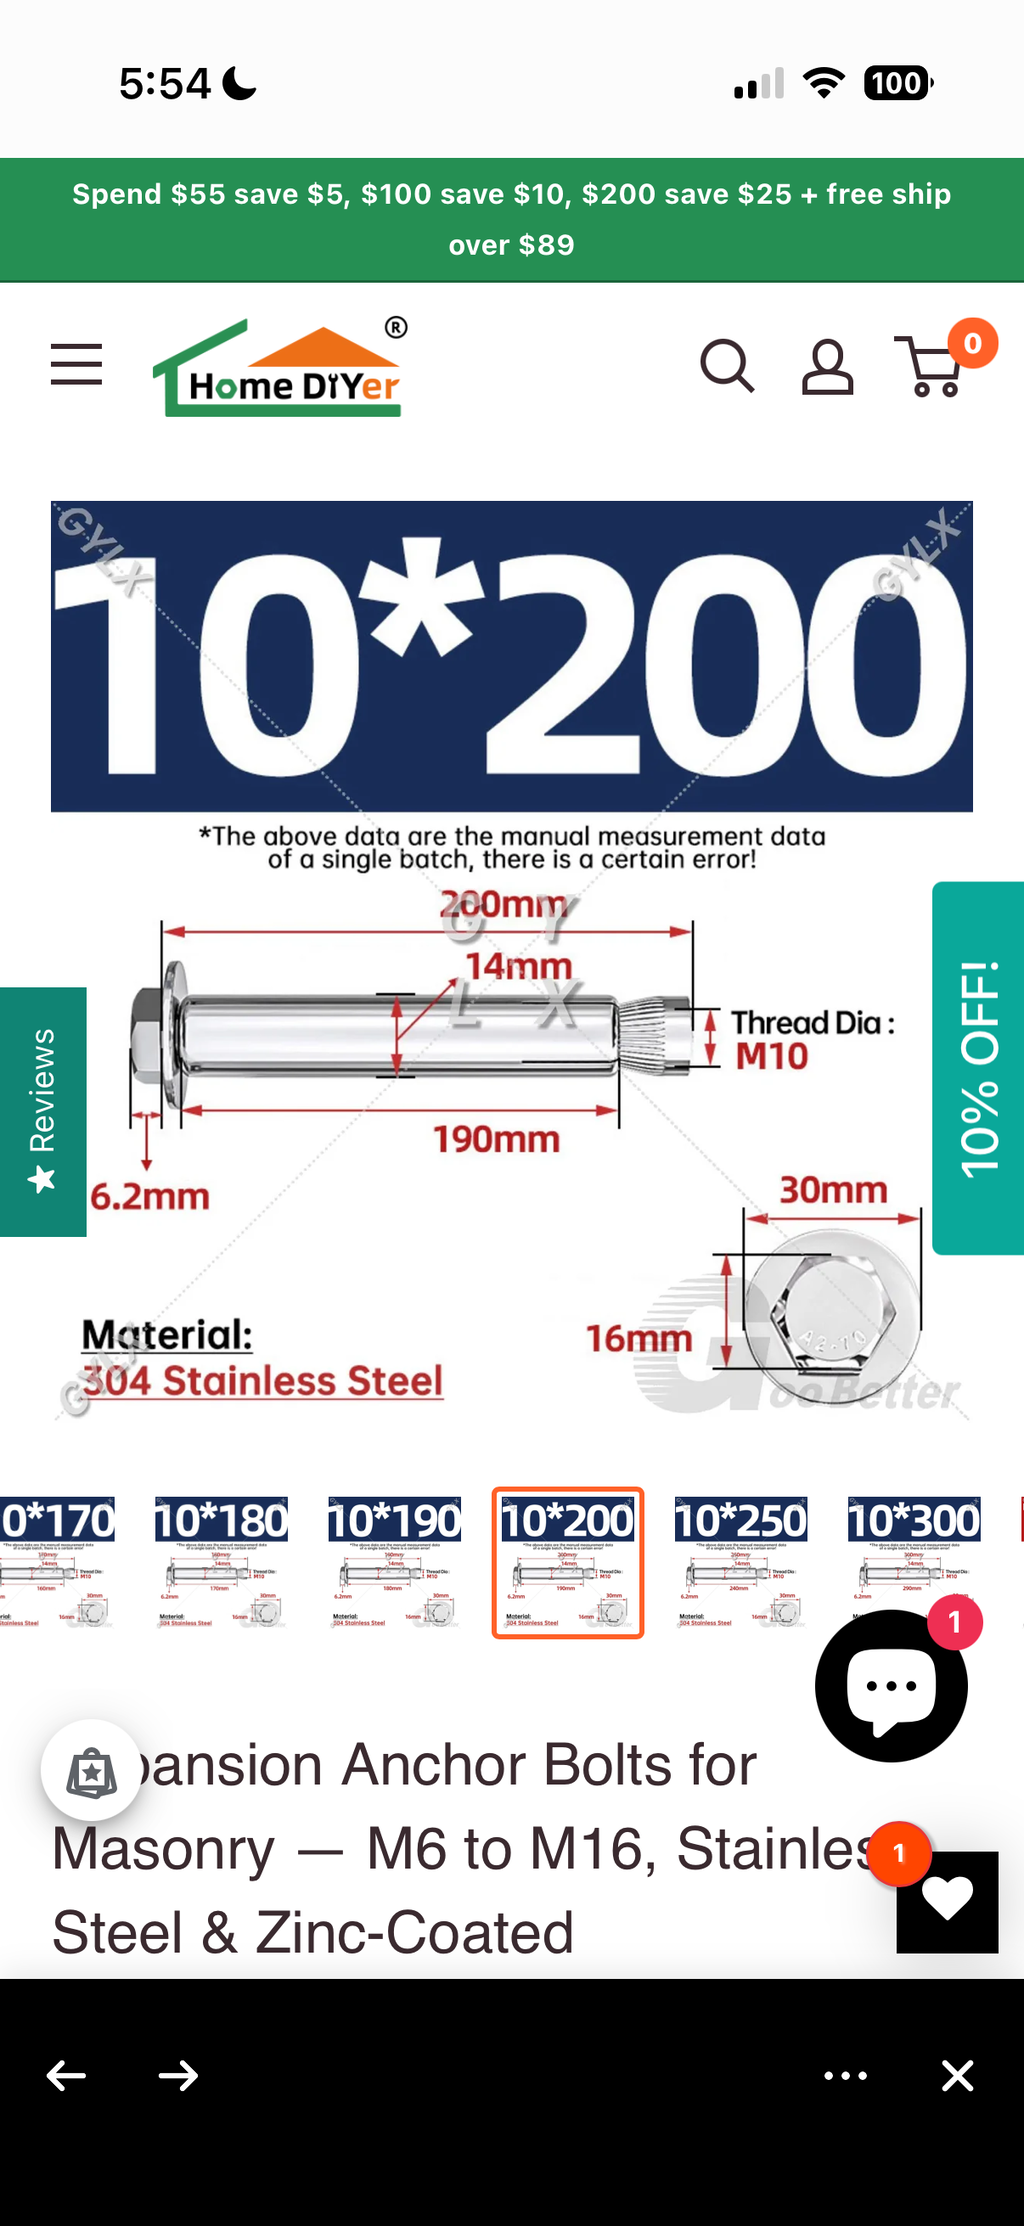
High quality bolts of different lengths used to anchor a Paragon Louvered Pergola! Only thing missing from packaging was what size SDS hammer drill bit to use. By chance found illustrations on their site which showed it.

Finish on some not so good.
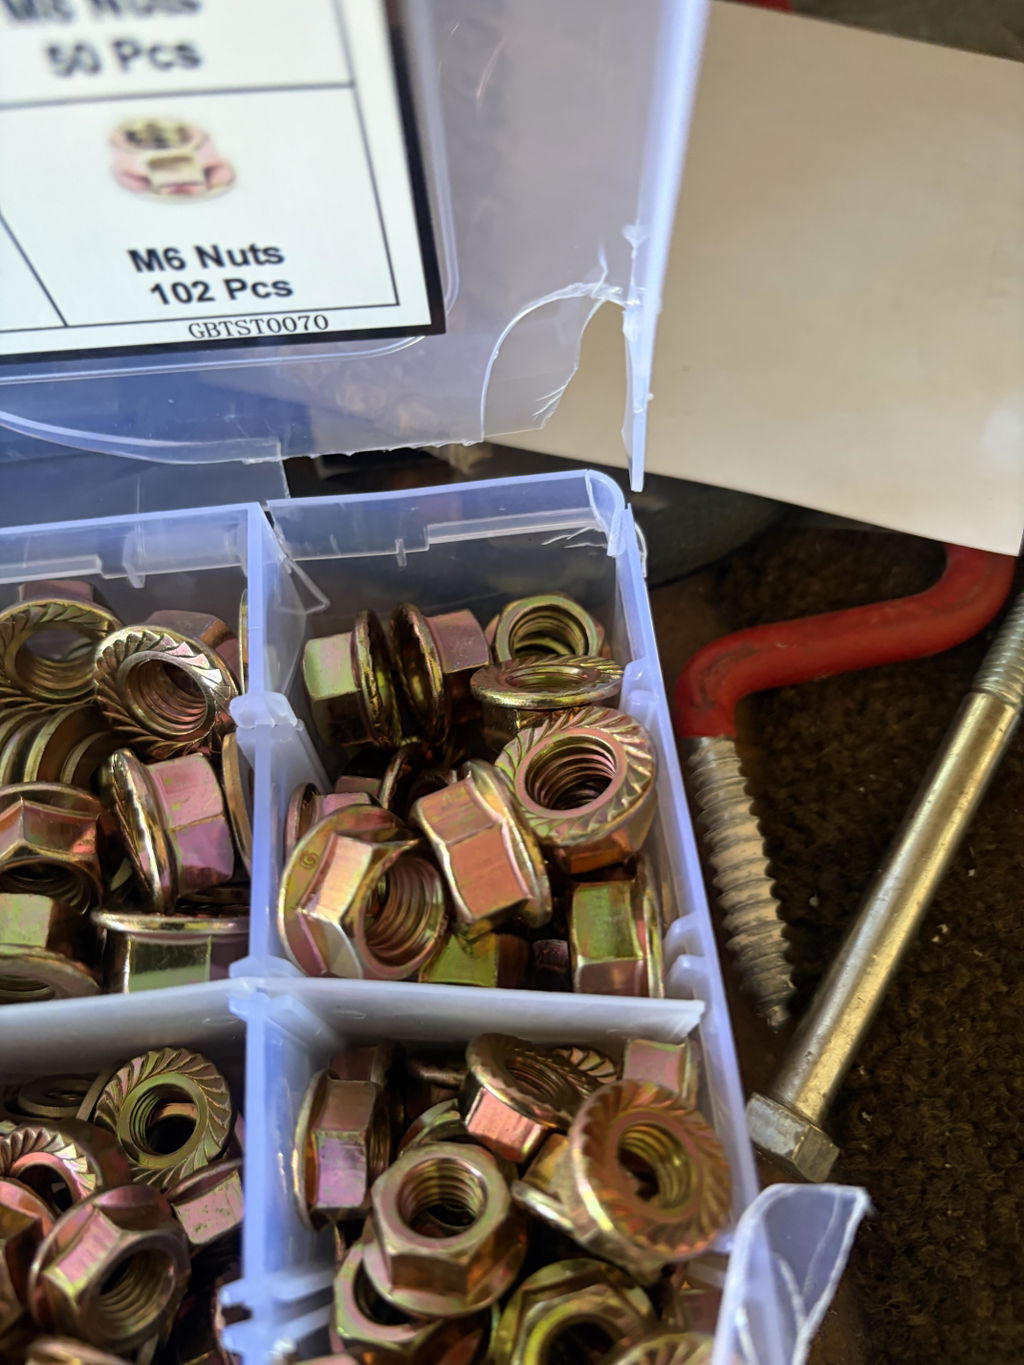
Plastic divider case arrived broken. Pretty much useless.