

Summary
This guide stresses preparation, patience, and the correct matching of extractor size to fastener diameter. It includes practical steps for how to use a screw extractor correctly, explains the mechanical reasoning behind each step, and offers multiple fallback strategies (drilling left-hand bits, welding studs, and rethreading) for difficult situations. By following the recommendations here, you’ll reduce the chance of a stuck screw becoming a much larger repair job.
What is a Screw Extractor? Basic Principles and How It Works
A screw extractor is a purpose-made hardened bit (or set of bits) that bites into the interior of a damaged screw (or the outer surface, depending on the design) so that you can apply torque in the removal direction. Most extractors rely on reverse-tapered or left-handed threads that tighten as you rotate them counterclockwise — same direction you use to loosen ordinary screws. The gripping action converts your turning force into a strong mechanical bond between the extractor and the damaged screw, allowing you to back it out.
The extractor process has three mechanical stages:
- Preparation & centering: Create a pilot hole centered in the damaged fastener so the extractor can seat safely.
- Engagement: Tap or screw the extractor into the hole so it bites the metal.
- Extraction: Apply controlled, steady counterclockwise torque until the fastener backs out.
Understanding those stages helps you choose the right extractor type and avoid damage to the workpiece.

When to Use a Screw Extractor — Common Scenarios for the Damaged Screw Extractor
Before grabbing an extractor, ask: Is the screw recoverable with simpler steps? Try ignition of penetrating oil, applying heat, or using locking pliers — sometimes these are sufficient. Use a screw extractor when:
- The screw head is stripped, so the driver no longer engages.
- The screw head is sheared off, and the remaining shank is embedded.
- The screw has seized due to corrosion, and standard tools can’t budge it.
- You need to remove the fastener without enlarging the hole or damaging the surrounding material.
If you are working on fragile materials (thin soft metals or plastics), consider less aggressive methods first — extractors require drilling and can remove material if used carelessly.
Tools & Prep: What You Need Before Using a Screw Extractor Set
Good preparation is 70% of the job. Here’s a pragmatic checklist — gather these before you begin:
| Tool | Why it matters |
|---|---|
| Screw extractor set | Multiple sizes, hardened steel, and included pilot drill bits keep everything matched. |
| Variable-speed drill | Controlled RPM reduces walking and heat. Cordless drills are fine but ensure consistent torque control. |
| Left-hand drill bits | Sometimes unscrew the damaged fastener while drilling — a useful shortcut. |
| Center punch | Marks the center so the drill won’t wander on curved or damaged heads. |
| Penetrating oil | Breaks corrosion bonds and reduces required torque. |
| Locking pliers & small hammers | Provide extra leverage and seat extractors cleanly. |
| Safety glasses & gloves | Always protect from metal fragments and cuts. |
Pro tip: If possible, work in a well-lit area and have a small tray to collect metal chips. Lose chips can damage finishes or get into bearings.
How to Use a Screw Extractor Properly — Step-by-Step Procedures
The following step-by-step method is the one technicians use when they want reliable, repeatable results. Read the steps first, then follow carefully.
Step 1 — Confirm the fastener type and condition
Is it wood, sheet metal, stainless bolt, or a machine screw? Material and size affect drilling choices. Remove any old paint or debris from around the fastener so you can see its center.
Step 2 — Apply penetrating oil and allow soak time
Soak for 10–30 minutes for light rust; longer for heavily corroded bolts (overnight if practical). Tap the surrounding material gently to help the oil migrate into threads.
Step 3 — Center punch the head
Accurate centering avoids off-axis drilling which can destroy the pilot hole geometry and reduce extractor grip.
Step 4 — Drill the pilot hole
Choose the pilot drill size per your extractor-chart. For spiral extractors, drill a hole slightly smaller than the extractor’s outer diameter. Maintain low-to-moderate speed and steady pressure.
Step 5 — Try a left-hand drill bit (optional)
If available, a left-hand bit sometimes unscrews the fastener while drilling, saving the extraction step. Use this approach before inserting an extractor.
Step 6 — Insert the extractor and seat it
Tap the extractor lightly into the hole. For straight-flute extractors, ensure they are fully seated so you don’t create an off-axis load.
Step 7 — Apply slow, controlled counterclockwise torque
Turn with a T-handle, tap wrench, or locking pliers. Never jerk — sudden torque can shear hardened extractors or break the fastener. If it feels stuck, back off, reapply penetrating oil, wait, and try again.
Step 8 — Remove the fastener and clean the hole
Once the fastener comes out, remove burrs and clean threads. If re-using the hole, consider using an anti-seize compound or replacing the fastener with a corrosion-resistant material.
Common Mistakes When Using a Screw Extractor — And How to Avoid Them
Here are frequent errors and how to prevent them:
| Mistake | Why It Fails | How to Avoid |
|---|---|---|
| Wrong extractor size | Not enough bite or forces concentrate and break the extractor | Follow the kit’s chart; if uncertain start smaller |
| Off-center drilling | Pilot hole weakens extractor seating | Use a center punch and a slow drill speed |
| Forcing with high torque | Extractor snaps — now you must drill out a broken extractor | Use steady, incremental torque and penetrating oil |
| Using dull drill bits | Generates heat and blunts the extractor’s bite | Use sharp HSS bits and moderate speed |
| Not securing the workpiece | Movement causes misalignment and additional damage | Clamp the workpiece rigidly before drilling |
When working on stainless steel, consider pre-drilling with a cobalt bit and using cutting oil — stainless work-hardens quickly if overheated.
Types of Screw Extractors & How to Select the Best One for Your Job
Spiral (tapered) extractors
These are the most widely used: their left-handed spiral profile bites into the drilled hole as you turn. Great for general stripped screws but may expand the inner metal if the hole is too small.
Straight-flute extractors
These cut into the metal without expanding the fastener. They’re good for brittle materials or where you want to avoid radial expansion.
Multi-spline & socket-style extractors
Designed for large bolts and industrial applications. Use with sockets or impact tools, and match the drive geometry carefully.
Left-hand drill bits as an extraction aid
Not an extractor per se but effective: because they rotate counterclockwise, they can sometimes snag and back out the fastener as you drill the pilot hole.
Comparison: Screw Extractor vs Alternative Removal Methods
Choosing between methods depends on risk tolerance for surrounding material and access to tools.
| Method | Effectiveness | Damage Risk | Skill Level |
|---|---|---|---|
| Screw extractor | High | Low–Medium (if done correctly) | Beginner–Advanced |
| Locking pliers (vise-grip) | Medium | Medium (can mar surfaces) | Beginner |
| Left-hand drill | Medium | Low | Intermediate |
| Weld nut onto stub | High | Medium (requires heat) | Advanced |
| Drill and re-tap | High (as repair) | Medium–High (removes material) | Advanced |
In tight spaces or where finish is critical, start with the least invasive option (penetrating oil and left-hand bits) and escalate only if necessary.
Advanced Troubleshooting for Stubborn Screws — When a Screw Extractor Is Not Enough
Heat and cool cycle
Thermal expansion can break corrosion bonds. Apply controlled heat to the surrounding area (avoid flammable paints or plastics) and then cool. This can loosen seized threads.
Weld & turn
If there is enough of the stud to grab, welding a nut to the end provides a fresh, solid surface to apply torque. This method requires welding skill and attention to avoid warping or damage.
Drill out & re-thread
When the thread is destroyed, drilling to an oversize and inserting a helicoil or re-tapping is a durable repair. This is a repair method, not a removal method per se, but often necessary if removal damages the threads.
Use a Dremel or slotting wheel
For screws with partially intact heads, cutting a new slot across the head using a rotary tool allows the use of a flat-head screwdriver for removal. Use protective gear for sparks and metal dust.
Broken extractor inside? How to proceed
If an extractor breaks inside the damaged screw, options are: drill around the broken piece and extract, bore the entire assembly and re-tap, or seek a machine shop. Prevention (correct sizing, steady torque) is far preferable.
Maintenance & Care for Your Screw Extractor Kit — Keep It Working Longer
Keep your kit clean, organized, and dry. After each job, wipe bits and extractors of chips and oil, and store them in the case. Replace extractors that show blunting, cracks, or severe wear; hardened steel loses effectiveness when worn.
- Wipe with light oil and store in a dry case.
- Sharpen or replace dull drill bits to reduce heat and increase pilot-hole accuracy.
- Avoid using extractors for purposes other than extraction (no prying or punching).
- Periodically check the kit against a parts list so you don't lose the smaller sizes.
Safety Considerations When Using a Screw Extractor
Extracting fasteners involves sharp chips, rotating tools, and sometimes heat. Use these safety practices:
- Wear ANSI Z87.1-compliant safety glasses (or better).
- Use gloves to handle sharp shards, but remove gloves when operating rotating tools to avoid entanglement.
- Secure the workpiece with a vise or clamps.
- Use ear protection in noisy environments.
- If using heat or welding, follow fire-safety practices and provide ventilation.
Case Studies — Real-World Examples of Using a Screw Extractor Successfully
Automotive: Exhaust manifold locknut stuck
A technician removed a rusted exhaust manifold nut by soaking with penetrating oil overnight, drilling a centered pilot hole, using a spiral extractor, and applying slow torque. The nut backed out cleanly, saving the manifold from costly replacement.
Woodworking: Restoring antique furniture
A stripped brass screw in a chair leg was removed with a small straight-flute extractor and gentle pilot drilling to avoid splitting the wood. The hole was later repaired with a wooden plug and re-screwed with a new brass fastener.
Industrial: Conveyor mount bolt
In a production line the head of a mounting bolt sheared off. The team welded a nut onto the remaining stud and removed it with a socket. After that, they switched to stainless bolts and applied anti-seize to reduce recurrence.

Buyer’s Guide: Choosing the Best Screw Extractor Set for Your Work
When buying a kit, consider:
- Material & hardness — hardened steel extractors last longer and resist breakage.
- Range of sizes — a 15–22 piece kit covers most home and light-industrial needs.
- Included drill bits — saves time matching sizes and improves success rate.
- Case quality — keeps small parts organized and protected.
- Brand reputation & warranty — quality control matters for hardened tools.
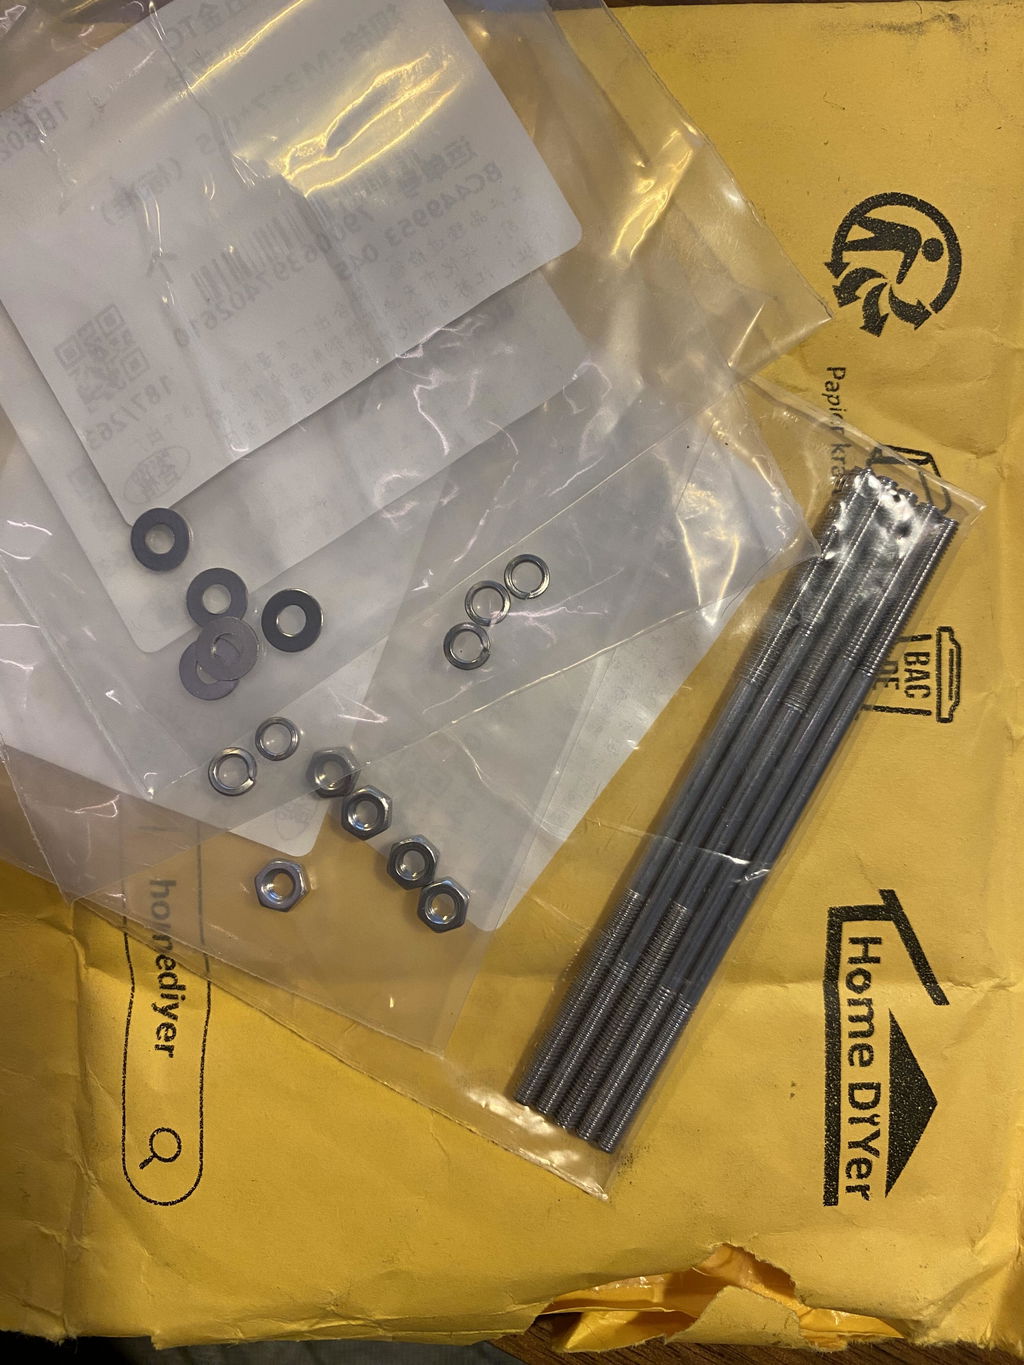
For most homeowners and workshop users we recommend the HomeDIYer 22pc Screw Extractor Set — it balances size coverage, durability, and price.
Frequently Asked Questions (Top 5) About Screw Extractors
1. Can a screw extractor break inside the screw?
Yes — especially if excessive torque is applied, the extractor is worn, or the pilot hole is off-center. Prevention: use the correct size, steady torque, and penetrating oil. If it does break, you’ll need to drill around it or seek professional machining help.
2. Are extractors safe for all materials (steel, aluminum, wood)?
They work in many materials, but technique varies. For wood, use minimal pilot drilling and gentle pressure to avoid enlarging the hole. For aluminum, use reduced speed and avoid heat buildup. For hardened steel screws, match extractors and consider multi-spline types.
3. Do left-hand drill bits always work?
Left-hand bits are helpful for lightly seized fasteners because the drilling motion can reverse the screw. They are not guaranteed to work but are inexpensive and worth adding to your toolkit.
4. When should I stop and call a professional?
If multiple attempts have failed, an extractor has broken inside the fastener, or the component is critical (structural, pressure-containing, safety-related), stop and consult a machinist. Professional shops have extraction jigs and micro-machining tools that minimize collateral damage.
5. How do I avoid needing extractors in the future?
Use the correct fastener size and driver bit, apply anti-seize compounds in corrosive environments, avoid over-torquing, and use washers or properly sized sockets to distribute load and reduce wear.
Conclusion — Confident, Safe Use of Screw Extractors
Removing a stubborn screw need not be a high-stress part of your project. With the right kit, a methodical process, and a little patience, how to correctly use a screw extractor becomes second nature. Start with penetrating oil and centered drilling, progress to the appropriate extractor type, and escalate only when necessary. A reliable extractor kit — like the HomeDIYer 22pc Screw Extractor Set — will make this a repeatable, dependable operation in your workshop.
Quick Checklist
- Assess, clean, and apply penetrating oil
- Center punch and drill properly sized pilot hole
- Insert extractor and use slow counterclockwise torque
- Back off and reassess if the extractor resists
- Call a professional before escalating destructive methods
Get the kit
If you don’t already have one, our recommended starter set is a robust, affordable solution: HomeDIYer 22pc Screw Extractor Set.
If you want, I can convert this guide into a printable one-page checklist or generate social snippets to promote the article on Facebook, Instagram, and LinkedIn — tell me which platforms you prefer and I'll prepare them.


Comments
Leave a comment