

(Table of Contents)
-
That Frustrating Moment: When Screws Fail & Metals Won’t Cooperate
-
Meet the Unsung Hero: What Exactly is a Rivet Nut? (No Jargon, Promise!)
-
The Magic Trick: How Does This Little Thing Actually Work?
-
Your Rivet Nut Toolkit: Why 860 Pieces Isn't Overkill (It's Genius!)
-
Where Does the Rivet Nut Shine? Unveiling Its Powerhouse Applications:
-
Conquering Thin Metal: Your Garage, Shed & Workshop Savior
-
Auto Rescue Squad: Fixing Threads & Upgrading Your Ride
-
DIY Furniture Boss: Building Strength Where Wood Meets Metal
-
Appliance Whisperer: Taming Those Pesky Internal Repairs
-
Creative Fabrication: When Your Project Demands the Unexpected
-
The RV & Camper Life: Essential Repairs on the Move
-
Industrial Muscle (Even for Small Shops!): Heavy-Duty Solutions
-
-
Rivet Nut vs. The World: Why Not Just Use a Regular Nut or Weld It?
-
Getting Started: Choosing the Right Rivet Nut & Setting Tool (Made Easy)
-
Pro Tips & Avoiding Facepalms: Getting the Perfect Rivet Nut Installation
-
Unlock Your Potential: Why Mastering Rivet Nuts Makes You a DIY God(dess)
-
Ready to Tackle Anything? Your Ultimate Rivet Nut Kit Awaits!
1. That Frustrating Moment: When Screws Fail & Metals Won’t Cooperate
Picture this: You’re in the zone, deep into a project. Maybe it’s reinforcing that flimsy sheet metal bracket on your garage shelf, fixing a stripped thread on your beloved motorcycle engine cover, or building that custom metal-and-wood workbench you’ve been dreaming about. You drill the hole, grab a bolt and nut… and the frustration hits. The metal is too thin to hold threads securely. The backside is completely inaccessible – you can’t possibly reach a nut or washer behind it. Trying to tap threads just strips out instantly. Welding? Not an option here, and way overkill. You need a strong, reliable threaded connection, and the traditional methods are letting you down. Sound familiar? If you’ve ever muttered curses at thin metal or awkward spaces, there’s a brilliant solution you absolutely need to know about: the rivet nut.
2. Meet the Unsung Hero: What Exactly is a Rivet Nut? (No Jargon, Promise!)
Forget complex engineering terms. Think of a rivet nut (also called a nutsert, threaded insert, or blind nut) as a magical hybrid between a rivet and a nut. It’s a small, usually cylindrical sleeve, made of strong steel, stainless steel, or aluminum. Here’s the simple breakdown:
-
Outside: It has a smooth or knurled barrel and a flange (head) on one end.
-
Inside: It features precisely machined, robust threads running through its center.
-
The Trick: You insert it into a pre-drilled hole (just slightly larger than the rivet nut's body) from one side only – the accessible side. Then, using a special rivet nut tool (more on that soon!), you "set" it.
When set, the rivet nut performs its magic:
-
The body deforms and expands tightly against the backside of the material you’re fastening to.
-
The flange clamps down firmly on the front side.
-
This creates an incredibly strong, vibration-resistant anchor point with internal threads right where you need them.
The result? You now have a super-secure, threaded hole in thin material or where you can't access the back – ready for bolts, screws, eye bolts, hooks, or anything else you need to attach securely. Pure genius.
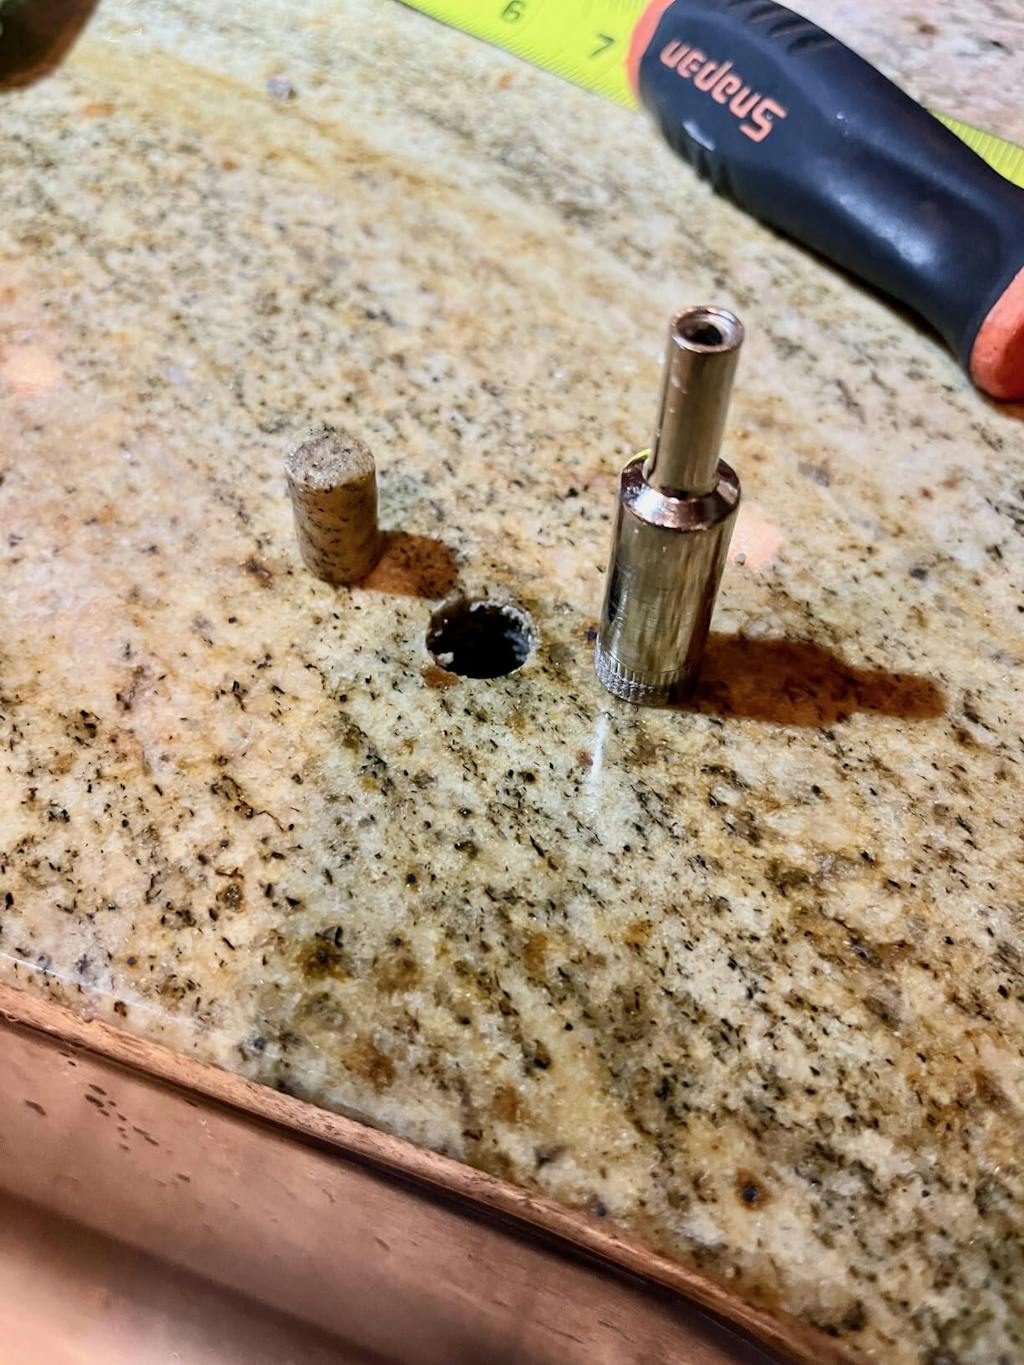
3. The Magic Trick: How Does This Little Thing Actually Work?
Okay, let's peek behind the curtain. The transformation from a simple sleeve to a powerhouse fastener happens thanks to the rivet nut tool. Here’s the typical process:
-
Drill: Make a clean hole in your workpiece. Size matters! It needs to match the rivet nut's recommended diameter exactly.
-
Insert: Place the rivet nut into the hole from the front (accessible) side. The flange sits against the material surface.
-
Thread: Screw the threaded mandrel of your rivet nut tool into the internal threads of the rivet nut.
-
Pull/Squeeze: Activate the tool. This pulls the mandrel upwards with significant force while the tool's nose (anvil) pushes against the rivet nut's flange.
-
The Deformation: This pulling force causes the unflanged end of the rivet nut to buckle and expand radially (bulge outwards) behind the workpiece. Imagine a tiny, controlled mushrooming effect.
-
Clamping & Breaking: The mandrel keeps pulling until:
-
The expanded body is tightly clamped against the backside of the material.
-
The flange is firmly seated against the front side.
-
The tension causes the mandrel to break off cleanly at a pre-engineered weak point (designed into the mandrel).
-
-
Done! Unscrew the tool's head from the mandrel stub left in the rivet nut. You now have a permanent, incredibly strong threaded insert. Screw in your bolt!
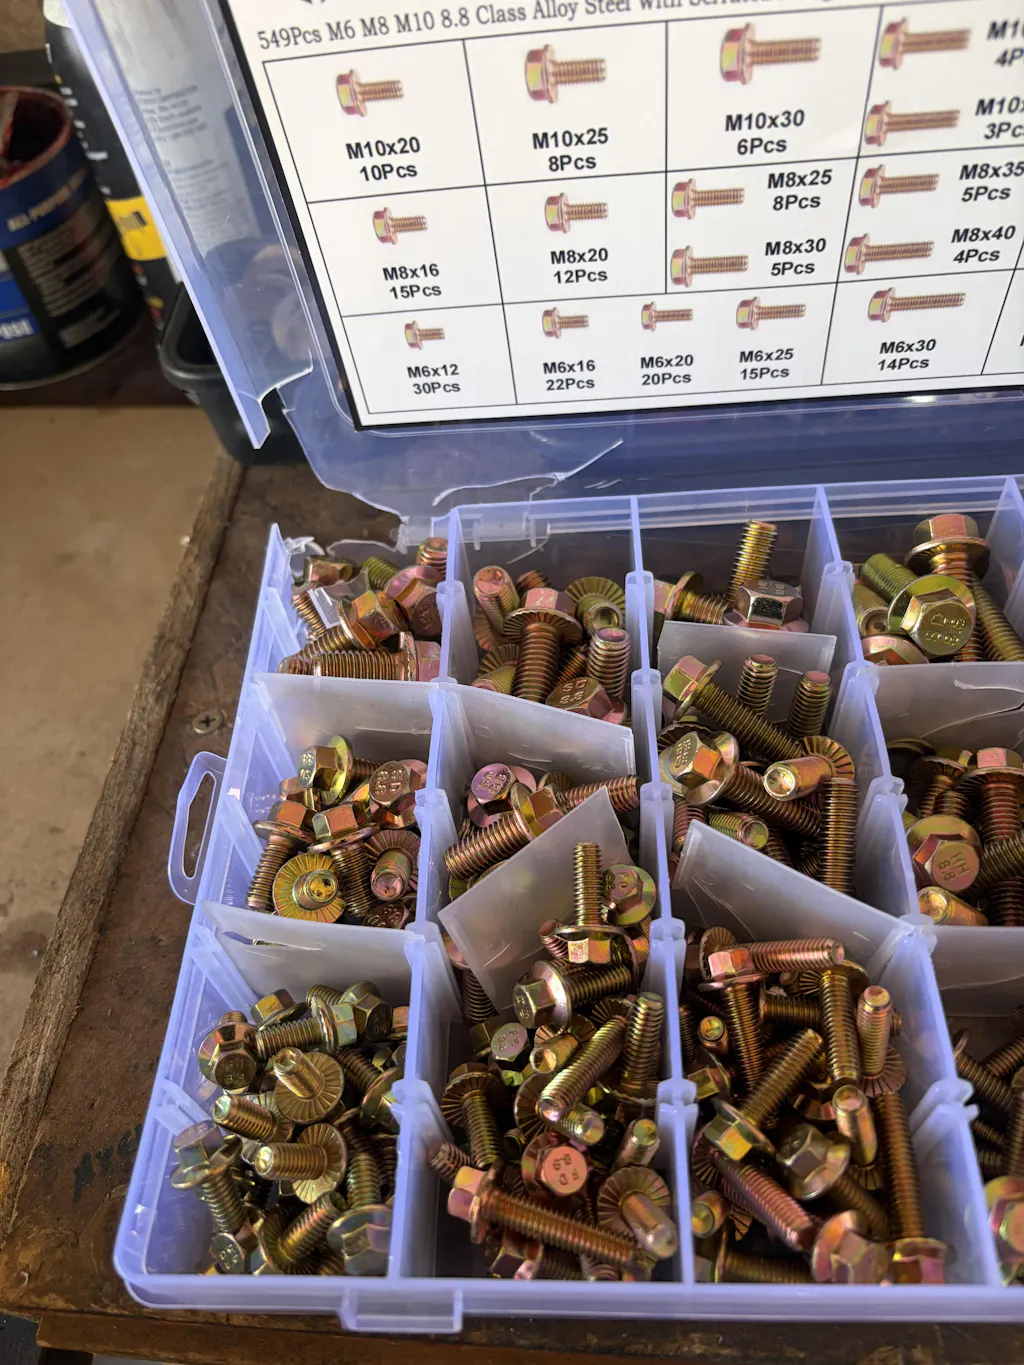
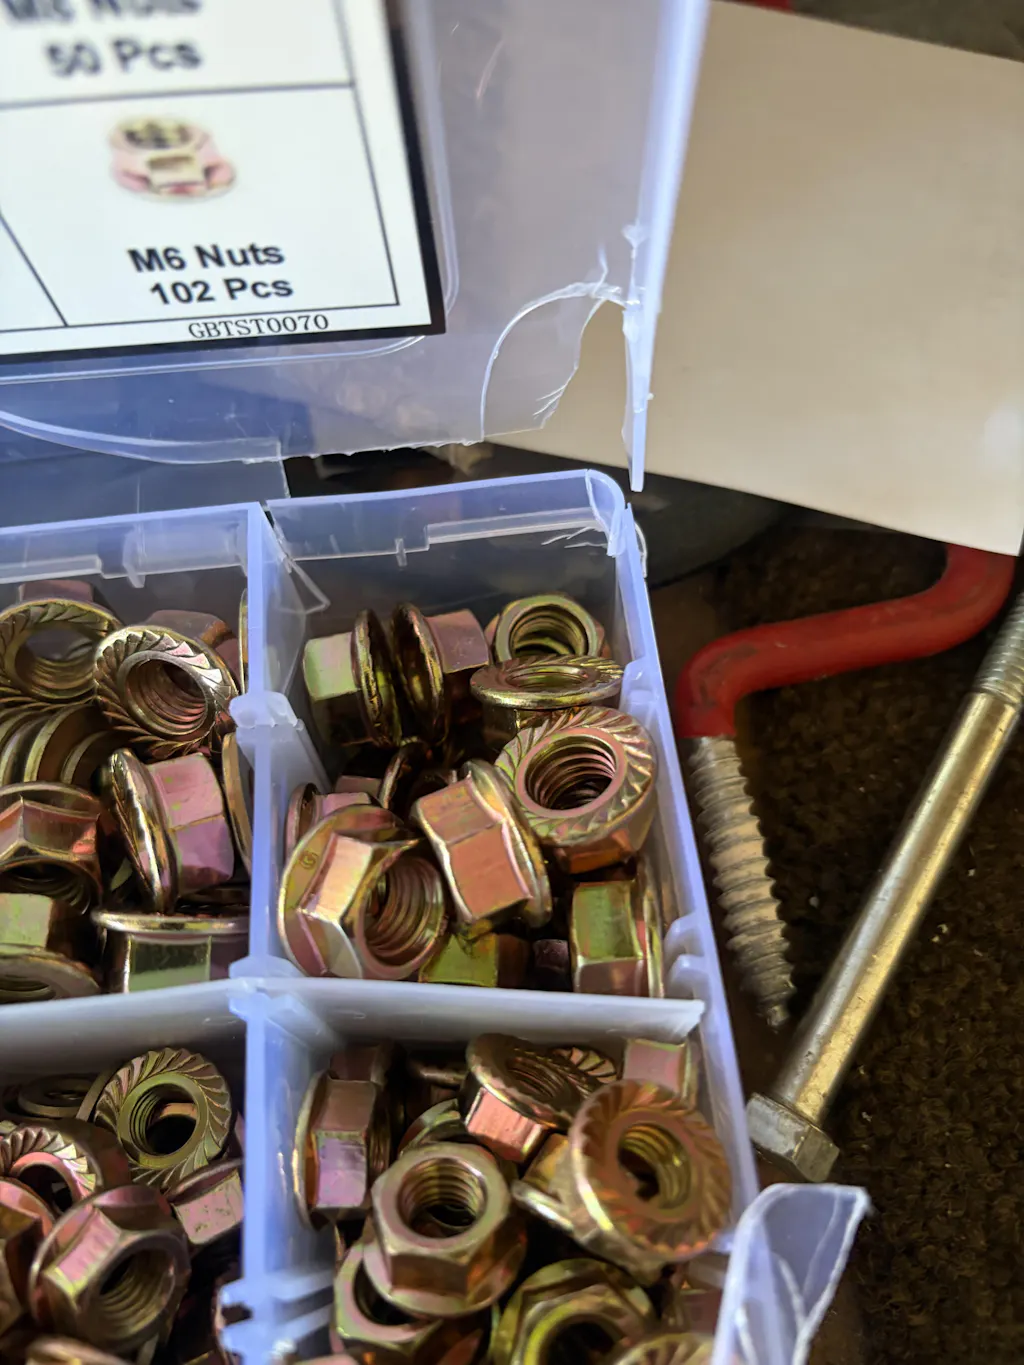
4. Your Rivet Nut Toolkit: Why 860 Pieces Isn't Overkill (It's Genius!)
"Why on earth would I need *860* rivet nuts?" I hear you ask. Let me be honest: running out mid-project or discovering you have the wrong size is a special kind of DIY hell. Here’s why a comprehensive kit like our 860pcs Rivet Nut Tool Kit is the smartest investment:
-
Material Matters: Steel? Stainless? Aluminum? Different jobs need different strengths and corrosion resistance. Our kit covers all three.
-
Thickness is Key: The material you're fastening into dictates the required rivet nut length ("grip range"). Too short? Weak hold. Too long? Won't set properly. We include multiple lengths per thread size.
-
Thread Variety: Projects demand different bolt sizes! M3, M4, M5, M6, M8 – covering everything from small electronics brackets to heavy-duty structural bolts. You will need them all eventually.
-
Flange Options: Small flange for discreet fits, large flange for maximum load distribution on soft materials. Covered.
-
Mandrels Included: Each size needs its specific mandrel for the tool. No hunting later!
-
The Tool Itself: A robust, reliable setting tool capable of handling the included sizes is essential. No flimsy junk here.
-
Future-Proofing: You buy once. When inspiration strikes for a new project at 10 PM, the exact rivet nut you need is already in your toolbox. No delays, no extra shipping costs, no compromises. That’s true freedom.
5. Where Does the Rivet Nut Shine? Unveiling Its Powerhouse Applications
This is where the fun begins! Rivet nuts aren't just a niche fix; they unlock possibilities and solve persistent problems across countless projects. Let's dive into the real-world scenarios where they become your indispensable ally:
-
Conquering Thin Metal: Your Garage, Shed & Workshop Savior
-
Shelving & Storage: Attach brackets securely to thin-walled metal cabinets, garage door panels, or metal studs. No more wobbly shelves! Mount heavy-duty hooks for tools, bikes, or ladders onto sheet metal walls where welding isn't possible.
-
Metal Enclosures & Panels: Create strong mounting points inside electrical boxes, control panels, or machine guards. Attach handles, latches, or hinges directly to thin sheet metal doors or covers.
-
Ductwork & HVAC: Secure brackets, sensors, or dampers to thin sheet metal ducts without warping or compromising the material.
-
Metal Sheds & Carports: Reinforce joints, attach framing elements securely to thin exterior panels, or mount accessories like solar panels or antenna mounts.
-
-
Auto Rescue Squad: Fixing Threads & Upgrading Your Ride
-
Stripped Threads: The #1 lifesaver! Salvage expensive engine covers, transmission pans, valve covers, or intake manifolds where original threads are stripped beyond repair. Drill out, install a rivet nut – good as new (or better!).
-
Adding Accessories: Mounting fog lights, light bars, winch controllers, toolboxes, roof racks, or custom bumpers? Rivet nuts provide robust threaded points in body panels, frames (where accessible), or inner fenders where reaching the back is impossible. Far superior to self-tappers that eventually vibrate loose.
-
Interior Upgrades: Securely attach seat brackets, console components, or speaker mounts to sheet metal floor pans or firewalls.
-
Body Panels: Attaching trim, mud flaps, or splash guards where factory clips fail or are missing.
-
-
DIY Furniture Boss: Building Strength Where Wood Meets Metal
-
Steel Frame + Wood Tops: Building a workbench, desk, or table with a sturdy steel frame and a beautiful wood top? Rivet nuts set into the steel tubing provide invisible, rock-solid threaded points to bolt the wood down securely from underneath. No visible bolts on top!
-
Mounting Hardware: Attach heavy-duty hinges, slides for drawers, or leveling feet directly into metal frames or plates embedded in furniture.
-
Reinforcing Particle Board/MDF: While not ideal for pure particle board, rivet nuts can be incredibly effective when used with insert plates. Embed a small steel plate within the particle board structure (during glue-up), then install rivet nuts into the plate. This creates a massively strong anchor point for table legs, shelf brackets, or heavy hardware.
-
-
Appliance Whisperer: Taming Those Pesky Internal Repairs
-
Internal Brackets & Panels: Washing machines, dryers, dishwashers, and ovens are full of thin sheet metal internal structures. Rivet nuts are the professional solution for reattaching loose brackets, sensor mounts, drum supports, or access panels when original threads fail or holes get enlarged. Avoid the dreaded "dryer rattle of doom"!
-
Motor Mounts: Securely remount motors or pumps where mounting lugs have cracked or threads are damaged.
-
-
Creative Fabrication: When Your Project Demands the Unexpected
-
Custom Brackets & Mounts: Designing a unique mount for a camera, sensor, display, or piece of equipment? Rivet nuts let you add threaded bosses exactly where you need them on custom-cut metal plates or brackets.
-
Signage & Displays: Securely mount signs, frames, or display components onto metal backing structures from the front.
-
Art & Sculpture: Provide hidden, strong attachment points within metal sculptures or installations.
-
Modifying Equipment: Adding features or accessories to machinery, trailers, or other metal fabrications where welding isn't desirable or possible.
-
-
The RV & Camper Life: Essential Repairs on the Move
-
Interior Fixtures: Securely remount cabinet hardware, table legs, seat frames, or appliance trim inside the thin-walled cabinetry and structures of RVs and campers.
-
Exterior Accessories: Mounting bike racks, ladder upgrades, storage boxes, or antenna mounts to the thin aluminum or fiberglass exterior walls. Provides a much stronger hold than screws alone.
-
Awnings & Slide-Outs: Repairing mounting brackets or hardware related to these systems where access is limited.
-
-
Industrial Muscle (Even for Small Shops!): Heavy-Duty Solutions
-
Machine Guards & Safety Covers: Quickly and securely attach removable guards to equipment frames.
-
Conveyors & Material Handling: Adding wear strips, guides, or sensors to frames.
-
Jigs & Fixtures: Creating robust, replaceable threaded points in custom fabrication or assembly fixtures.
-
Maintenance Repairs: Patching stripped holes on machinery frames, brackets, or housings faster and often stronger than re-tapping or welding.
-
6. Rivet Nut vs. The World: Why Not Just Use a Regular Nut or Weld It?
It's a fair question! Let's break down why rivet nuts often win:
-
vs. Weld Nuts:
-
Access: Weld nuts require access to both sides to weld. Rivet nuts are blind – front side only!
-
Heat: Welding warps thin metal, burns paint/finishes, and requires significant skill/safety gear. Rivet nuts are cold-process, no distortion, no fire risk.
-
Speed: Setting a rivet nut is often much faster than welding, grinding, and refinishing.
-
Removability: While permanent, rivet nuts can be drilled out relatively cleanly if absolutely necessary. Welding is truly permanent fusion.
-
-
vs. Regular Nuts & Bolts:
-
Thin Materials: Bolts/nuts require sufficient material thickness to engage threads properly. Rivet nuts anchor securely in paper-thin material by expanding behind it.
-
Blind Applications: If you can't reach the back, you can't hold a nut. Rivet nuts solve the inaccessible backside problem perfectly.
-
Strength in Thin Sheet: A rivet nut distributes load over a larger area (flange front, bulge back) than just the threads of a bolt in thin metal, making it vastly stronger and vibration-resistant.
-
Appearance: A bolt head and nut are visible on both sides. A properly set rivet nut gives a clean, finished look on the front, with only the bolt head visible.
-
-
vs. Self-Tapping Screws:
-
Strength & Durability: Self-tappers are notorious for vibrating loose and stripping out in metal, especially under load or stress. Rivet nuts provide a permanent, machine-threaded anchor that won't loosen and can handle significantly higher loads. Reusable countless times.
-
Thin Materials: Self-tappers often perform poorly in very thin metal. Rivet nuts excel here.
-
Professional Finish: Rivet nuts look and perform like a factory-installed solution. Self-tappers often look like a temporary hack.
-
7. Getting Started: Choosing the Right Rivet Nut & Setting Tool (Made Easy)
Don't get overwhelmed! Here's your cheat sheet:
-
Know Your Bolt: What size bolt/screw do you need to use? (e.g., M6 x 1.0). This determines the internal thread size (M6) you need.
-
Measure Your Material: What is the total thickness of the material(s) you are fastening through? This determines the required grip range of the rivet nut. The rivet nut length must be slightly longer than the total material thickness but fit within its specified grip range.
-
Material Match: What is the material you are fastening into? For most steel applications, steel rivet nuts are strong and economical. For corrosion resistance (outdoors, marine, food equipment), choose stainless steel. For lightweight applications on aluminum, aluminum rivet nuts prevent galvanic corrosion.
-
Flange Choice: Need a low profile? Use a small flange. Need maximum load distribution on softer materials (like plastics or thin sheet)? Choose a large flange.
-
The Right Tool: Ensure your rivet nut tool (like the one in our 860pcs Kit) is rated for the sizes and materials (especially steel/stainless) you plan to use. Trying to set a large steel rivet nut with an undersized tool is an exercise in frustration. Our kit includes a robust tool and all the necessary mandrels.
Pro Tip: When in doubt, especially for critical structural applications, choose a slightly larger thread size or a stronger material (steel over aluminum) than you think you absolutely need. Over-engineering is cheap insurance!
8. Pro Tips & Avoiding Facepalms: Getting the Perfect Rivet Nut Installation
A little know-how prevents headaches:
-
Drill Clean & Accurate: Use sharp drill bits and drill perpendicular to the surface. Burrs are the enemy! Deburr the hole thoroughly front and back (if possible) with a countersink bit or file. A clean hole ensures a smooth insertion and even setting.
-
Size is Critical: Refer to the rivet nut specs for the EXACT drill size needed. Too small = won't fit. Too big = weak hold or won't set properly. Measure twice, drill once.
-
Lubricate the Mandrel Threads: A tiny dab of light oil or anti-seize on the mandrel threads makes it easier to screw into the rivet nut and significantly reduces the force needed to set it (especially important for steel/stainless). It also helps prevent the mandrel from galling and breaking prematurely.
-
Hold the Tool SQUARE: Keep the tool perpendicular to the workpiece surface throughout the pulling process. Tilting can cause uneven setting or damage.
-
Pull Until it Snaps: Don't stop pulling when it gets tight! Keep steady, firm pressure until you feel/hear the mandrel break cleanly. That's the signal it's fully set. An unbroken mandrel means an unset (and useless) rivet nut.
-
Check the Set: After removal, inspect:
-
The flange should be tight against the material.
-
The rivet nut body should be expanded evenly behind the material (you might feel it or see slight bulging on thin sheet).
-
The mandrel stub should be flush or slightly recessed.
-
Screw a bolt in by hand. It should turn smoothly but firmly. Any wobble or cross-threading indicates a bad set – drill it out and try again.
-
-
Start Small: Practice on scrap material of similar thickness before tackling your actual project. Get a feel for the tool and the "snap."
9. Unlock Your Potential: Why Mastering Rivet Nuts Makes You a DIY God(dess)
Let's be real: Knowing how to use rivet nuts effectively isn't just about fixing stripped threads. It's about empowerment. It fundamentally changes your approach to building and repairing:
-
No More Compromises: Stop designing around inaccessible backsides or thin materials. Build what you want, how you want.
-
Professional Results: Achieve clean, strong, reliable connections that look factory-made, not like a backyard bodge.
-
Save Money & Time: Salvage expensive parts instead of replacing them. Complete projects faster without wrestling with impossible fastening situations. That comprehensive kit pays for itself quickly.
-
Expand Your Horizons: Tackle projects you previously thought were too difficult or required welding. Metal fabrication becomes infinitely more accessible.
-
Confidence: There's immense satisfaction in knowing you have the skill and the tools (like your trusty 860pcs Rivet Nut Kit) to handle almost any fastening challenge thrown your way. You become the go-to problem solver.
10. Ready to Tackle Anything? Your Ultimate Rivet Nut Kit Awaits!
So, where would you use a rivet nut? The answer, as you've seen, is almost anywhere traditional fasteners struggle: thin metal, blind holes, stripped threads, demanding applications needing robust threads. From rescuing your car engine to building rock-solid furniture, upgrading your RV, or unleashing your inner fabricator, the rivet nut is the versatile, powerful solution you've been missing.
Stop letting frustrating fastening limitations stall your projects or force subpar solutions. Equip yourself with the knowledge and the right tools.
Your journey to stronger, smarter, frustration-free fastening starts right here:
Get Your 860pcs Rivet Nut Tool Kit - The Ultimate Fastening Solution <<<
This isn't just a kit; it's your passport to unlocking a whole new level of DIY capability. Steel, Stainless Steel, Aluminum. M3, M4, M5, M6, M8. Multiple lengths. The robust tool. All the mandrels. Everything is meticulously organized. Buy once, be prepared for everything.
What will YOU build, fix, or upgrade first? Share your rivet nut success stories with us!
Happy (and Strong) Building!


Comments
Leave a comment