

What You’ll Need
Hardware Components
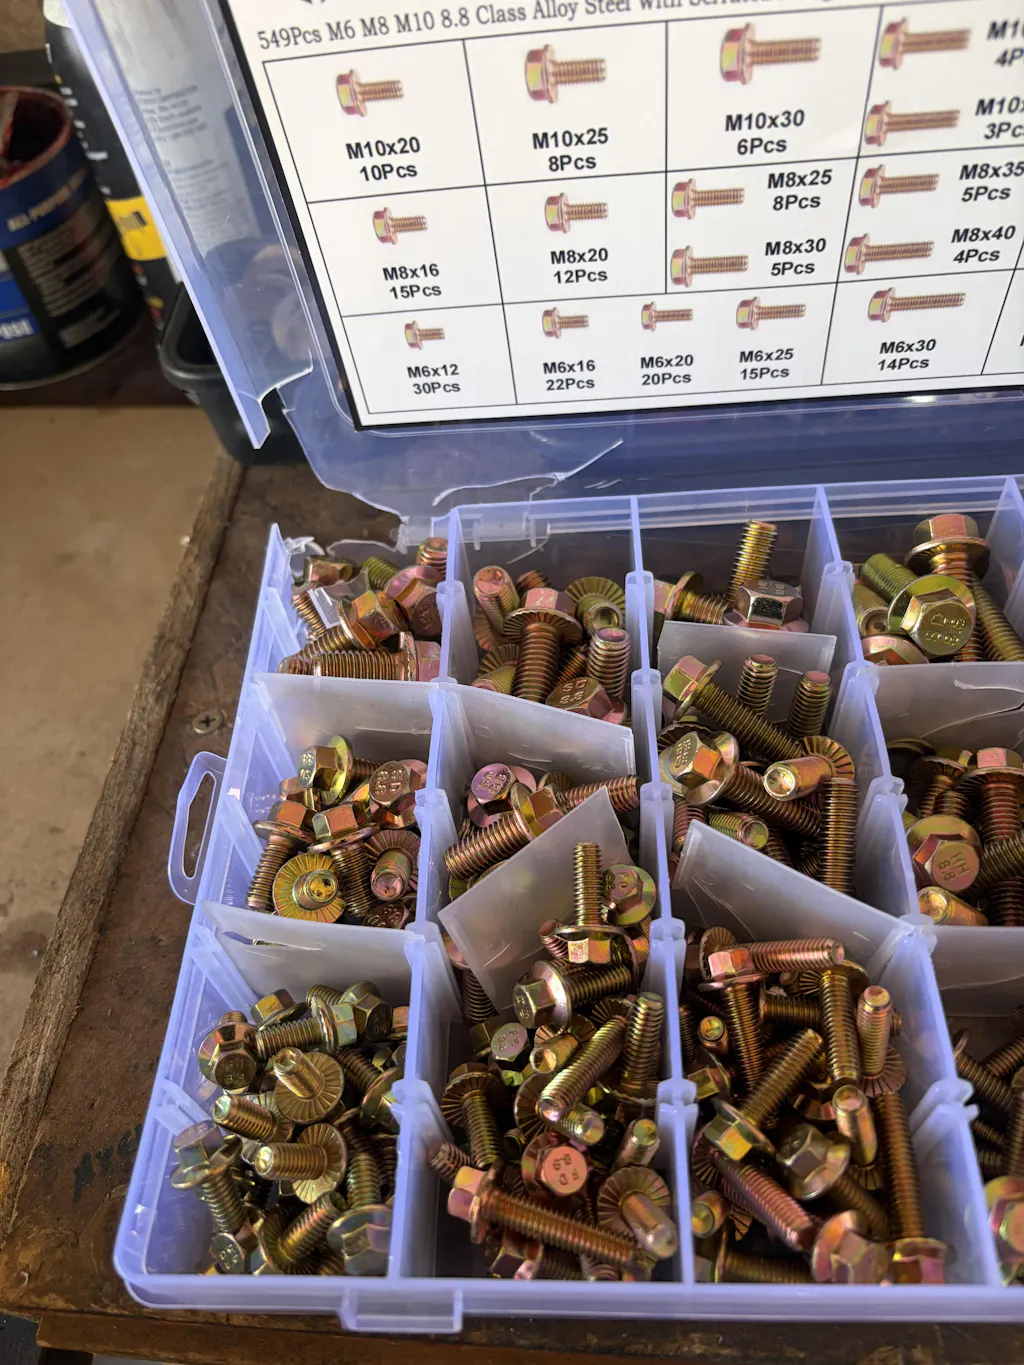
- A long bolt (socket head cap screw recommended for better grip and torque)
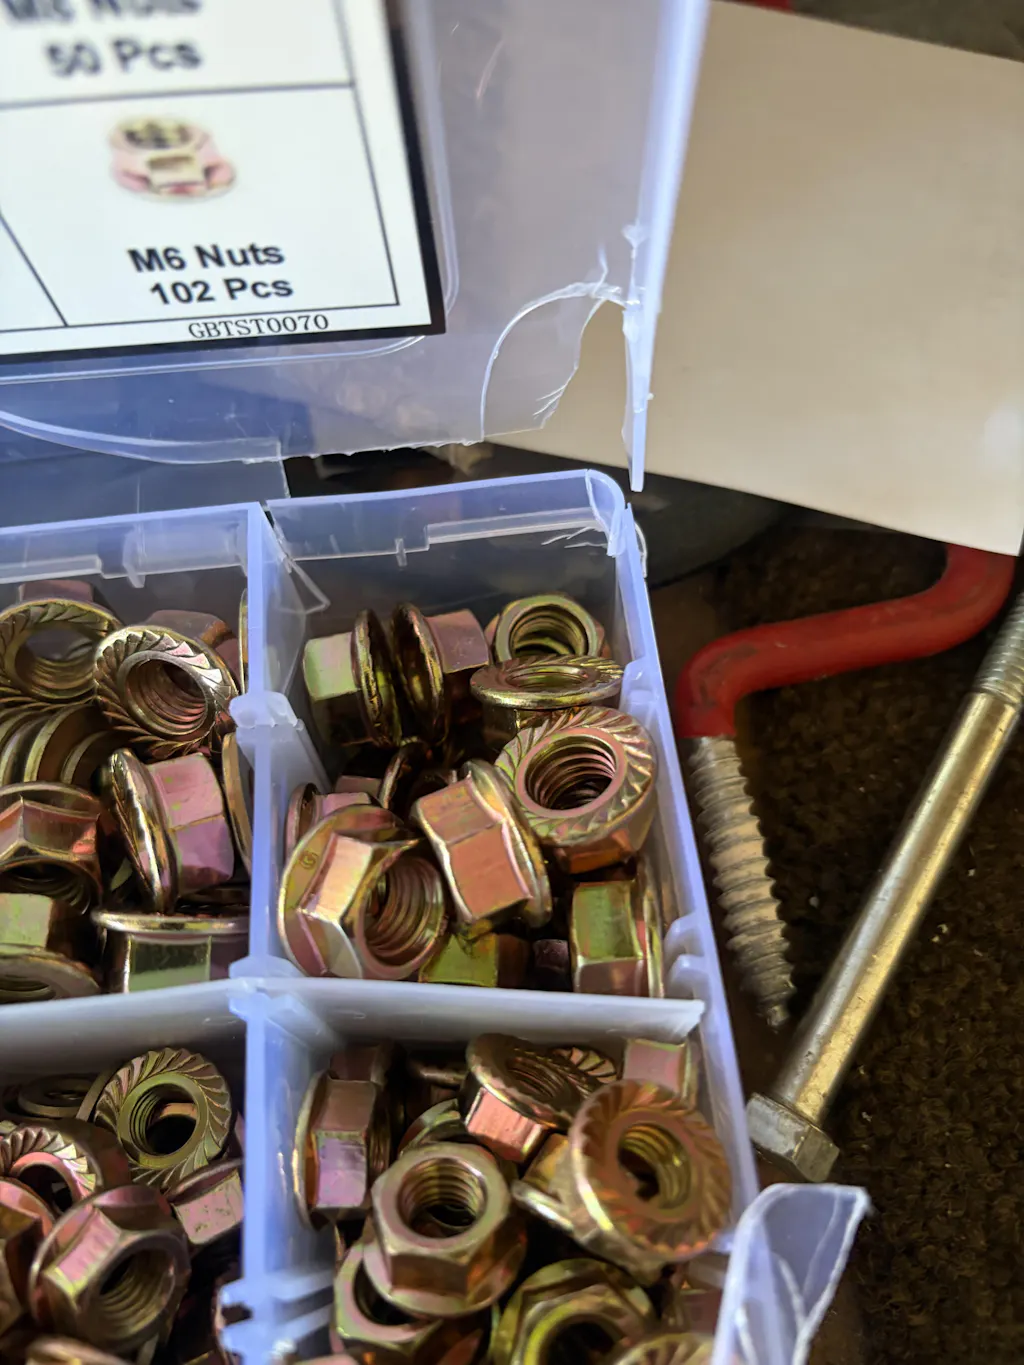
- A hex nut
- 4 washers
Tools
- Box-end or adjustable wrench
- Power drill with hex bit
Step-by-Step Guide
Step 1: Assemble Your DIY Tool
Thread the components onto the bolt in this order:
Start with 2 washers → thread on the hex nut (leave some space at the end) → add 2 more washers → finally thread the rivet nut onto the tip of the bolt.
Step 2: Install the Rivet Nut
Insert
Place the assembled setup into the pre-drilled hole in your metal sheet. Make sure the rivet nut sits flush inside the hole.
Lock
Use a wrench to firmly hold the hex nut in place.
This is the critical step—if the nut spins, you won’t generate the pulling force needed to deform the rivet nut.
Drive
Rotate the bolt clockwise using your drill.
Step 3: Remove the Tool
Once the rivet nut feels secure, switch your drill to reverse and remove the entire bolt assembly.
💡 Pro Tips
Add Lubrication
Apply a small amount of lubricant to the bolt threads and washers. This reduces friction and helps prevent thread damage.
Control Your Torque
If using a power drill, start at a low speed.
You’ll feel resistance increase as the rivet nut deforms—stop once it’s firmly set to avoid stripping the threads.
Whether you're working on home repairs or automotive projects where rivet nuts are commonly used, this hack ensures you’re never held back by a missing tool.


Comments
Leave a comment