Table of Contents
Introduction
Ask five fabricators which fastener is “best” and you’ll get six answers. That’s because performance depends on material density, access, load path, and how many times the joint will be assembled. An insert that’s brilliant in PLA might be mediocre in soft pine. A T-nut that’s rock-solid in a 3/4-inch birch panel could telegraph on a thin drawer side. This article demystifies the trade-offs so you can make a confident choice the first time—no guesswork, no do-overs.
We’ll cover anatomy, installation, strength, failure modes, and real-world applications—from furniture, cabinets, and climbing walls to 3D-printed enclosures and robotics fixtures. We’ll also call out the traps that cause spin-out and tear-out and show you how to avoid them.
What Are Insert Nuts?
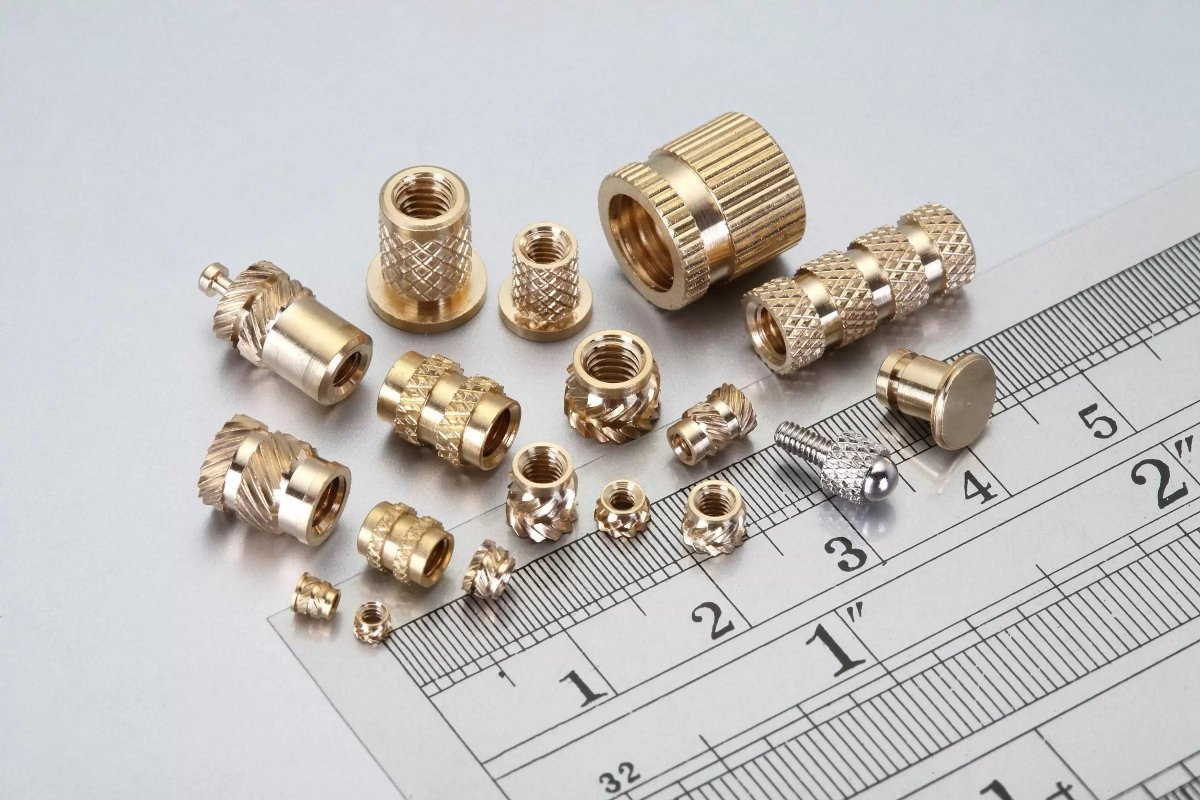
Insert nuts (sometimes called threaded inserts or heat-set inserts in plastics) are internally threaded sleeves that create machine threads in materials that don’t take machine screws well on their own—think softwood, MDF, plywood, particleboard, and 3D-printed polymers. They come in styles like press-in, hammer-in, drive-in (with external barbs or ribs), screw-in (external threads), and heat-set (for thermoplastics).
Why builders like them
- Install from the same face where the bolt will enter; perfect when the back side is hidden or inaccessible.
- Leave a clean, flush surface—no exposed flange hardware on the front.
- Great for repeat assembly: machine screws into metal threads last longer than wood screws.
- Work in plastics with the right style (press-in or heat-set).
Typical use
- Furniture inserts for knock-down frames, bed rails, chair repairs.
- 3D-printed enclosures and functional prints where screws are removed frequently.
- Fixtures and jigs that need fine adjustment.
- Repairs where you can’t reach the back face.
For plastics and 3D printing, our compact insert nuts set (M2–M6) is sized for common PCB standoffs, lids, and mechanisms without bloating wall thickness.

What Are T-Nuts?
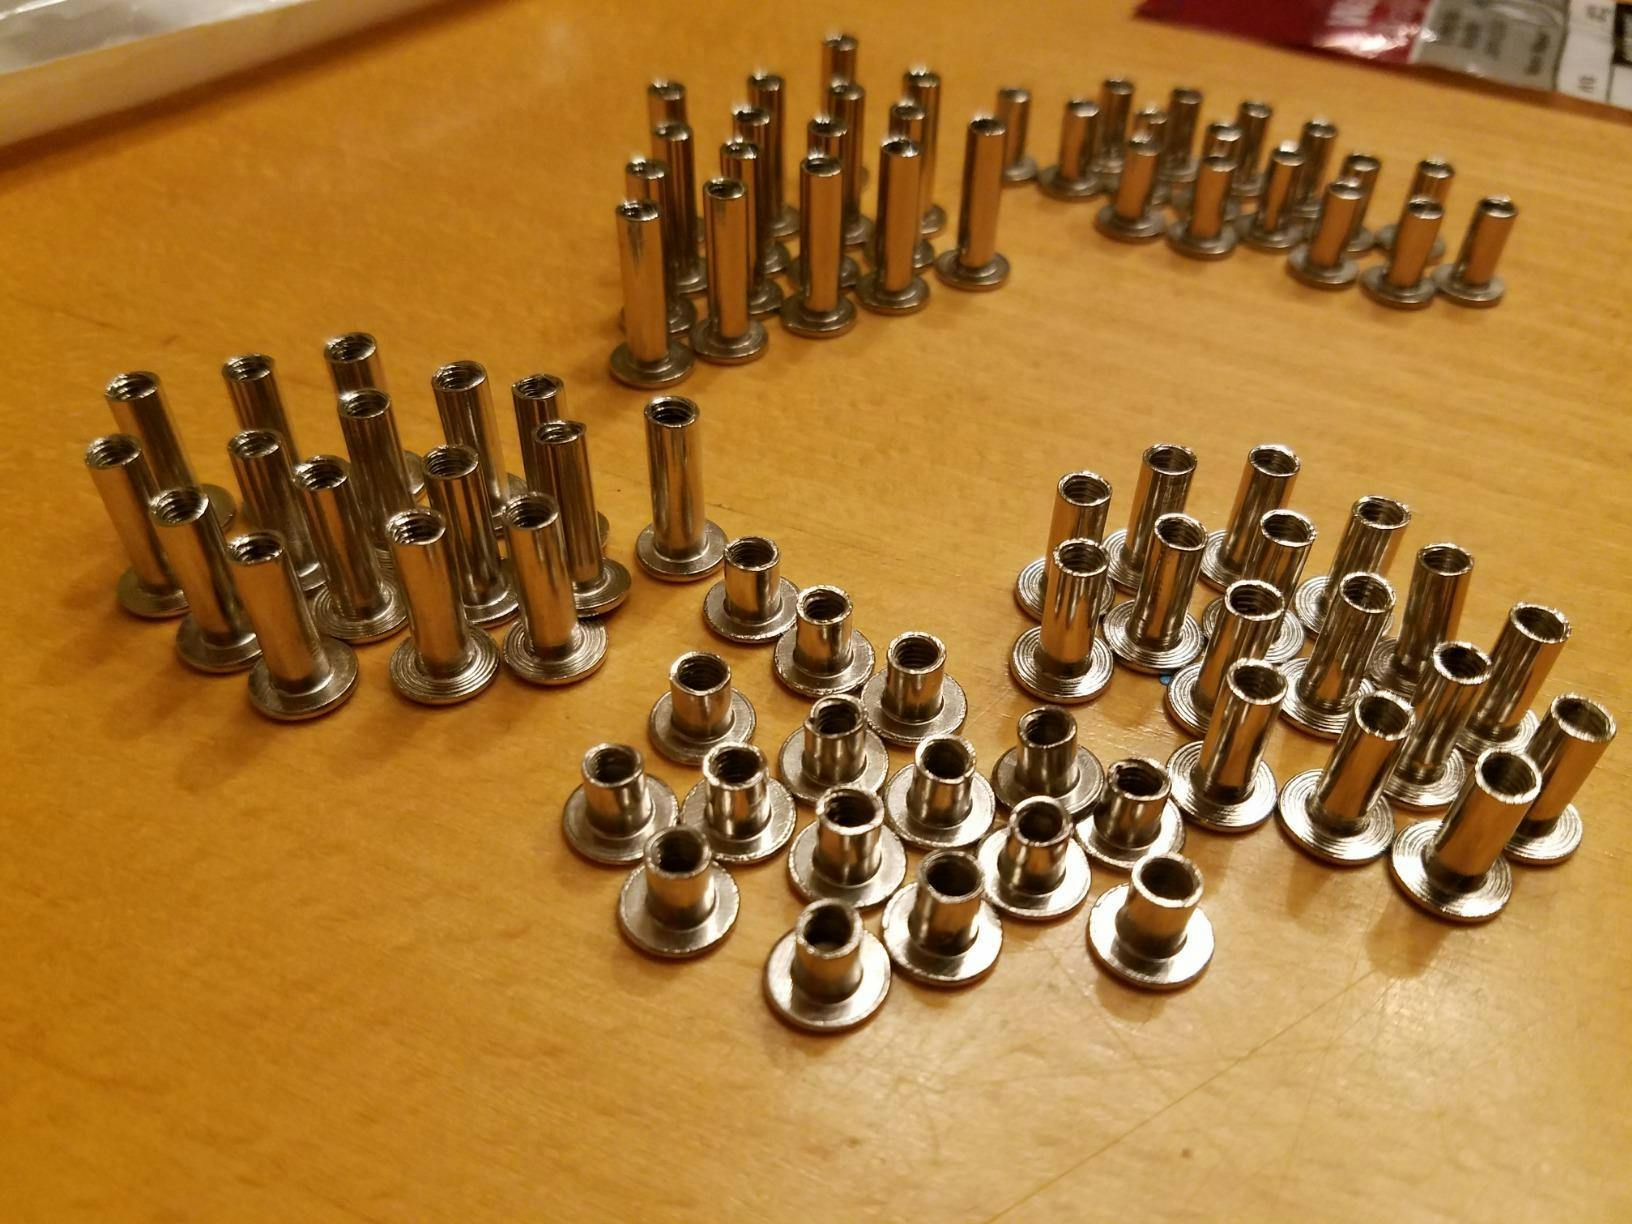
T-nuts (tee nuts) are steel nuts with an internally threaded barrel and a wide flange—usually with three or four sharp prongs. You install them from the back of a panel. As you tighten a bolt from the front, the prongs bite deeper, clamping the flange against the rear face. The large bearing surface and mechanical prongs resist spin-out and pull-through, making T-nuts a favorite for climbing walls, shop jigs, speakers, and furniture that must be disassembled repeatedly.
Where T-nuts shine
- Panels where you can access the back side during assembly.
- High loads that try to pull a bolt through the panel (e.g., hang loads, climbing footholds).
- Thicker sheet goods where the flange won’t telegraph to the front.
- Simple, inexpensive hardware with reliable performance when installed correctly.

Insert Nuts &T-Nuts Anatomy And Mechanics
Insert Nuts
- Body: knurled, ribbed, or externally threaded for grip in the base material.
- Barbs/Ribs: prevent rotation and pull-out under torque.
- Flange: sometimes present (flanged inserts) to cap the hole and limit sink.
- Internal threads: metric/imperial machine threads (e.g., M2–M6, 6-32 to 5/16-18).
T-Nuts
- Barrel: passes through the panel, matching the bolt diameter.
- Flange: distributes load on the rear face; often dimpled for stiffness.
- Prongs: bite into fibers to resist spin; 3- or 4-prong styles are common.
- Retainers: in some variants (e.g., screw-on T-nuts) to keep them from falling out before final assembly.
Mechanically, insert nuts rely on interference (press fit) or thread engagement (screw-in) plus friction to stay put, while T-nuts rely on a rear flange bearing area and prongs for anti-rotation.
Installation Differences
Insert Nuts (Press-In)
- Drill a clean, perpendicular hole to the recommended diameter and depth.
- Deburr lightly. For end-grain, consider thin CA glue to harden fibers.
- Align the insert square. Tap with a mallet or press with an arbor press to seat flush.
- Optional: a dab of epoxy for MDF/particleboard in high-torque joints.
Insert Nuts (Screw-In)
- Drill a pilot hole sized to the root of the external thread.
- Drive with a hex key or slot driver—slow speed, steady pressure.
- Stop when the flange kisses the surface; don’t over-torque.
Heat-Set Inserts (Plastics)
- Print a pocket slightly undersized; add a chamfer to guide the insert.
- Heat a soldering iron with a flat tip, press the insert until flush.
- Let cool fully before threading a screw.
T-Nuts
- Drill through-hole matching the barrel size.
- Insert T-nut from the rear; seat prongs by tapping lightly.
- Pull tight by running a bolt from the front with a washer; the prongs set under load.
- For soft panels, add a backer washer or use screw-on T-nuts for security.
Access check: If you can’t reach the rear face, a T-nut is off the table. That alone often decides it.
Materials & Finishes
Most insert nuts and T-nuts are zinc-plated or stainless steel. Brass is common for heat-set inserts due to thermal conductivity and machinability. For outdoor or corrosive environments, choose stainless or nickel-plated hardware. In resin-printed parts and hardwoods, brass or stainless insert nuts provide a clean aesthetic and resist oxidation.
- Brass inserts: excellent for thermoplastics (PLA, PETG, ABS); easy heat transfer.
- Steel inserts: highest thread strength for wood/MDF; pick zinc-plated for cost, stainless for corrosion.
- T-nuts: typically steel (zinc or nickel plated); stainless variants exist for marine/outdoor builds.
Strength, Pull-Out & Spin-Out
Fastener failures usually happen in the base material, not in the metal threads. That means grain direction, hole size, and installation all matter. Here’s how the two compare in practice:
- Pull-out resistance: T-nuts generally win in pure pull-through because the rear flange distributes load over a wider area.
- Spin-out resistance: Properly installed T-nuts resist rotation well thanks to prongs. Screw-in insert nuts also do well; press-in styles rely on barbs/knurls and fit.
- Edge distance: Both require adequate material around the hole. T-nuts need enough thickness to hide the flange; inserts need enough wall to prevent splitting.
- Repeated assembly: Both offer durable machine threads; inserts in plastics are ideal for frequent service.
Tip: For MDF and particleboard, use screw-in insert nuts or T-nuts with a large flange washer. For softwood, harden the hole with thin CA or epoxy if the joint will see high torque.
Applications
Best Fits for Insert Nuts
- 3D-printed functional parts, electronics enclosures, camera rigs.
- Furniture faces where you can’t show hardware (table aprons, bed rails).
- Repair work from the front face only.
- Fixtures requiring micro-adjustment and frequent service.
Best Fits for T-Nuts
- Knock-down furniture with rear access during assembly.
- Climbing walls, stage decks, speaker cabinets.
- Shop jigs, threaded panels, and anywhere a wide bearing area helps.
- Plywood/OSB where prongs can really bite.
In mixed-material projects (e.g., aluminum frame + plywood panel), it’s common to combine both: insert nuts for printed brackets and T-nuts for wood panels that take loads.
Side-by-Side Comparison
| Feature | Insert Nuts | T-Nuts |
|---|---|---|
| Access required | Front only (one-sided) | Front + rear (two-sided) |
| Surface appearance | Flush front; hidden hardware | Flange visible on rear face |
| Typical materials | Wood, MDF, plywood, plastics | Wood, plywood, OSB, some composites |
| Pull-through resistance | Good (depends on style) | Excellent due to wide flange |
| Anti-rotation | Good (knurls/threads) | Excellent (prongs) |
| Thin panels | Works with short inserts | May telegraph; use low-profile or backer |
| 3D printing | Ideal (press-in/heat-set) | Rarely used |
| Ease of install | Easy with proper pilot; precise | Easy; needs rear access |
| Cost | Low–moderate | Low |
| Serviceability | High; clean threads | High; robust under load |
How to Choose the Right Fastener
- Do you have rear access? If no, choose insert nuts.
- Is pull-through a risk? If yes, T-nuts generally win.
- Material type? Plastics & thin walls → insert nuts; thick plywood → T-nuts.
- Cosmetics? Hidden hardware front side → insert nuts.
- Torque cycles? Both are good; heat-set inserts excel in plastics.
Shopping? Our compact M2–M6 insert nuts kit covers most electronics, hobby robotics, and furniture repair tasks without over-sizing holes.
Woodworking Tips
- Grain direction: Drill perpendicular and avoid too-close-to-edge holes; end grain needs reinforcement.
- Hole sizing: Respect manufacturer charts. Too tight splits wood; too loose invites spin-out.
- Adhesives: Thin CA for softwoods; epoxy for MDF if joints see high torque.
- Finishing: Install after finishing if possible; masking the hole avoids contaminating threads.
3D Printing & Plastics
In FDM prints, layer lines act like grain. Avoid placing inserts so loads pry between layers. Add chamfers to entry holes, design boss walls ≥ 2–3× the insert minor diameter, and use heat-set or press-in styles sized for your polymer. PETG and ABS tolerate heat-set well; PLA prefers lower temps or press-in inserts to avoid creep.
- Design: Include pockets and lead-in chamfers; thicken walls around inserts.
- Install: Heat-set with a flat tip and gentle pressure; let cool completely.
- Hardware: Use machine screws with proper length to avoid bottoming out.
Our M2–M6 press-in insert nuts are sized for clean fits in printed bosses without bulging walls.
Sheet Metal & Composites
While T-nuts are rarely used in thin metals, insert-style solutions exist—like rivet nuts (nutserts) and clinch nuts. For composites (carbon, fiberglass), use threaded inserts with large knurls and epoxy bedding to spread stress and block delamination.
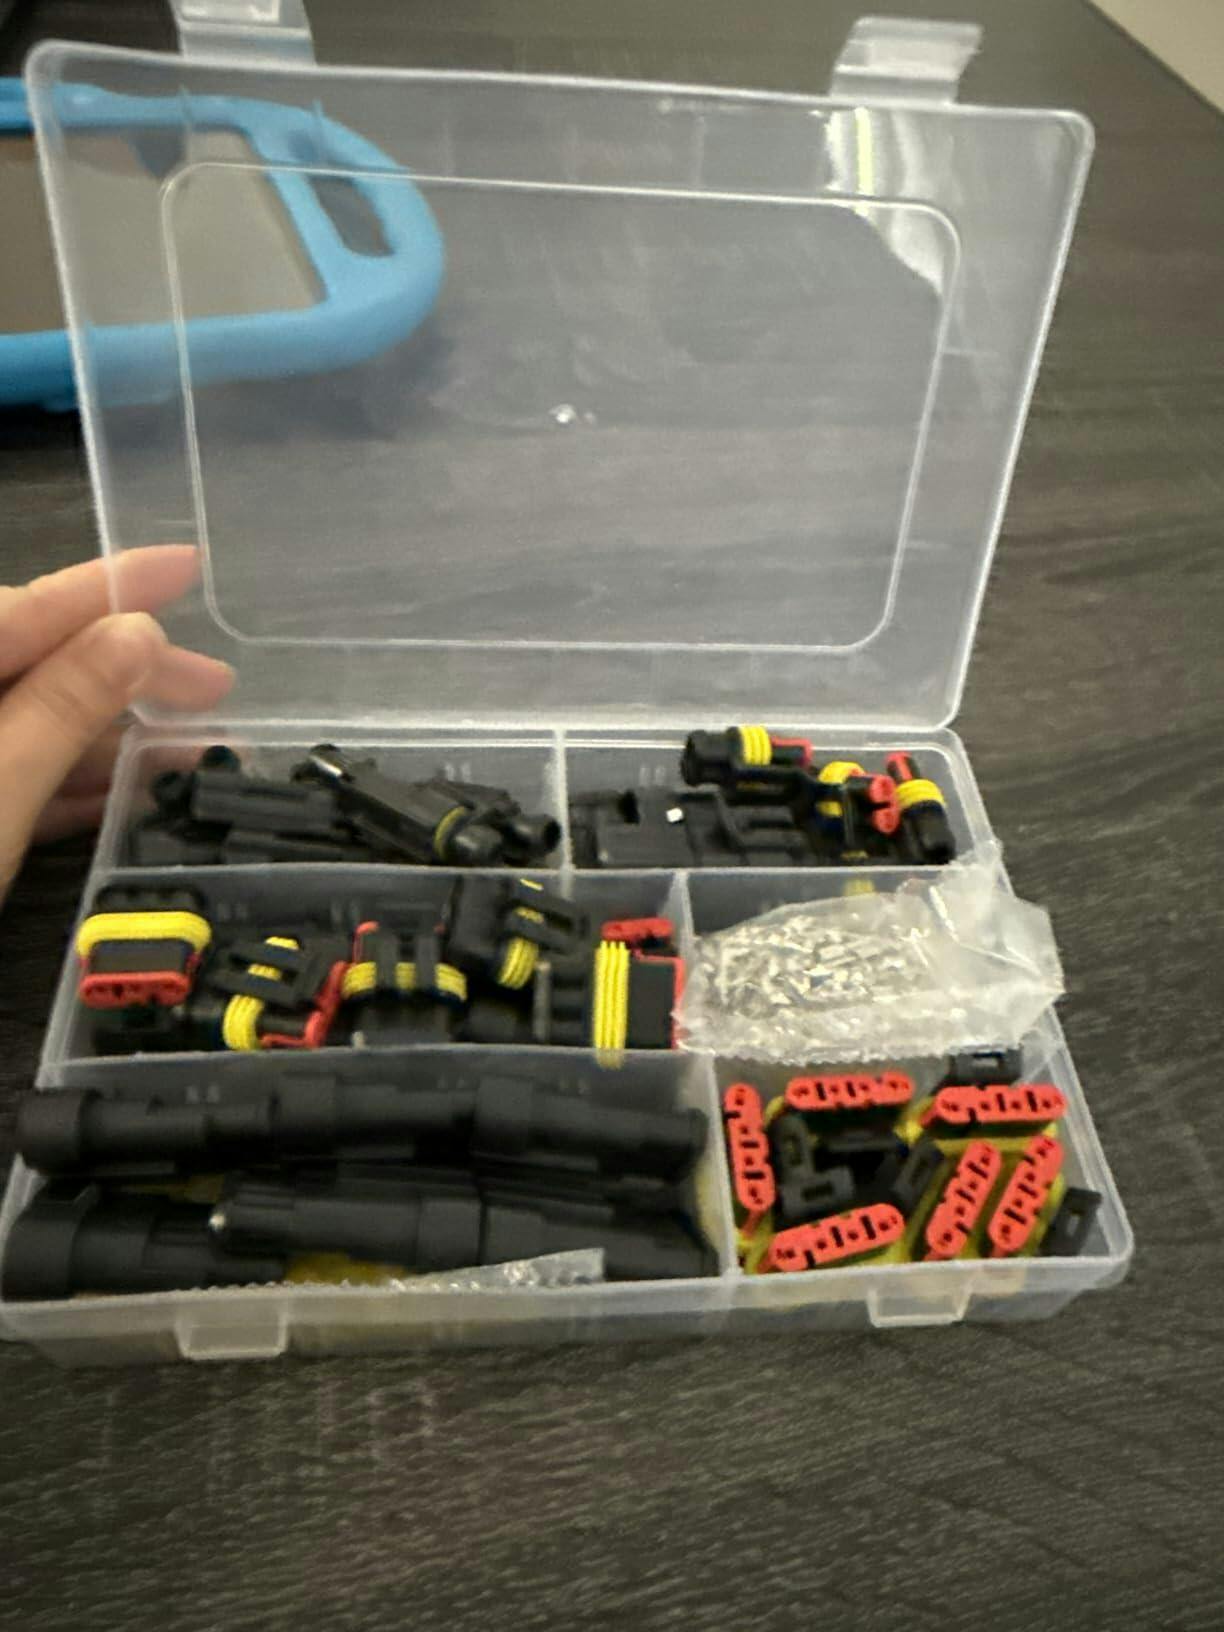
Cost & Sourcing
Both options are inexpensive. T-nuts are commodity-cheap in bulk. Insert nuts vary by style and material—brass and stainless cost more but pay off in plastics or outdoor builds. Kits spanning M2–M6 eliminate guesswork and reduce shipping hits.
Common Mistakes & How to Fix Them
- Insert spins: Hole too large or material too soft. Fix by wicking thin CA, letting it cure, then reinstall; or step up to a screw-in insert.
- Wood splits: Pilot too tight or driving too hard. Back out, widen pilot slightly, and reinsert with wax.
- T-nut pulls through: Panel too thin or overload. Add a backer washer plate or change to a screw-on T-nut.
- Threads strip: Screw too short or over-torqued. Use proper length and a torque-limiting driver.
Alternatives You Might Consider
- Rivet nuts (nutserts): For sheet metal; install from one side with a setting tool.
- Hurricane nuts: Similar to T-nuts but with screw-in retention.
- Cross dowels (barrel nuts): For right-angle joints in furniture.
- Thread-forming screws for plastic: If you don’t need serviceability.
Frequently Asked Questions
- Are insert nuts stronger than T-nuts?
- Different strong. T-nuts excel at resisting pull-through because of the rear flange and prongs. Insert nuts shine when you need one-sided installation and clean fronts, with great long-term thread durability.
- Can I use insert nuts in MDF?
- Yes—prefer screw-in styles and consider epoxy in the hole for high-torque joints. Press-in barbed inserts can work if the fit is snug.
- Do T-nuts work in thin panels?
- They can telegraph. Use low-profile or screw-on T-nuts and consider a backer washer or thicker panel area.
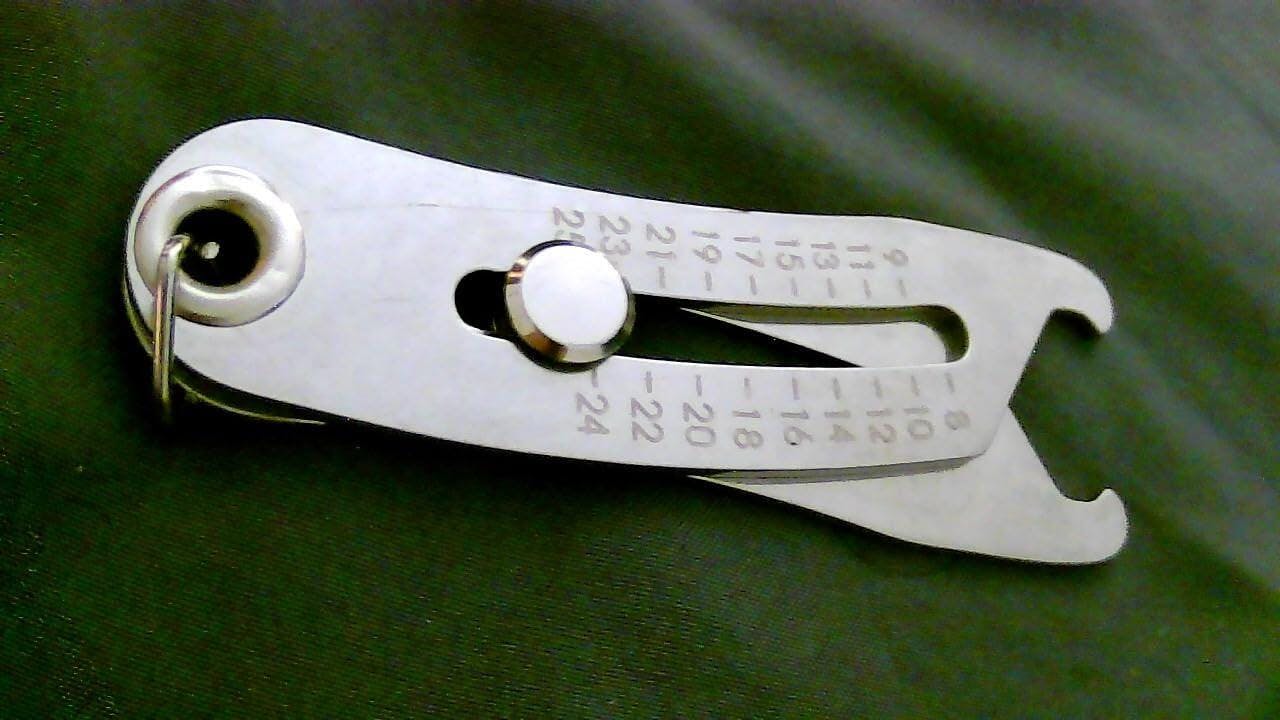
- What size should I drill?
- Follow the manufacturer’s chart. As a rule: press-in inserts want a near-press fit; screw-in inserts want a pilot near the root diameter; T-nuts want a clean through-hole matching the barrel.
- Which fastener is best for 3D-printed parts?
- Heat-set or press-in insert nuts. T-nuts are rarely used in printed parts.
- How do I stop a T-nut from spinning out?
- Seat the prongs firmly using a clamp or by drawing them in with a bolt and washer. For insurance, pick screw-on T-nuts that anchor with wood screws.
Conclusion
Both insert nuts and T-nuts deliver reusable, machine-grade threads in materials that don’t natively hold them. Your choice boils down to access and load path. If you can only work from the front and want a clean face, go with insert nuts. If you have rear access and expect heavy pull loads, T-nuts will earn their keep. Pick intentionally, install carefully, and your hardware will quietly do its job for years.