Transform Ordinary Surfaces Into Showroom Quality
That moment when you step back and see your reflection perfectly mirrored in a freshly polished surface - that's the magic of having the right polishing tools and knowledge. Whether you're restoring a classic car's shine, bringing life back to wooden furniture, or putting the final touches on a metal project, the difference between amateur results and professional quality comes down to your polishing tools and technique.
At HomeDIYer, we've helped thousands of DIY enthusiasts achieve finishes they never thought possible. This comprehensive guide will walk you through everything from selecting your first polisher to advanced techniques that will make your work stand out.
The Three Polishing Disasters Every DIYer Faces
Swirl Marks Everywhere:
Using the wrong pad and compound combination
Burned Through Clearcoat:
Incorrect polisher speed and pressure
Uneven Results:
Not understanding surface preparation
We're going to ensure you avoid all of these common pitfalls.
Chapter 1: Understanding Polishing Tool Types
1. Rotary Polishers: The Powerhouse Performers
For experienced users seeking maximum correction power:
-
Direct Drive Motor: Unmatched power for heavy correction work
-
Fixed Spindle Rotation: Consistent speed under pressure
-
Ideal For: Professional-level paint correction, heavy oxidation removal
💡 HomeDIYer Pro Tip: Our rotary polishers feature speed stabilization technology that maintains RPM even under heavy load.
2. Dual-Action Polishers: The Safe Choice for Beginners
The go-to for most DIY enthusiasts:
-
Orbital + Rotary Motion: Greatly reduces risk of burning through surfaces
-
Forgiving Nature: Perfect for learning proper technique
-
Versatile Performance: Handles everything from light polishing to compounding
⚠️ Safety First: Even with dual-action polishers, always keep the tool moving to prevent heat buildup.
3. Forced Rotation Polishers: The Best of Both Worlds
Bridge the gap between rotary and dual-action:
-
Consistent Pattern: Eliminates the "random" in random orbital
-
Enhanced Correction: More predictable than standard dual-action
-
Perfect For: Those graduating from dual-action to more advanced work
Chapter 2: Building Your Polishing Arsenal
The Core Tools You Actually Need
Starting with polishing can feel overwhelming with all the options available. Here's what really matters:
Polisher Selection Guide:
-
Beginner DIYer: Start with a 6-inch dual-action polisher
-
Advanced User: Add a rotary polisher for tough correction work
-
Professional Results: Consider a forced rotation model for consistent finishes
Essential Accessories That Make the Difference:
-
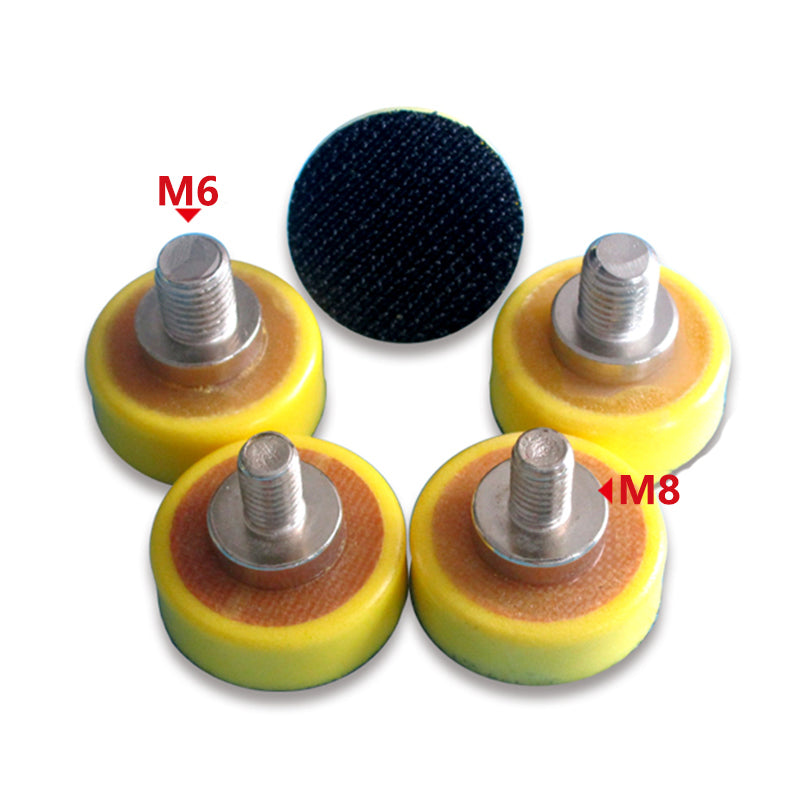
Backing Plates: Multiple sizes for different projects (5-inch for cars, 3-inch for tight spaces)
-
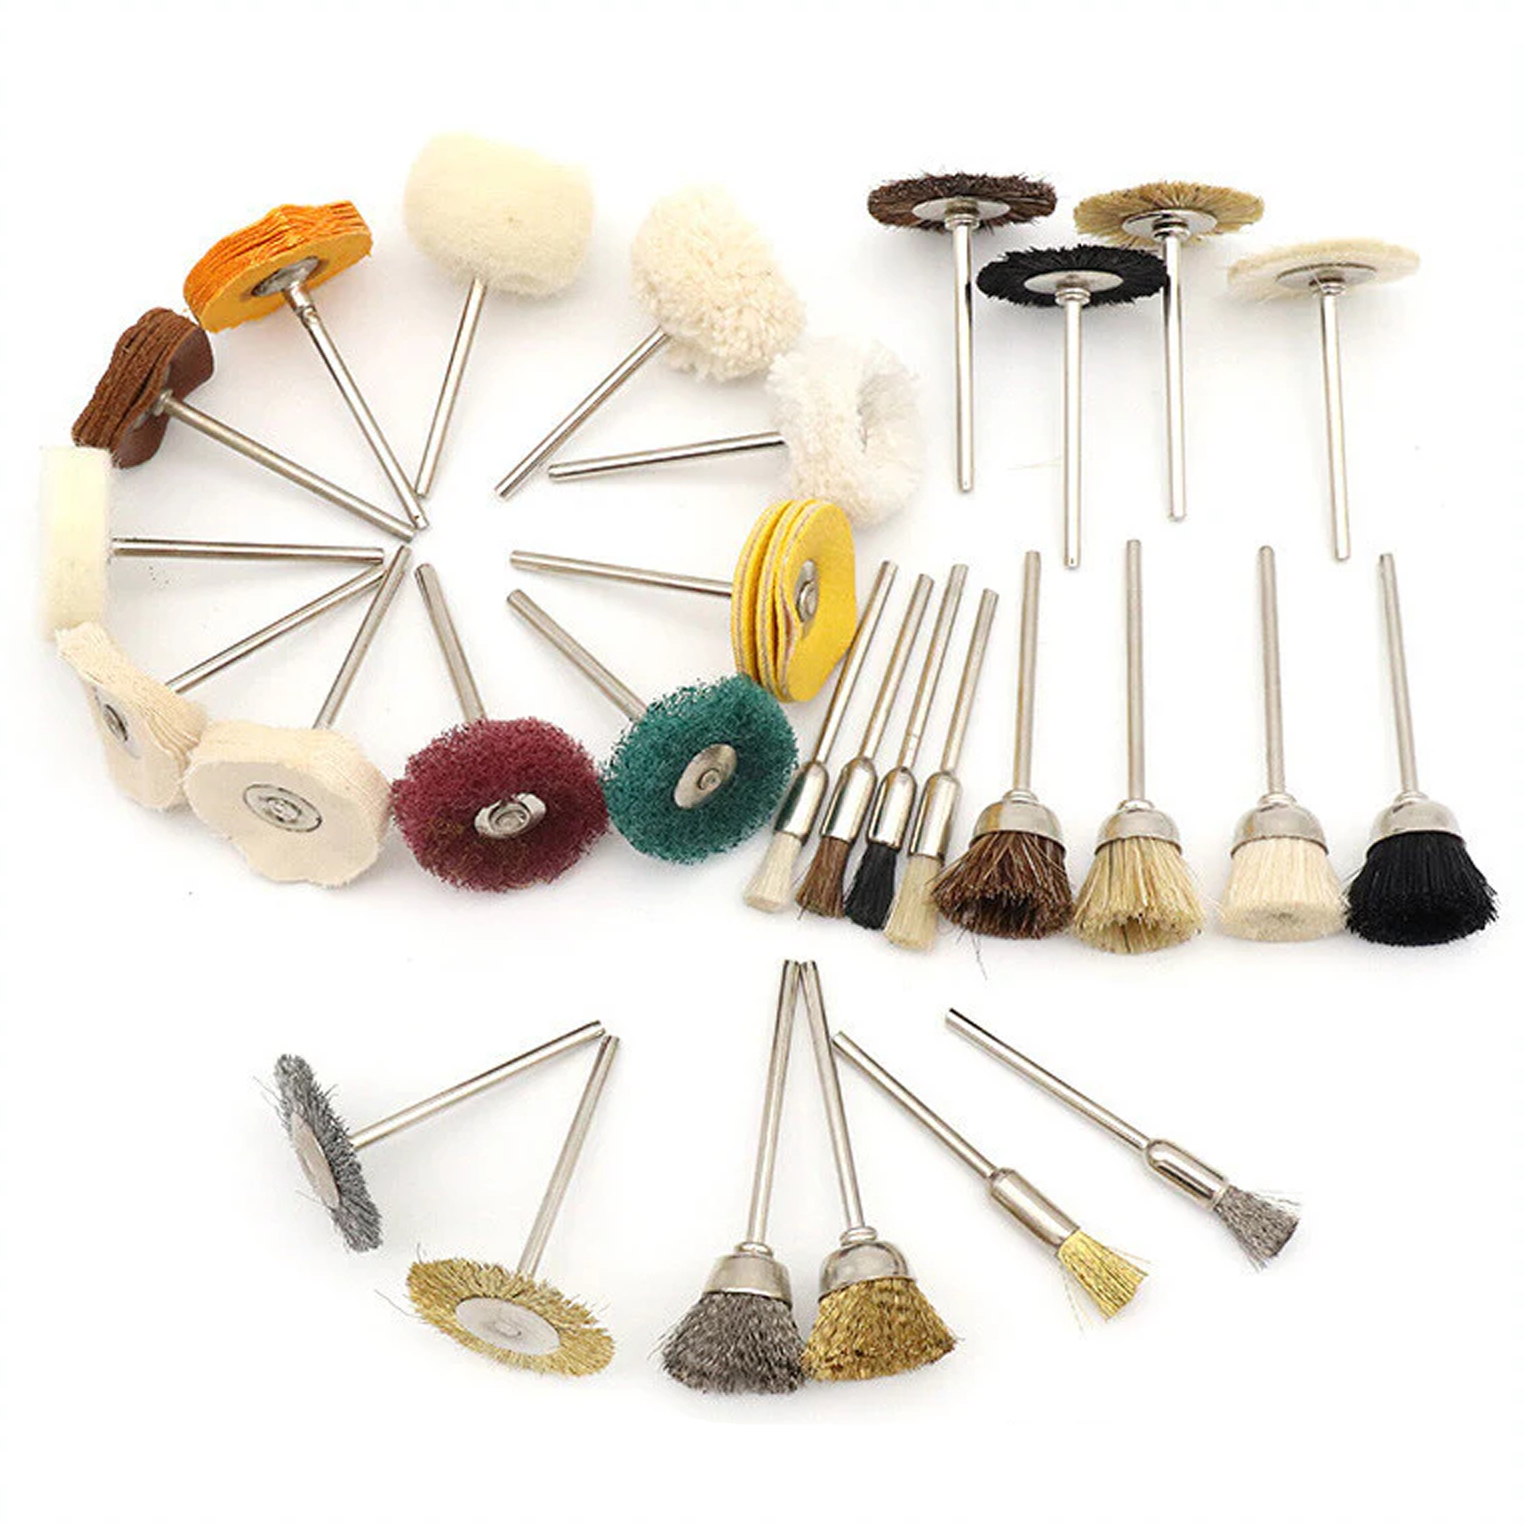
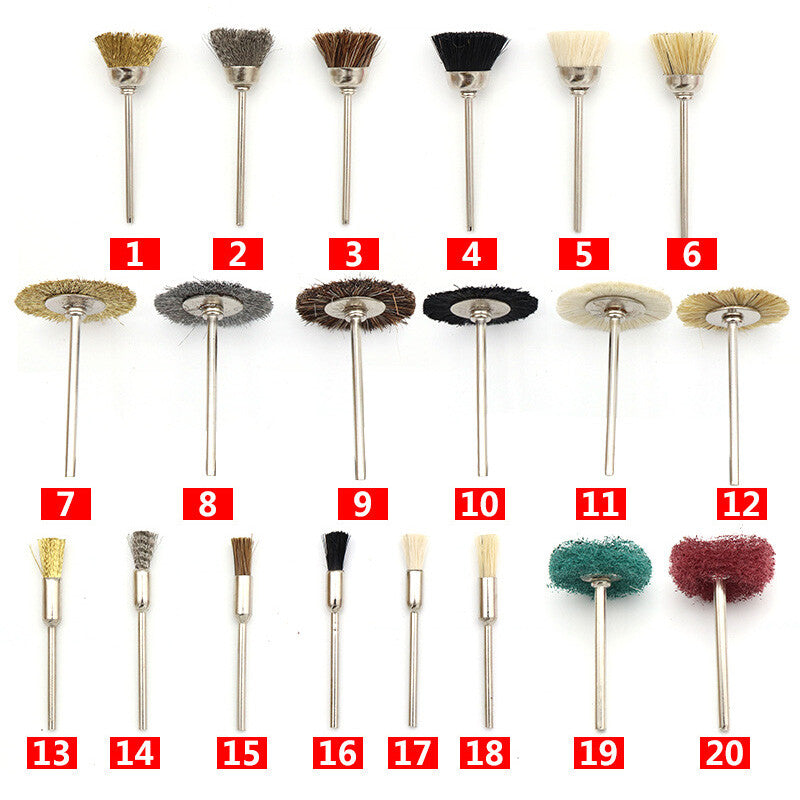
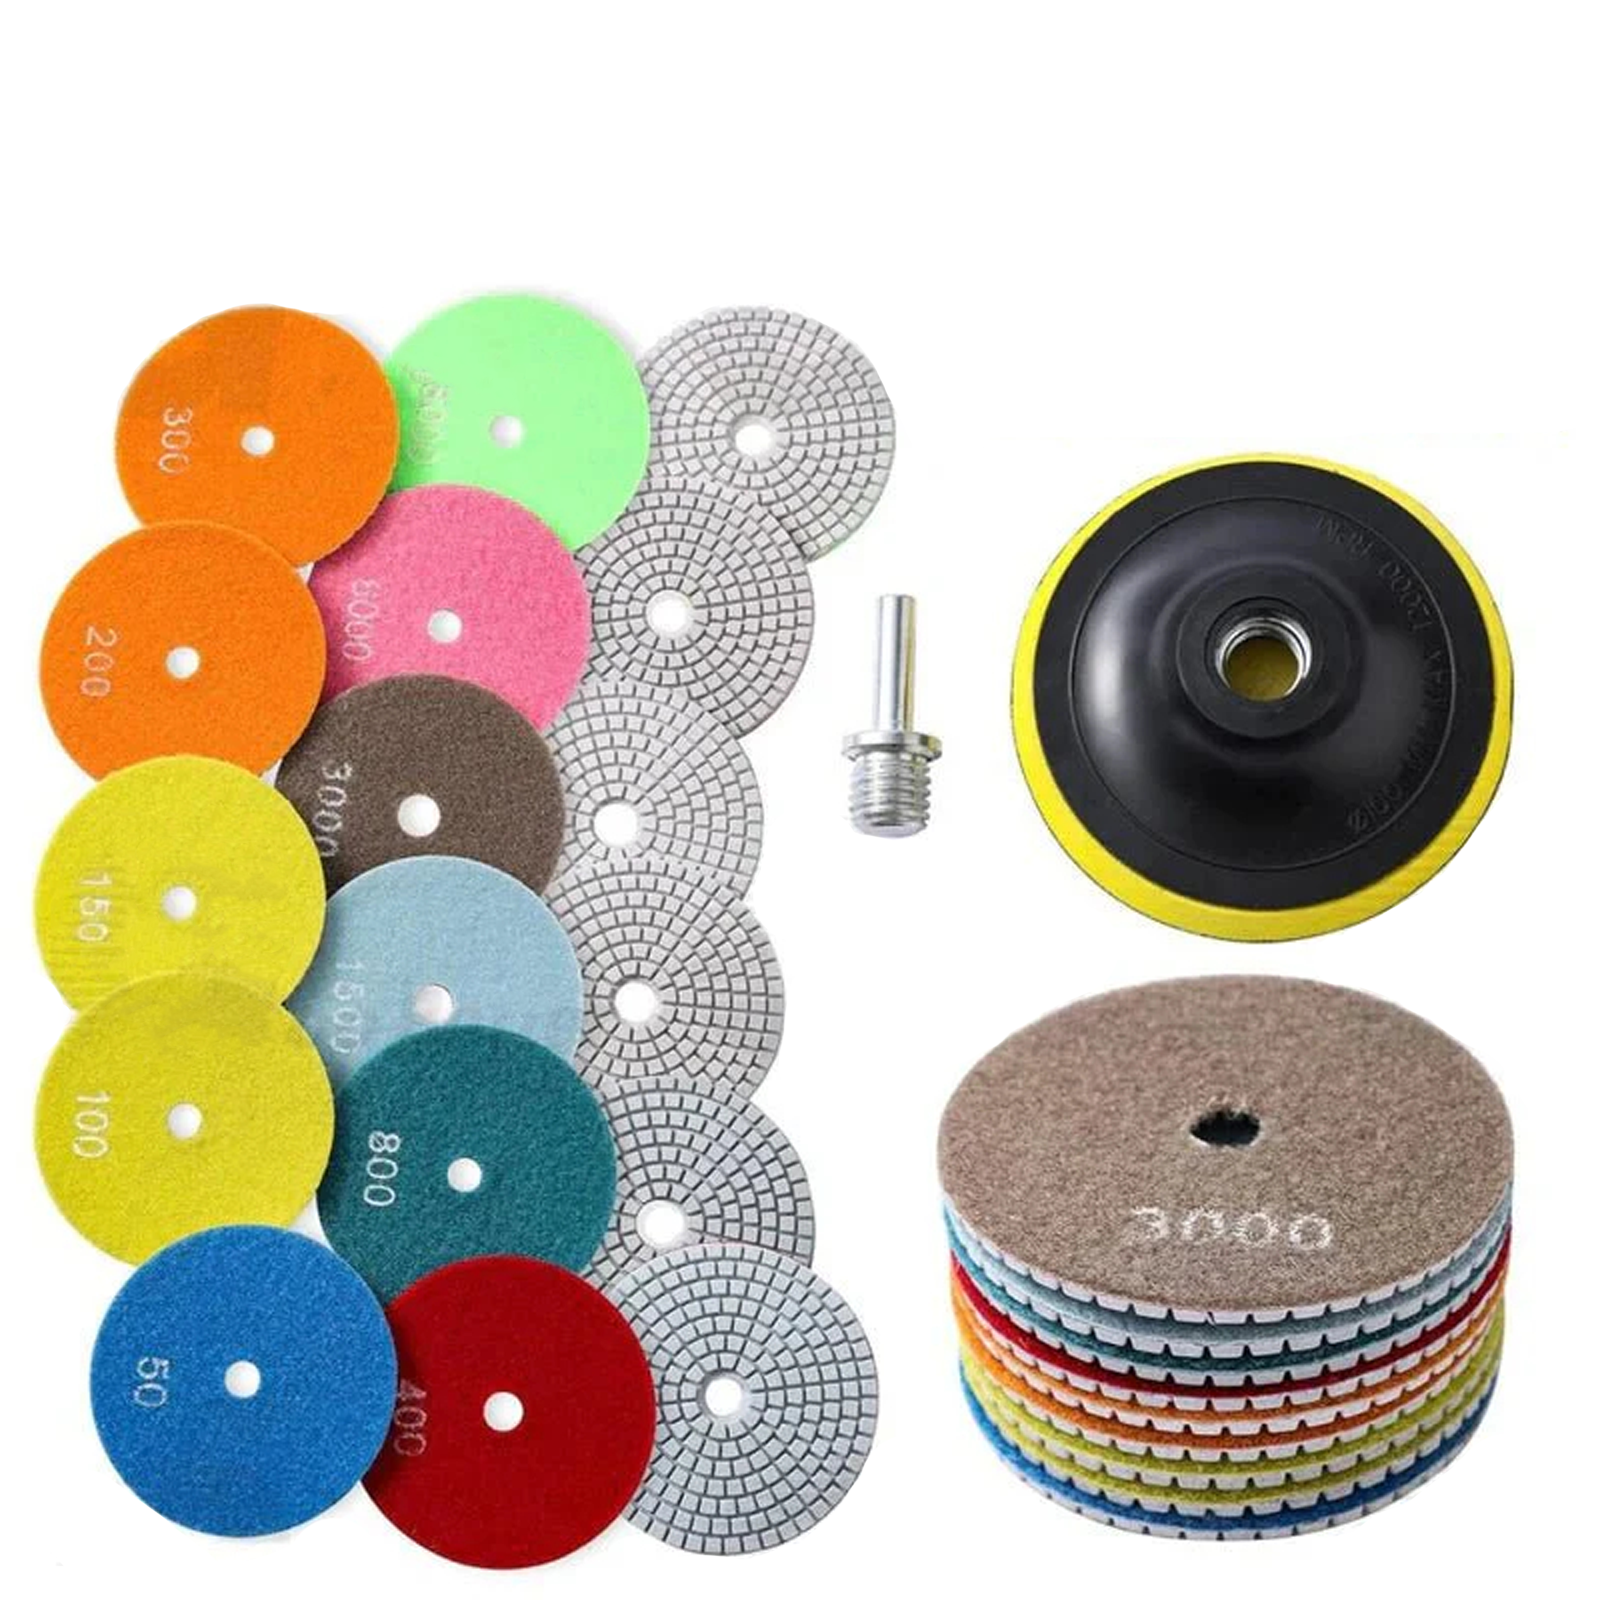
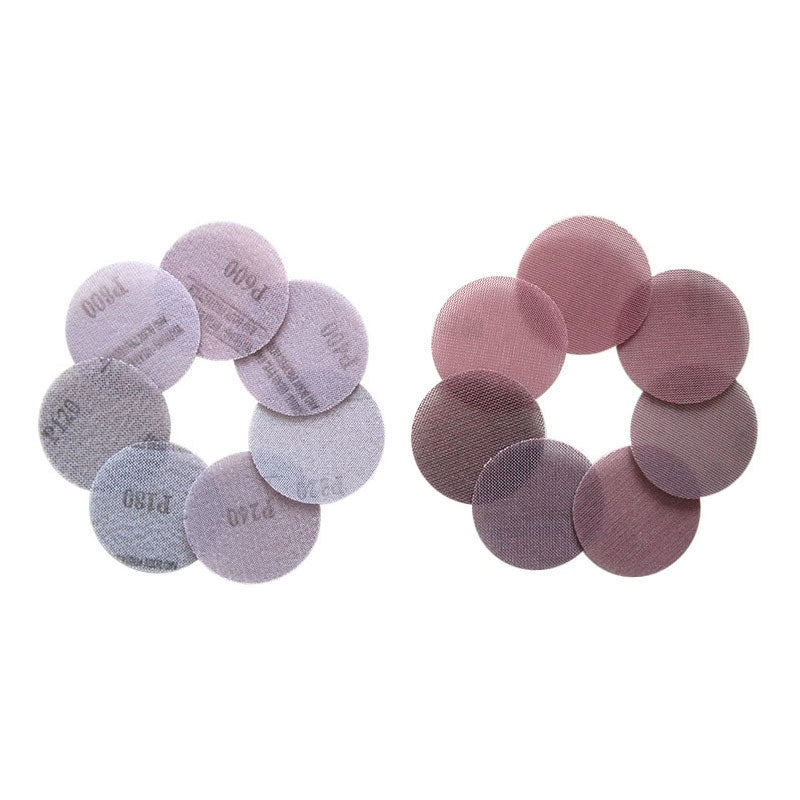
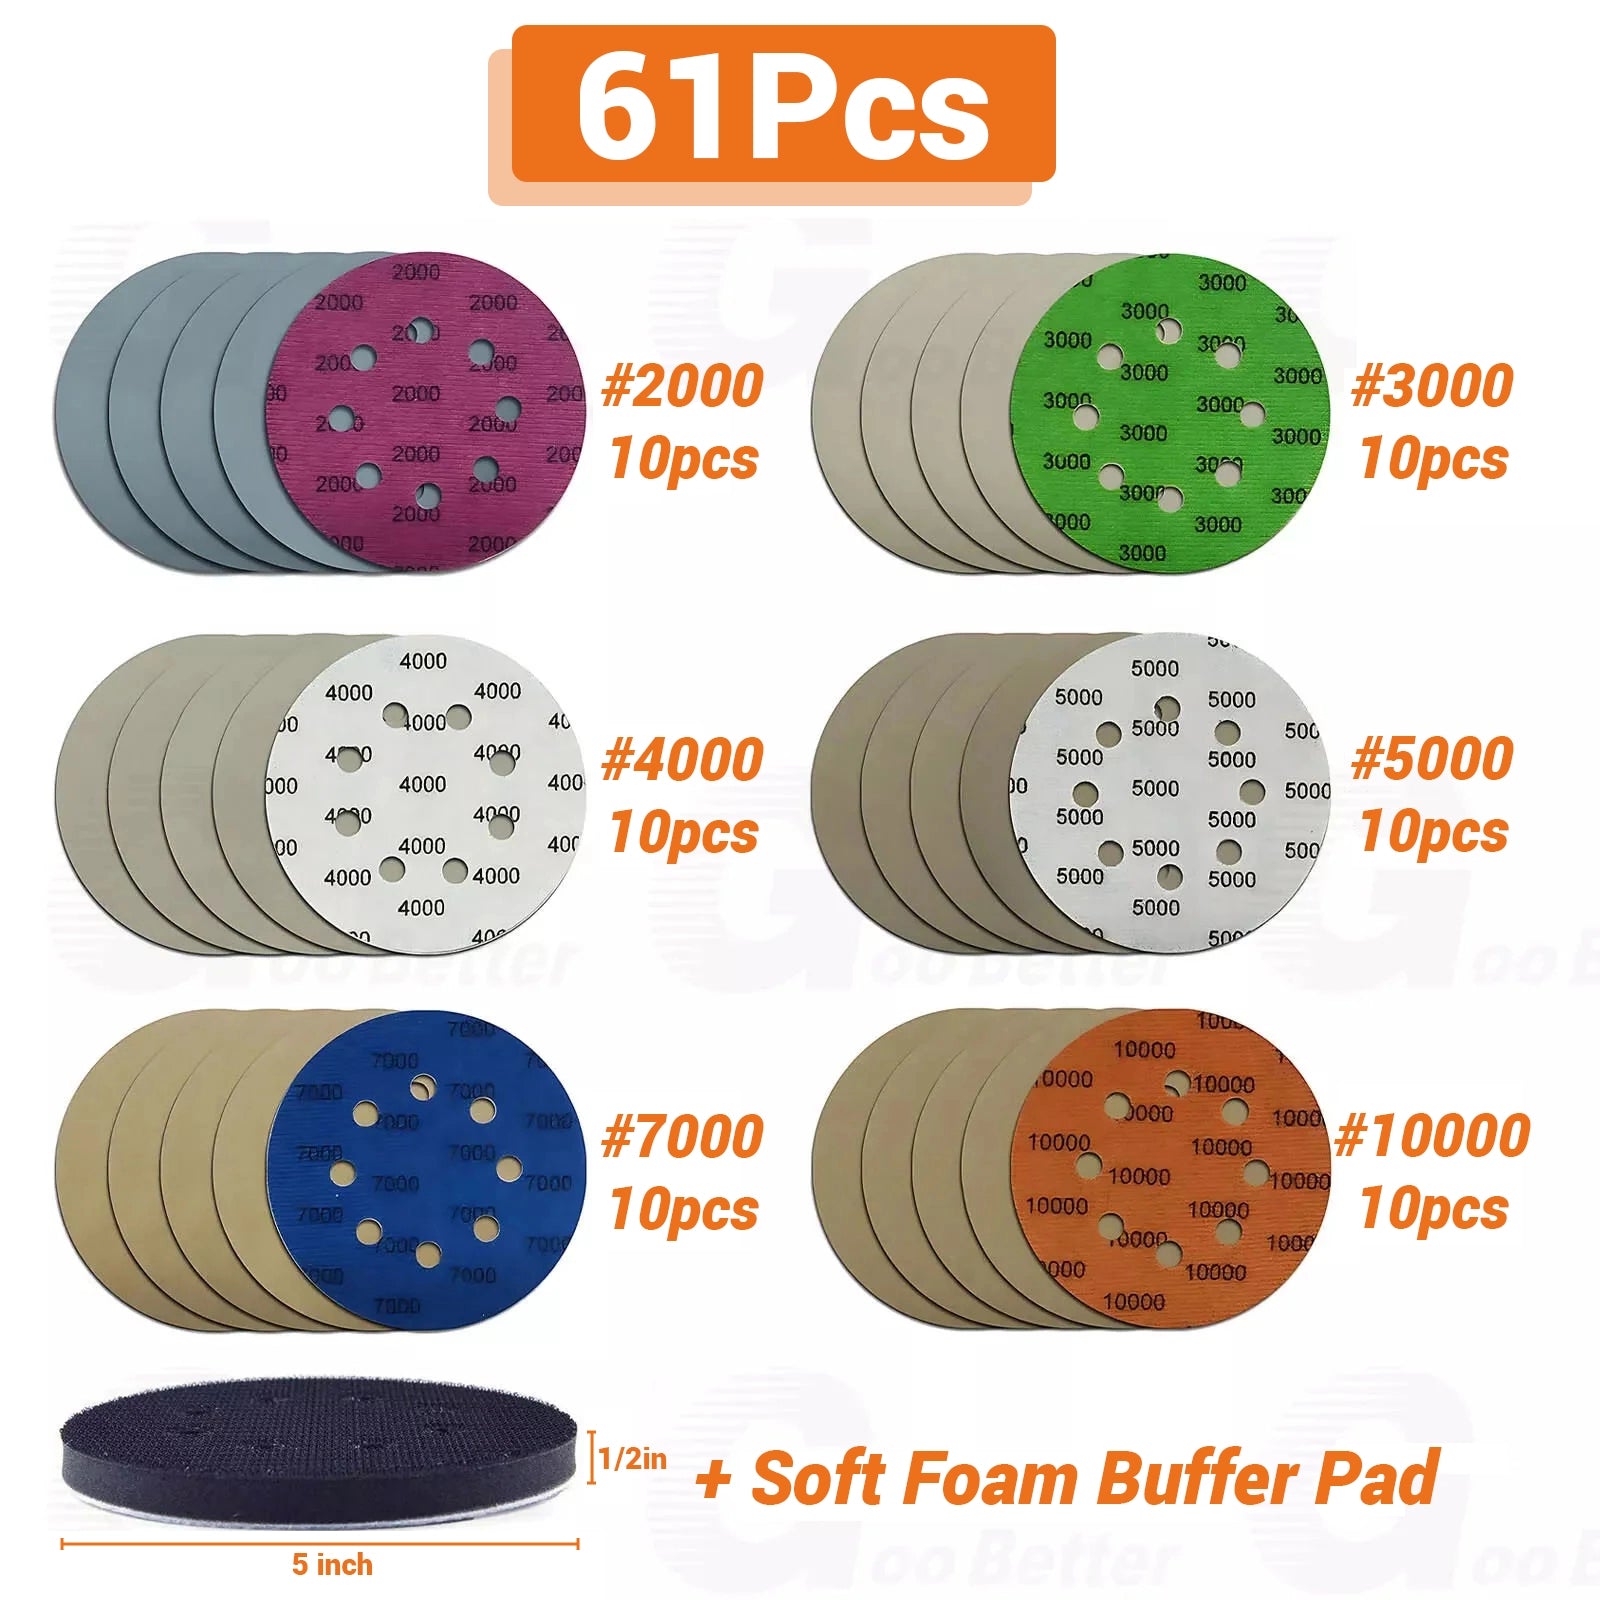
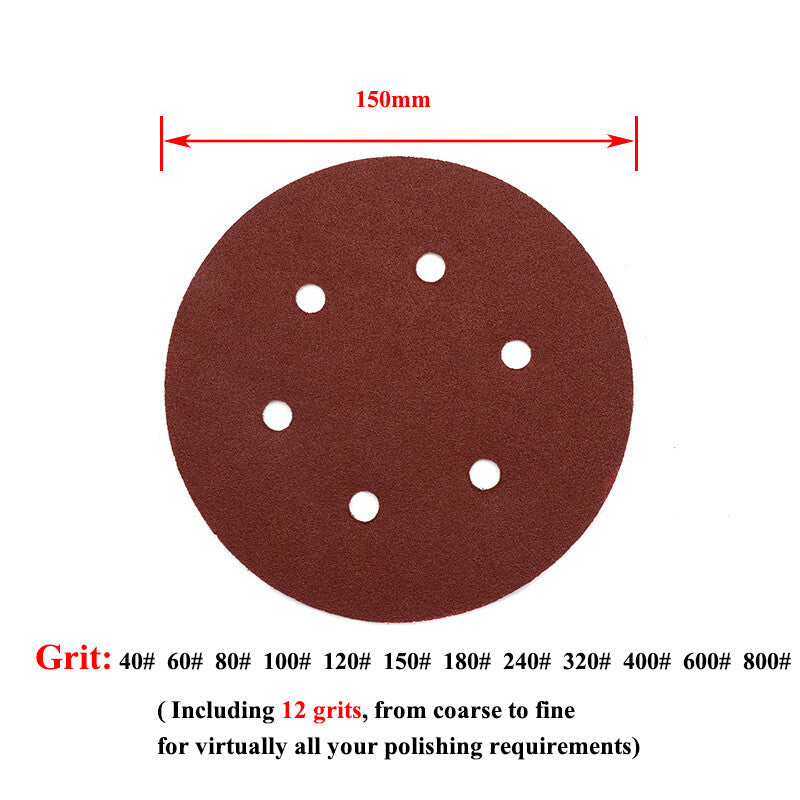
Polishing Pads: Various colors for different compounds (orange for cutting, black for finishing)
-
Microfiber Towels: High-quality, clean towels for wipe-downs
-
Clay Bars: Essential for surface decontamination before polishing
🎨 HomeDIYer SmartSelect System: Our color-coded pad and compound system takes the guesswork out of matching materials to tasks. Simply match the pad color to the compound bottle for perfect results every time.
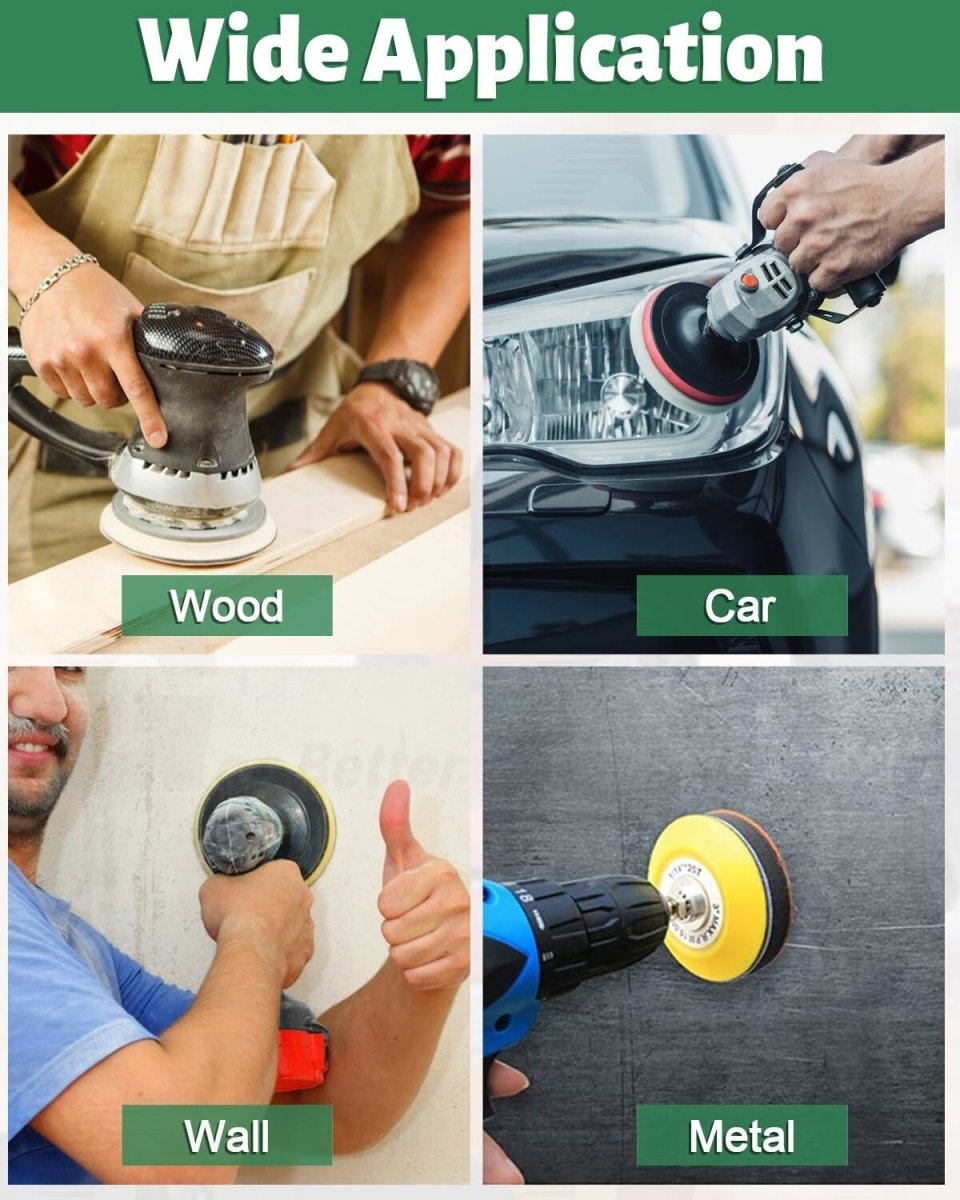
Chapter 3: Surface-Specific Polishing Techniques
Automotive Perfection Made Simple
Achieving that showroom shine requires proper technique:
The Three-Step Automotive Process:
-
Decontamination: Clay bar treatment to remove embedded contaminants
-
Correction: Compound with cutting pad to remove swirls and scratches
-
Refinement: Polish with finishing pad to enhance gloss
🔍 Pro Insight: Work in 2x2 foot sections, checking your progress frequently with a work light.
Metal Polishing That Lasts
Different metals require different approaches:
-
Aluminum & Stainless Steel: Start with less aggressive compounds, use steady even pressure, finish with metal-specific sealants
-
Brass & Copper: Softer metals require gentle approaches, lower speed settings prevent overheating, immediate sealing prevents rapid re-oxidation
Wood Restoration Magic
Bringing life back to wooden surfaces:
-
Furniture & Trim: Sand thoroughly before polishing, use dedicated wood polishing compounds, multiple thin coats beat one thick coat
Chapter 4: Professional Techniques for Flawless Results
The Perfect Polishing Motion
Most beginners make the same movement mistakes. Here's how the pros do it:
Movement Patterns That Work:
-
Overlap Technique: Each pass overlaps the previous by 50%
-
Consistent Speed: Maintain steady movement across the surface
-
Edge Awareness: Lift slightly when passing over edges and ridges
Pressure Control Secrets
Too much pressure creates heat damage, too little wastes time:
The Goldilocks Principle:
-
Just Right: Let the polisher's weight do most of the work
-
Too Much: Visible strain on the motor and your arms
-
Too Little: Ineffective correction and extended work time
Speed Settings Demystified
Our HomeDIYer polishers feature numbered speed settings - here's what they actually mean:
For Automotive Work:
-
Speed 1-2: Spreading compounds
-
Speed 3-4: Polishing and refining
-
Speed 5-6: Cutting and correcting
Chapter 5: Maintenance That Extends Tool Life
After-Use Cleaning Ritual
Proper cleaning takes 5 minutes but adds years to your tools:
4-Step Cleaning Process:
-
Brush Out Compound: Use a soft brush to remove dried compound
-
Vent Cleaning: Compressed air through cooling vents
-
Pad Removal: Always remove pads after use
-
Cord Inspection: Check for wear or damage
Storage Solutions That Prevent Damage
How you store your polishing tools matters:
Proper Storage Includes:
- Hanging polishers by their handles
- Storing pads flat and separated
- Keeping compounds tightly sealed
- Organizing accessories in labeled containers
When to Replace Critical Components
Don't wait for failure - know the signs:
Backing Plate Warning Signs: Stiff or cracked foam, separation from base plate, uneven surface contact
Pad Replacement Indicators: Matting or compression, stains that won't clean out, changed texture or stiffness
Why HomeDIYer Polishing Tools Deliver Superior Results
Engineering That Makes a Difference
Our polishing tools undergo rigorous testing:
Performance Validation:
-
Heat Management: 8-hour continuous run tests
-
Vibration Analysis: Balanced motors for fatigue-free use
-
Durability Testing: 10,000+ hour lifespan verification
User-Friendly Features:
-
Easy-Grip Handles: Reduced fatigue during extended use
-
Quick-Change Backing Plates: Tool-free pad changes
-
Electronic Feedback: Prevents motor stall under pressure
⭐ Real User Success Stories
"I was nervous about polishing my new truck, but the HomeDIYer dual-action polisher made it impossible to mess up. The results looked professional!"
— Mark T., Colorado
"After burning through clearcoat with a cheap polisher, I almost gave up. The speed control on HomeDIYer's rotary polisher gave me the confidence to try again - and the results were perfect."
— Sarah J., Florida
Conclusion: From Novice to Expert Finish
Mastering polishing tools opens up a world of possibilities for your DIY projects. Remember these key principles:
- Start with the right tool for your skill level
- Practice proper technique on unimportant surfaces first
- Maintain your equipment regularly
- Don't rush the process - great results take time
Ready to create stunning finishes? Explore HomeDIYer's Polishing Tool Collection → and use code HomeDIYer15 for 15% off your first polishing kit.