

Materials List
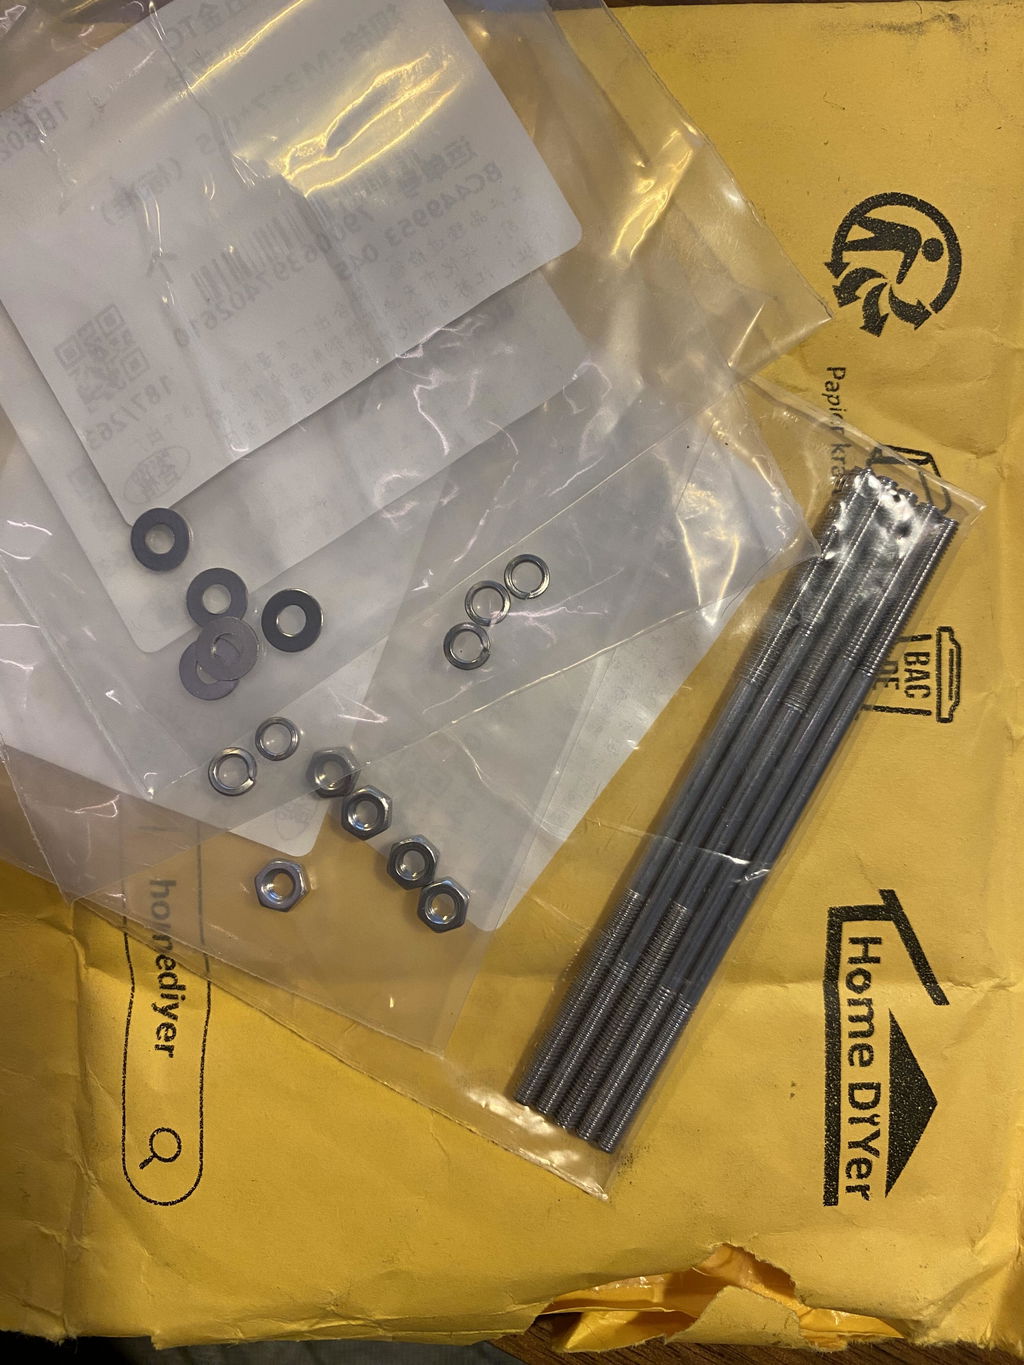
- Lumber Pieces
- High-Strength Wood Screws
- Wood Glue
- Center Punch
- Power Screwdriver / Drill
- Angle Grinder
- Bench Vise
Step-by-Step Instructions
Step 1: Mark the Center Alignment
Secure the wood in a vise and use a center punch to mark the exact center on the contact surfaces of both lumber pieces.
Step 2: Drive the Screw Directly
Use a power screwdriver to drive heavy-duty wood screws straight into the marked center points on the base wood.
Step 3: Create the Threaded Stud
Use an angle grinder to remove the screw head. This turns the screw into a threaded stud that acts as your internal connector. Measure its exposed length.
Step 4: Pre-drill the Top Piece
Pre-drill a pilot hole into the top piece that matches the length of the exposed stud to prevent the wood from deforming or splitting during assembly.
Step 5: Rotate and Lock
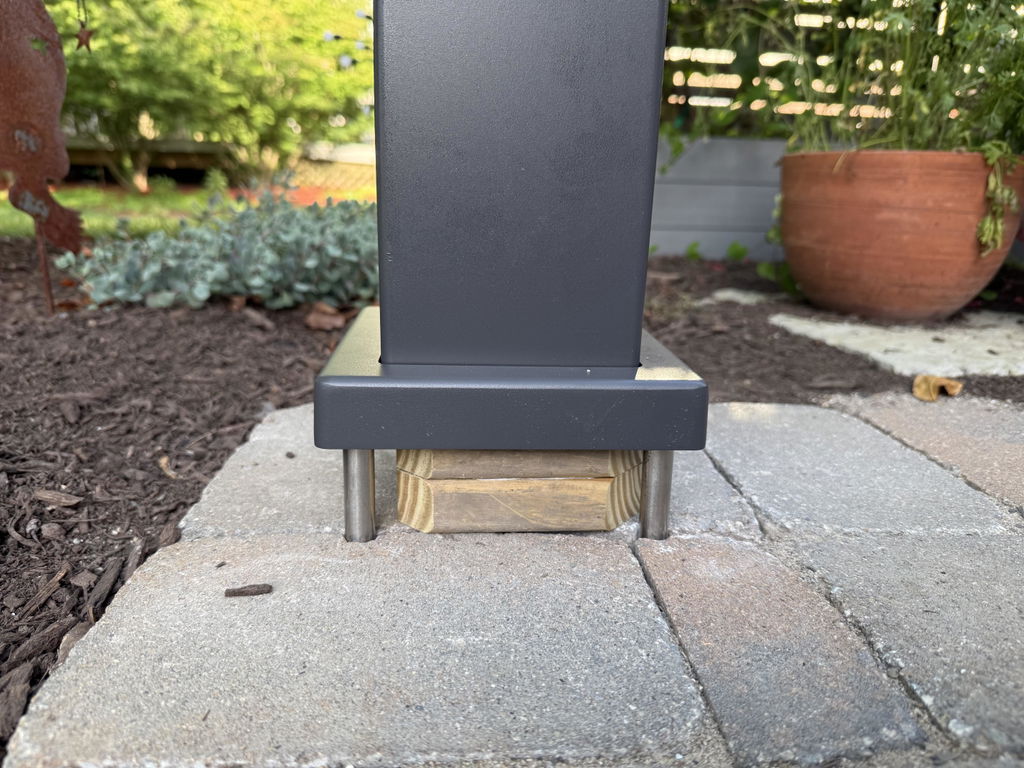
Apply wood glue to the surfaces, align the pre-drilled top piece, and rotate it onto the threaded stud until it is tightly locked and flush.
Stronger joints start with better screws. When your project relies on a single metal core, you need hardware that won't snap. Shop our HomeDIYer High-Strength Series for professional results.


Comments
Leave a comment