

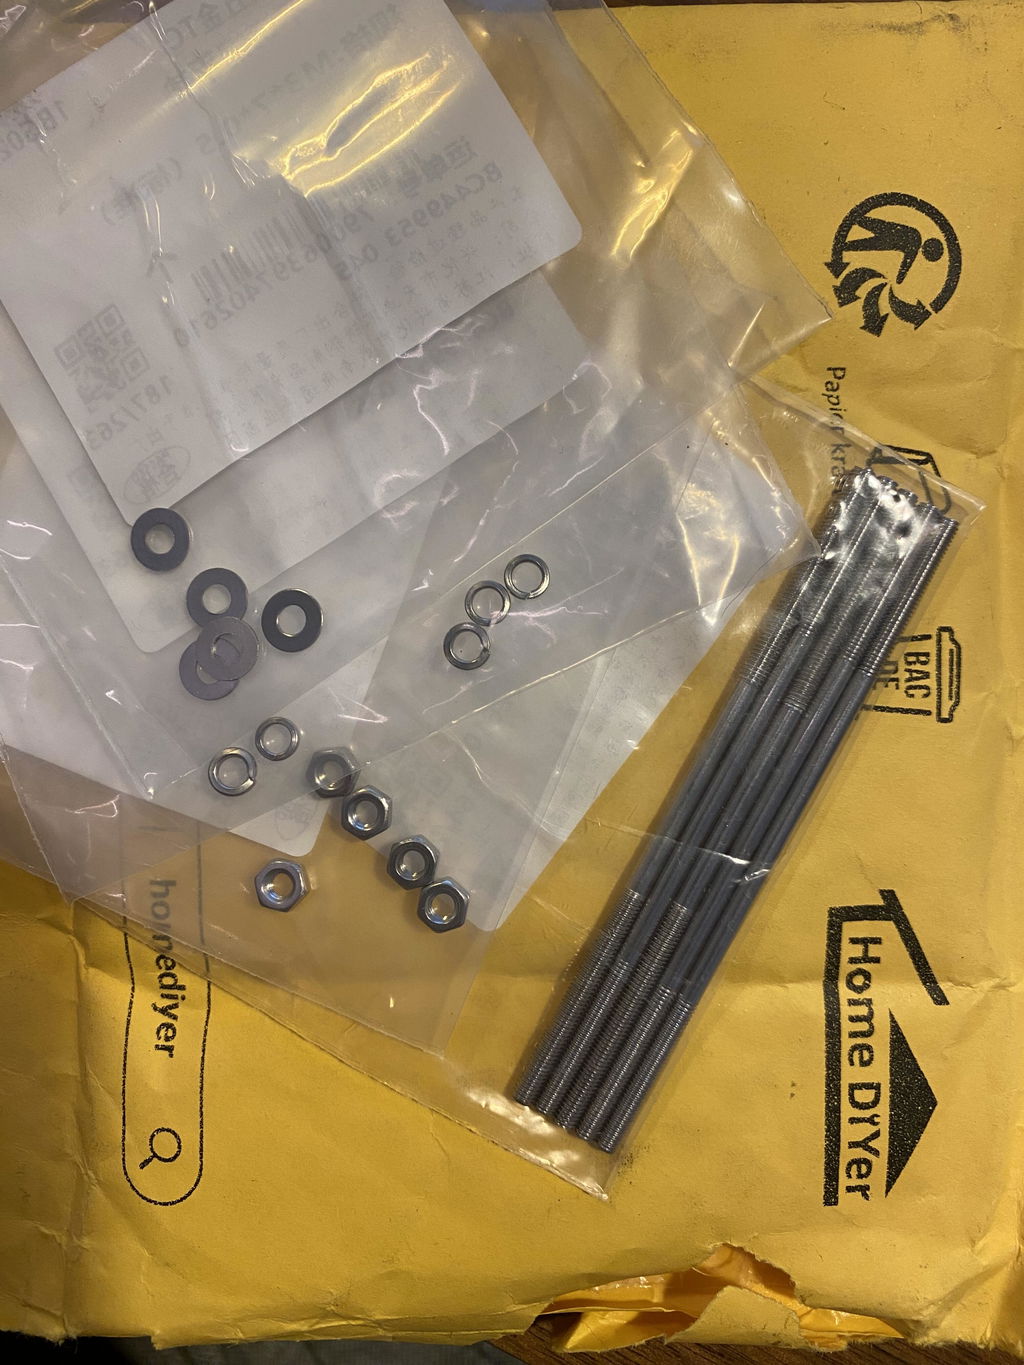
Materials List

Step-by-Step Guide
Step 1: Anchor the First Side
Orient the hacksaw blade with its teeth pointing upward. Place two flat washers over one mounting hole, then drive a wood screw through them to secure this end to the wall.
Step 2: Level and Secure
Pivot the blade horizontally. Place the remaining two washers over the opposite mounting hole and drive the second screw to fully secure the rack, creating a uniform gap behind the blade.
Step 3: Utilize Your Dual-Purpose Rack
Slide the belt clips of your tape measures over the top edge of the blade to line them up neatly, and simply pull sandpaper or tape rolls down against the sharp, upward-facing teeth whenever you need a clean, straight tear.
Try building your own dual-purpose blade organizer and share your workshop setup in the comments below.






Comments
Leave a comment